Showing posts with label 2018 Quilts. Show all posts

Wednesday, August 1, 2018

Framed Squares Throw Sized Free Quilt Pattern

I've been squeezing in a bit of quilting time this summer, along with all of the other summertime activities that happen each year.  Boy, it's been tough!  I'm finding that most of my sewing happens after the sun sets and the kiddos are in bed.  

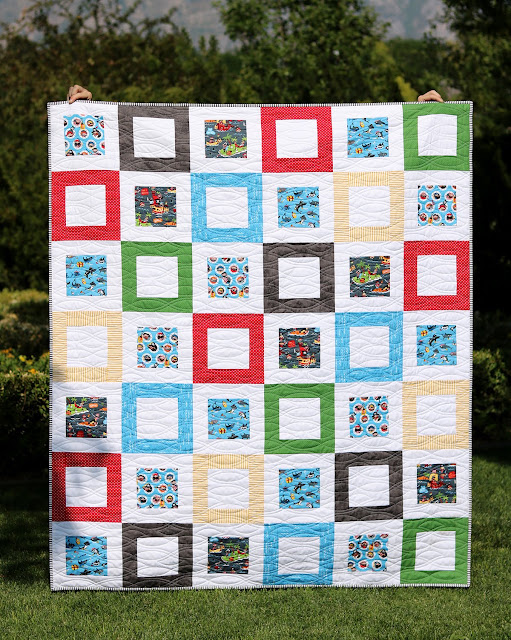
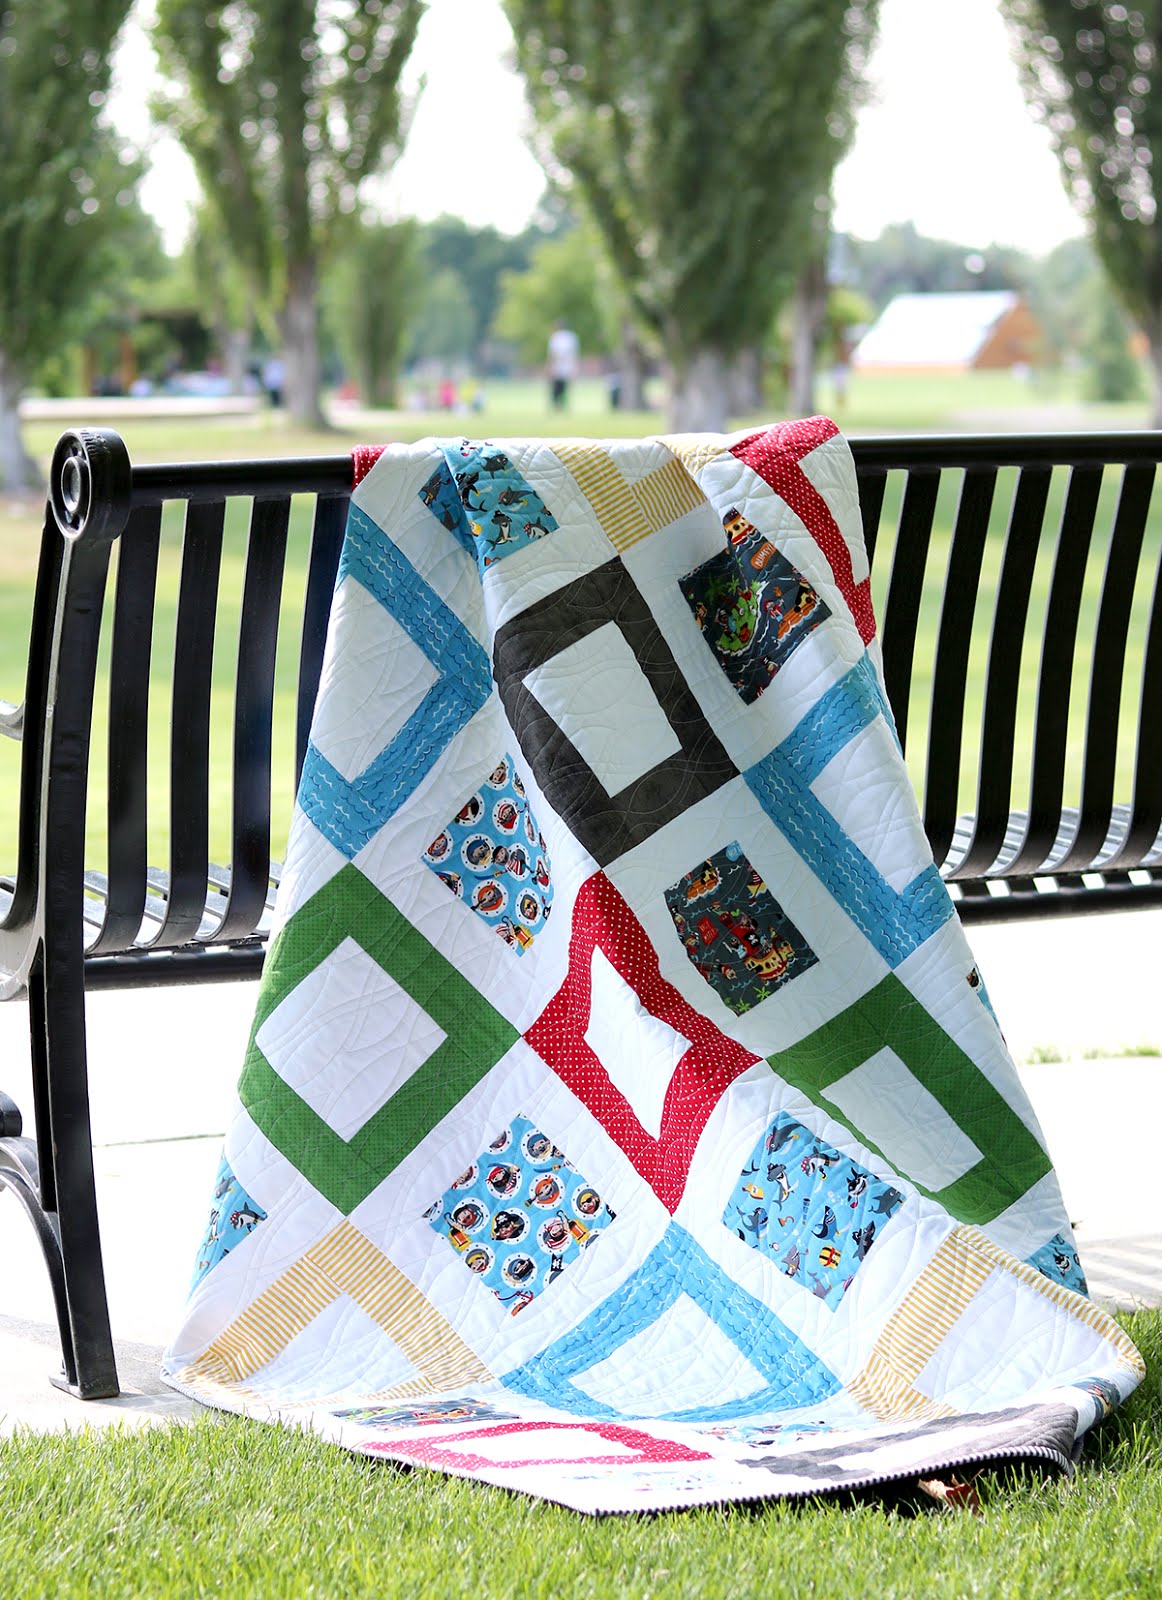
Over the past couple of weeks I've been working on this Framed Squares quilt using a darling new fabric line from Riley Blake called Pirate's Life, designed by Shawn Wallace.  The vivid primary colors make for a fun quilt!
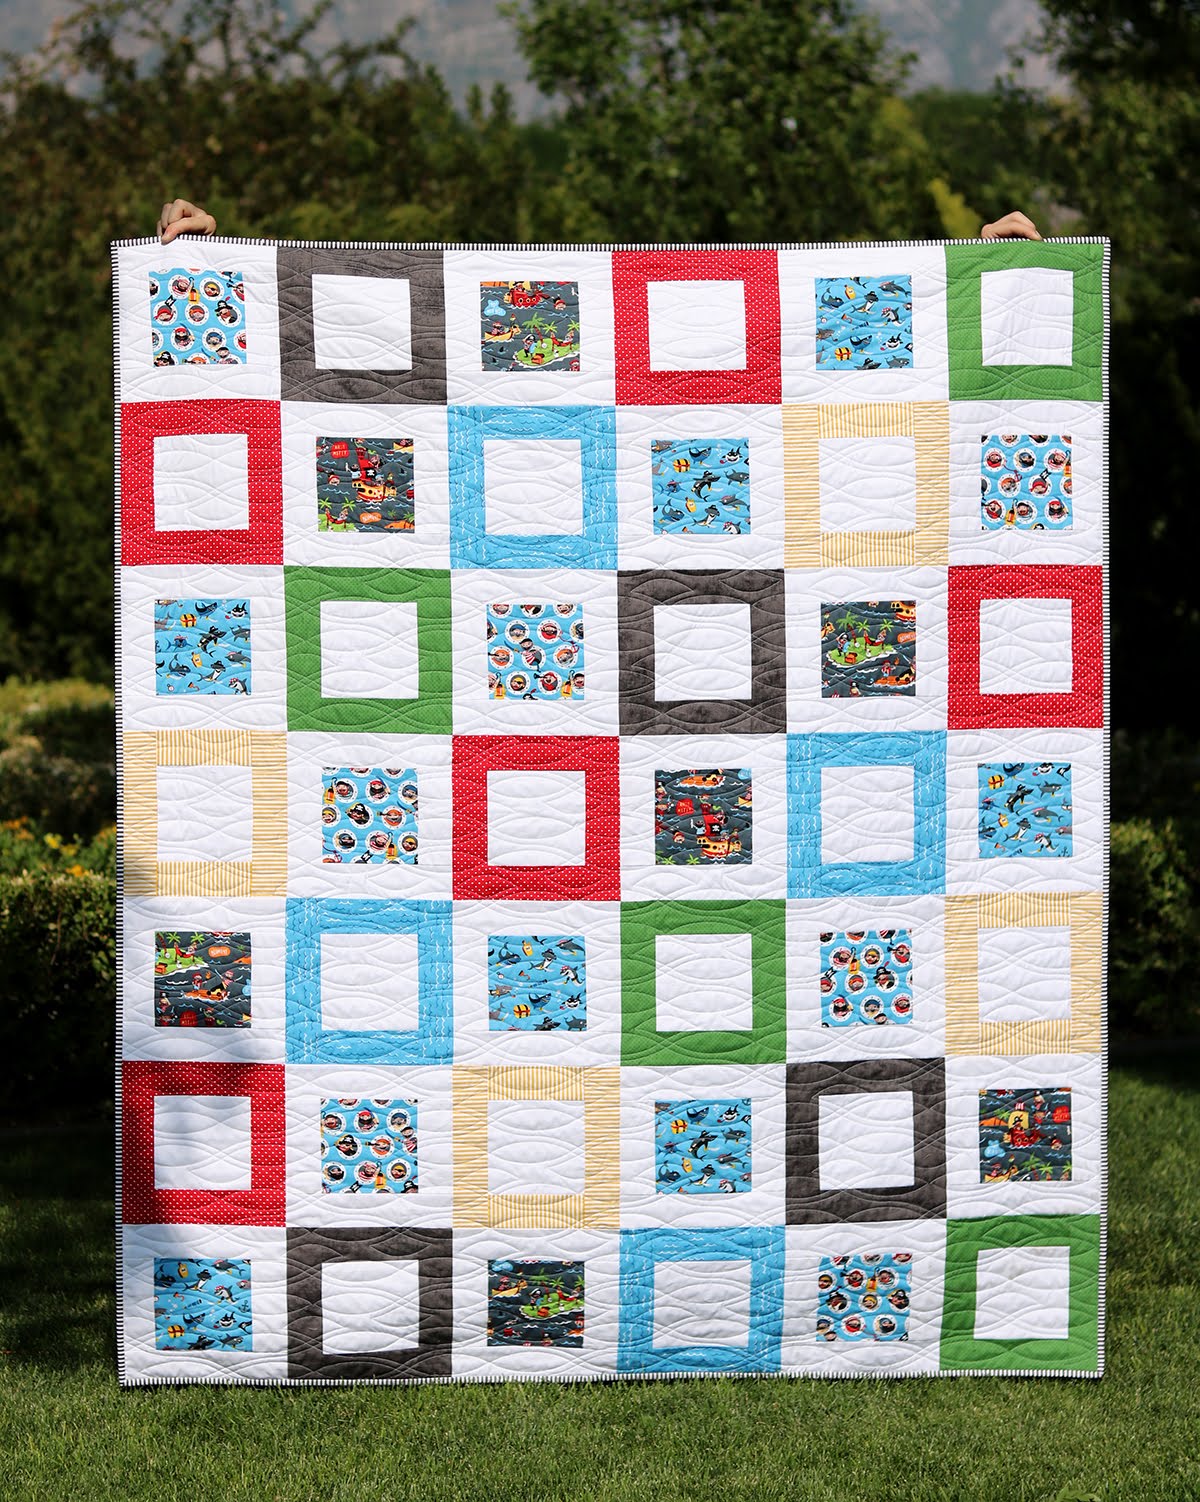
Framed Squares - a free quilt pattern from A Bright Corner

This pattern is a great way to feature your favorite fabrics, accented by some coordinating blender prints (all of the fabrics shown are from Riley Blake Designs.)  
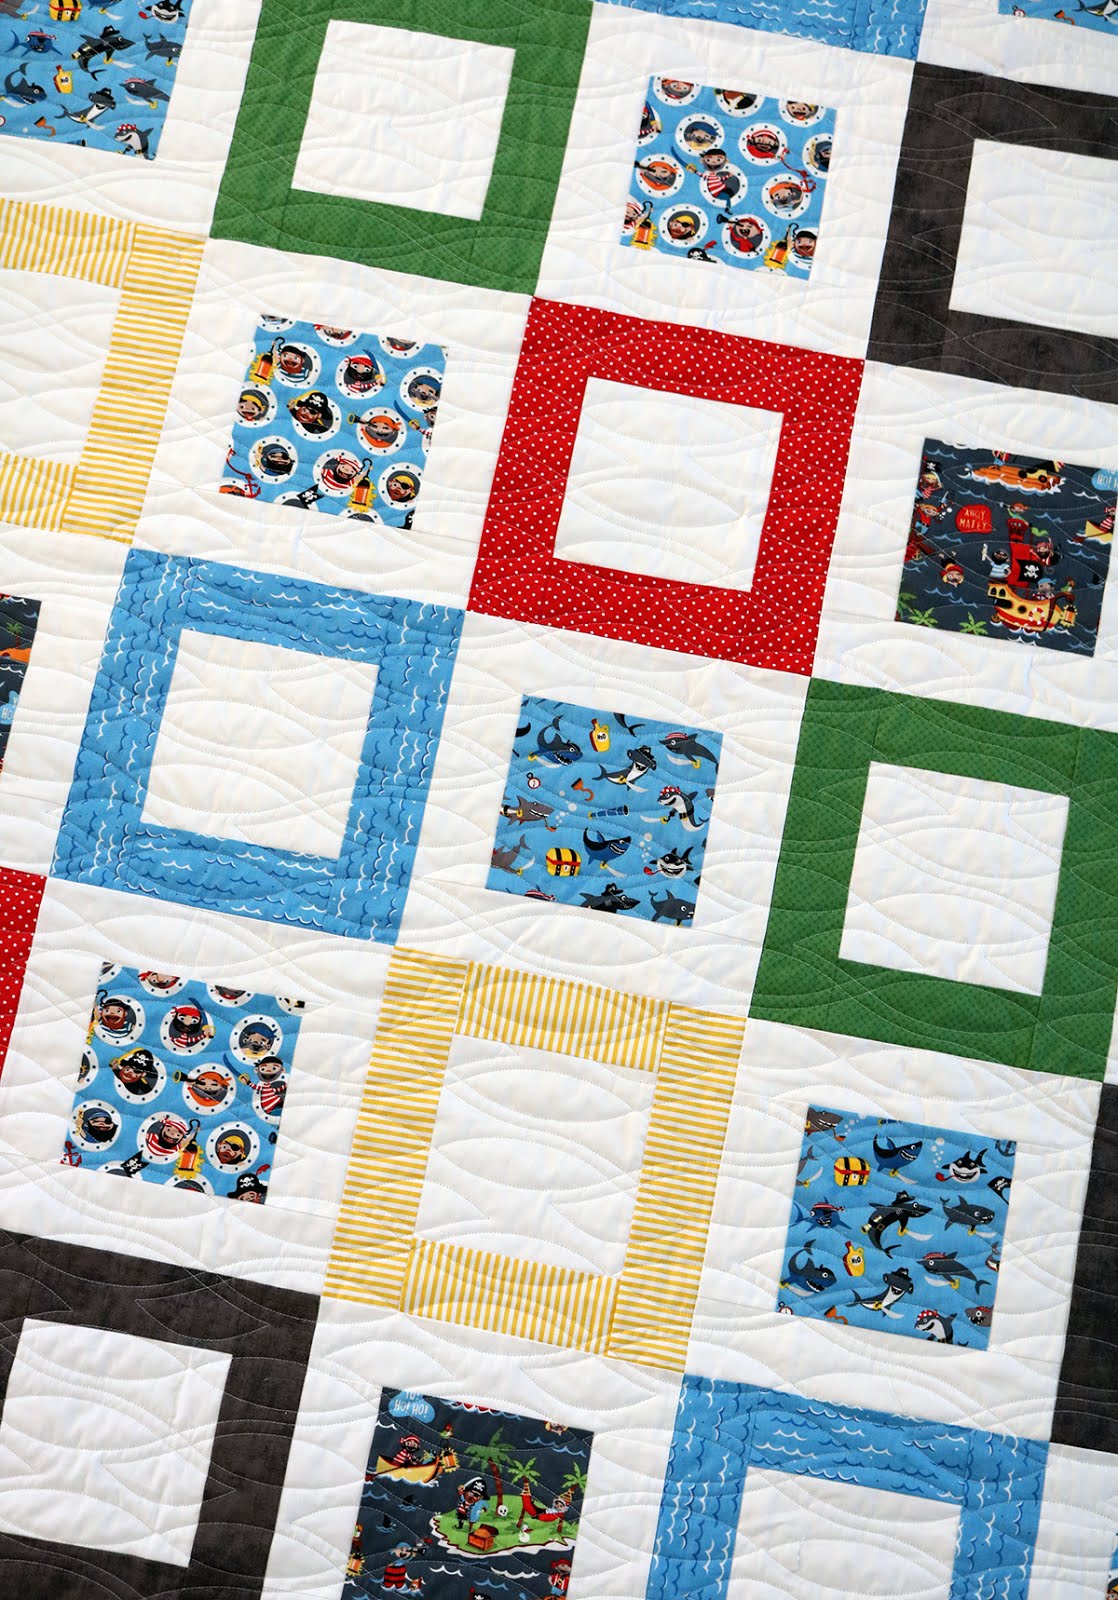

Framed Squares - a free quilt pattern from A Bright Corner

The Pirate's Life fabric line was a perfect match for this pattern with those fun main prints - filled with sharks, portholes, and pirates sailing away on adventures. 

Pirate's Life fabrics are now in quilt shops, and here online at the Fat Quarter Shop.
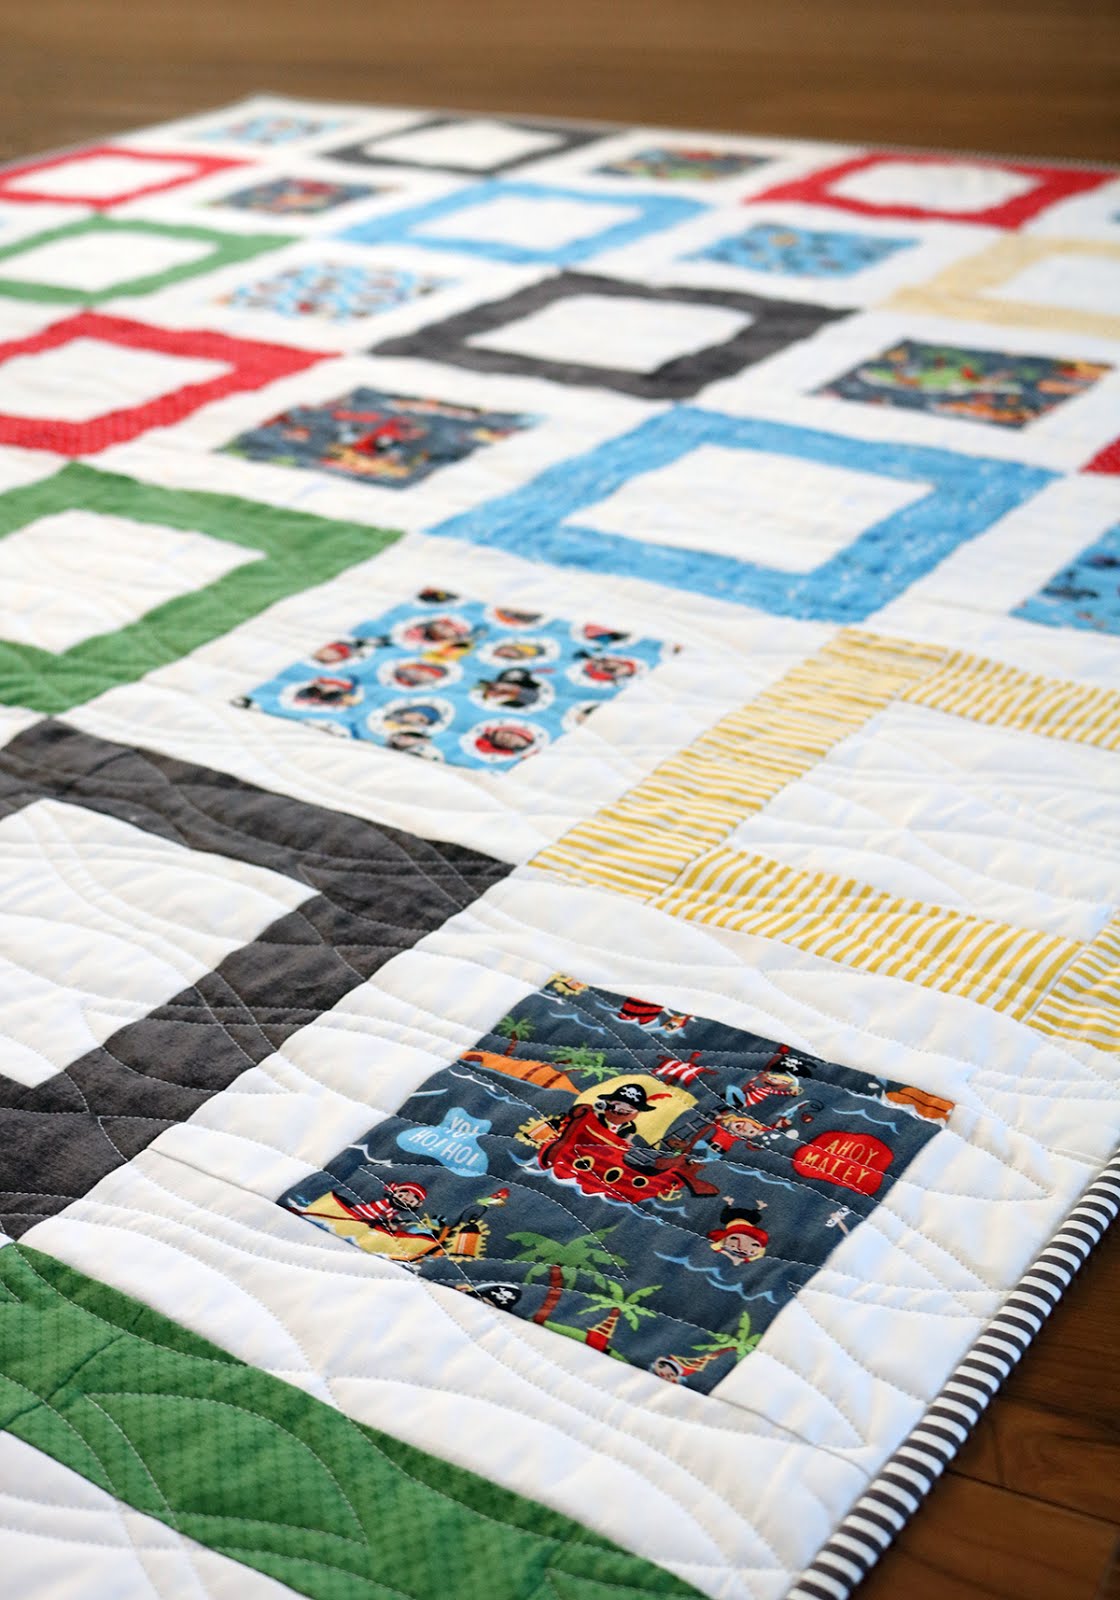
Framed Squares - a free quilt pattern from A Bright Corner

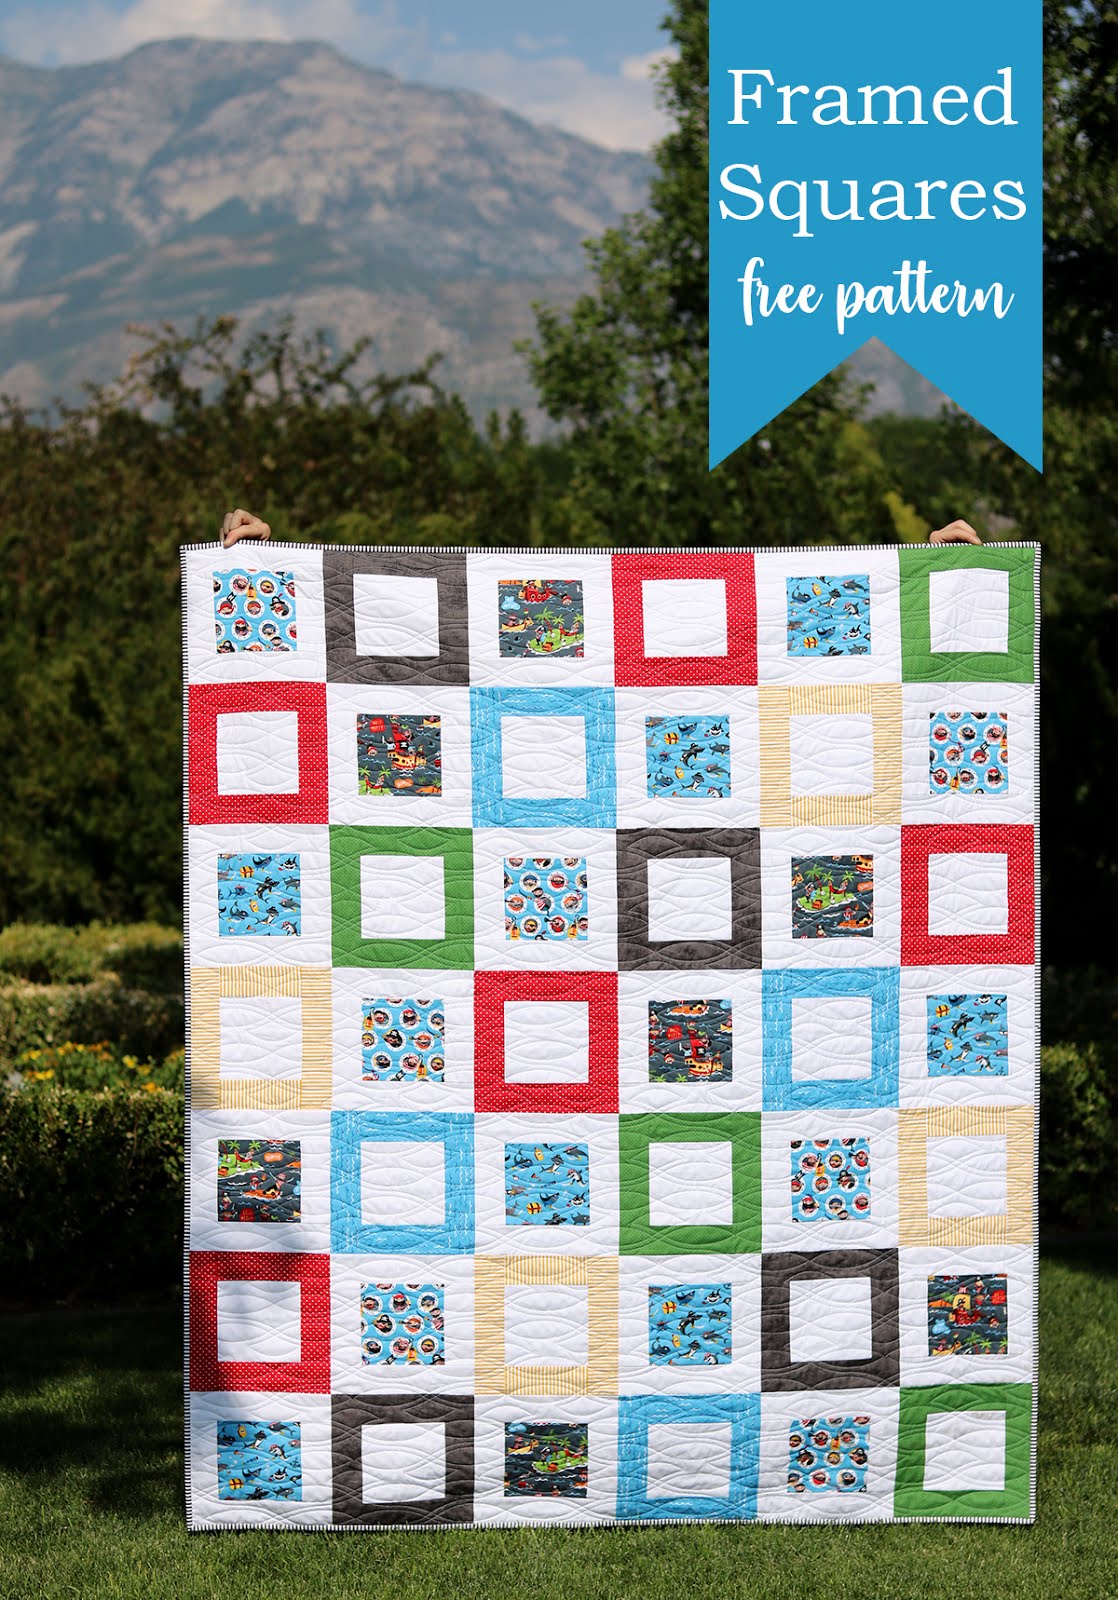
The finished quilt measures 57" x 67" - a great throw size quilt!
Framed Squares - a free quilt pattern from A Bright Corner

You can access the free Framed Squares PDF pattern here (for personal use only please!).  And if you make one and want to share on social media be sure to tag #framedsquaresquilt and #abrightcornerpatterns so we can all see your creations.

Or save the image below to your Pinterest board so you can find it later!

Framed Squares - a free quilt pattern from A Bright Corner

Happy stitching everyone!  

Are you interested in more free quilt patterns and tutorials?  I have an entire Pinterest board filled with them - check it out here and be sure to follow me so you can see new ones that get added!
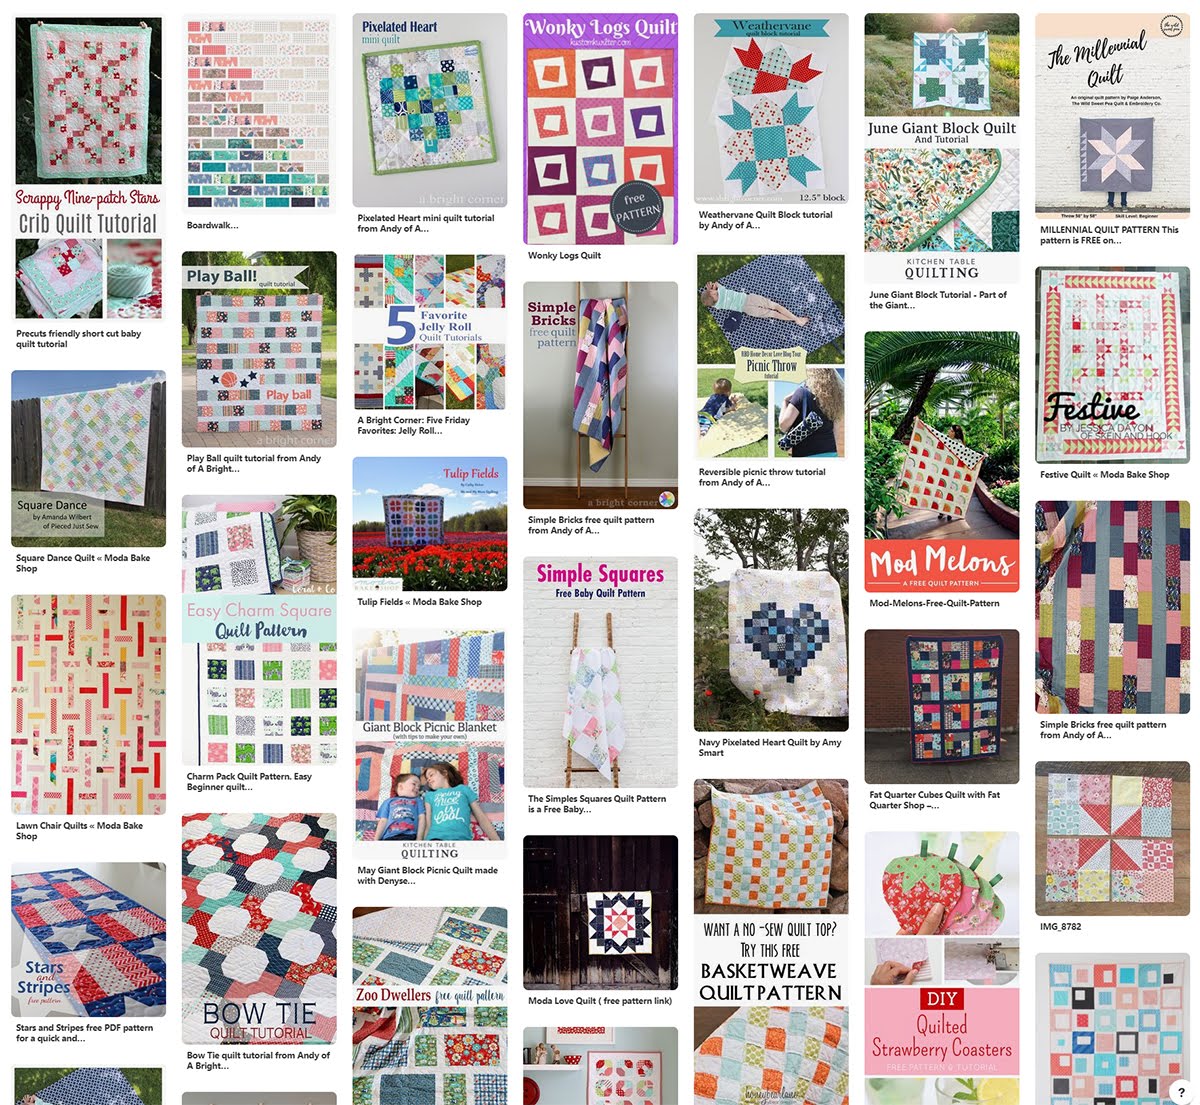

Follow A Bright Corner on Pinterest


Follow me on Facebook, Pinterest, and Instagram


**This post may contain affiliate links, which means I may receive a small commission (at no additional cost to you) when purchases are made through links found in this post.
Saturday, June 30, 2018

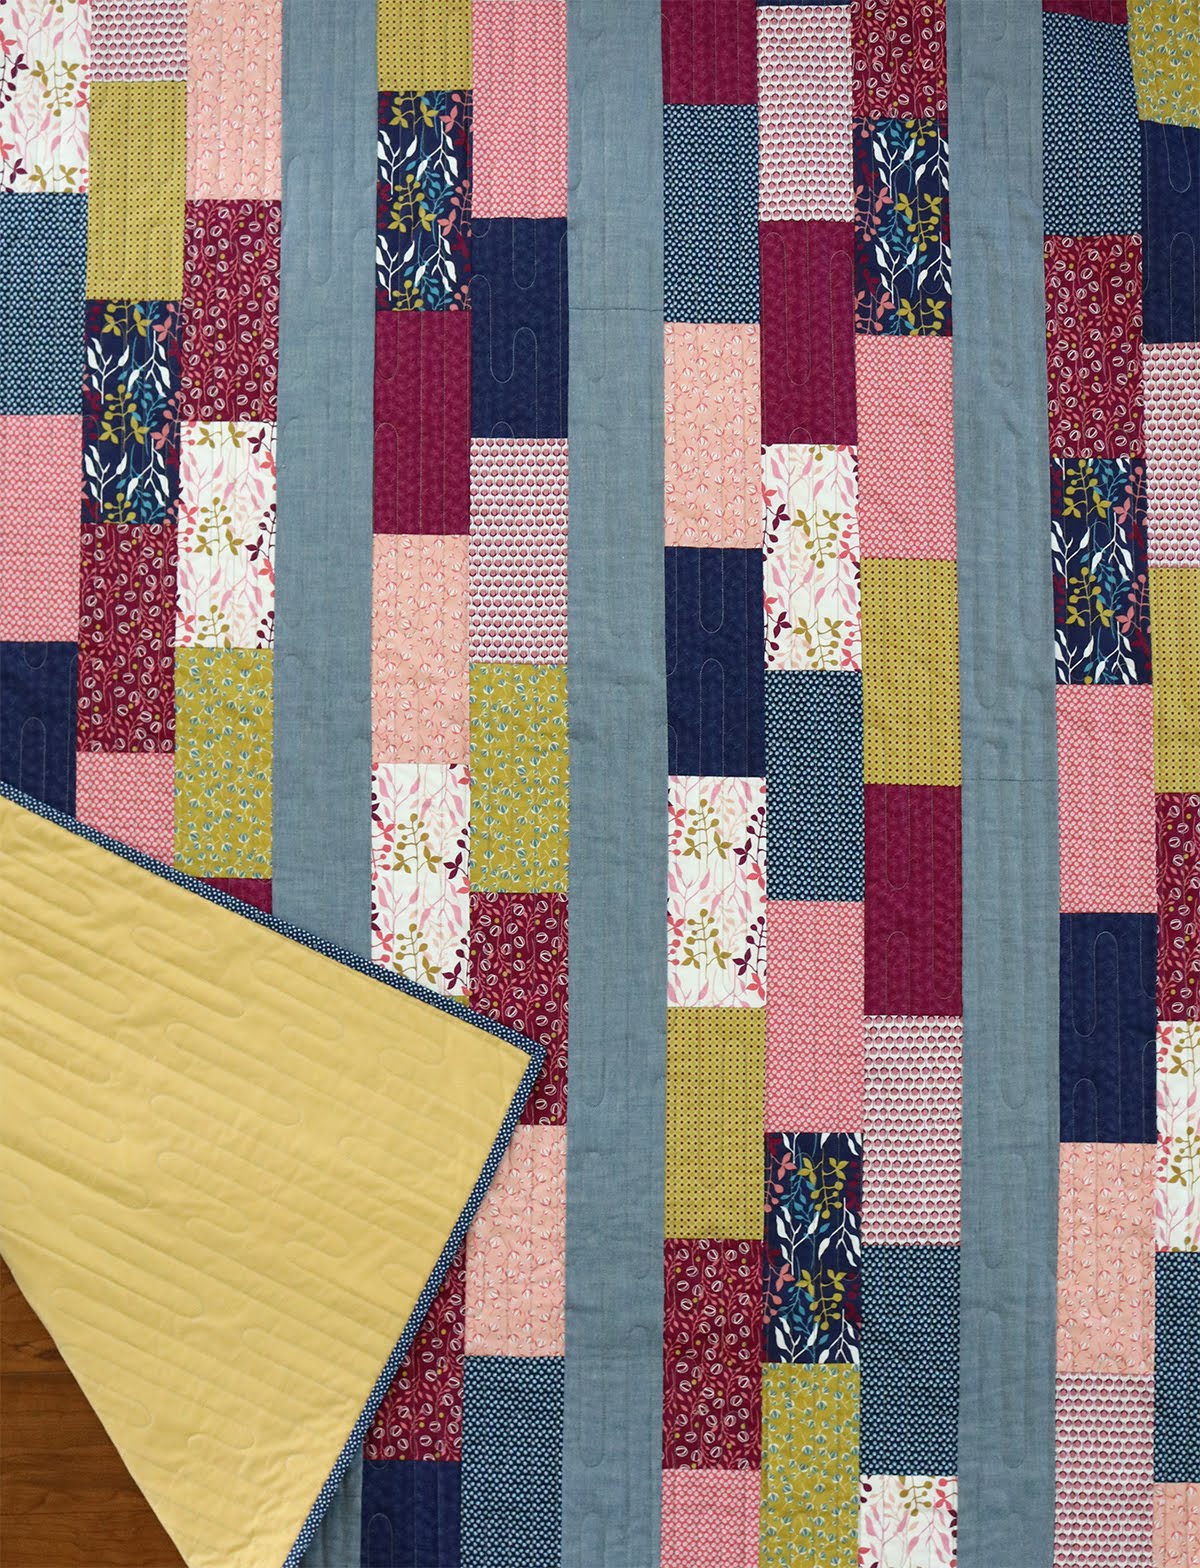
Simple Bricks free quilt pattern + Wonder Full fabric

Well hello there!  I know I've been sharing a lot of single blocks lately and I'm so happy to be able to share a finished quilt today.  And there's a bonus - I've got a free PDF pattern to go along with it!

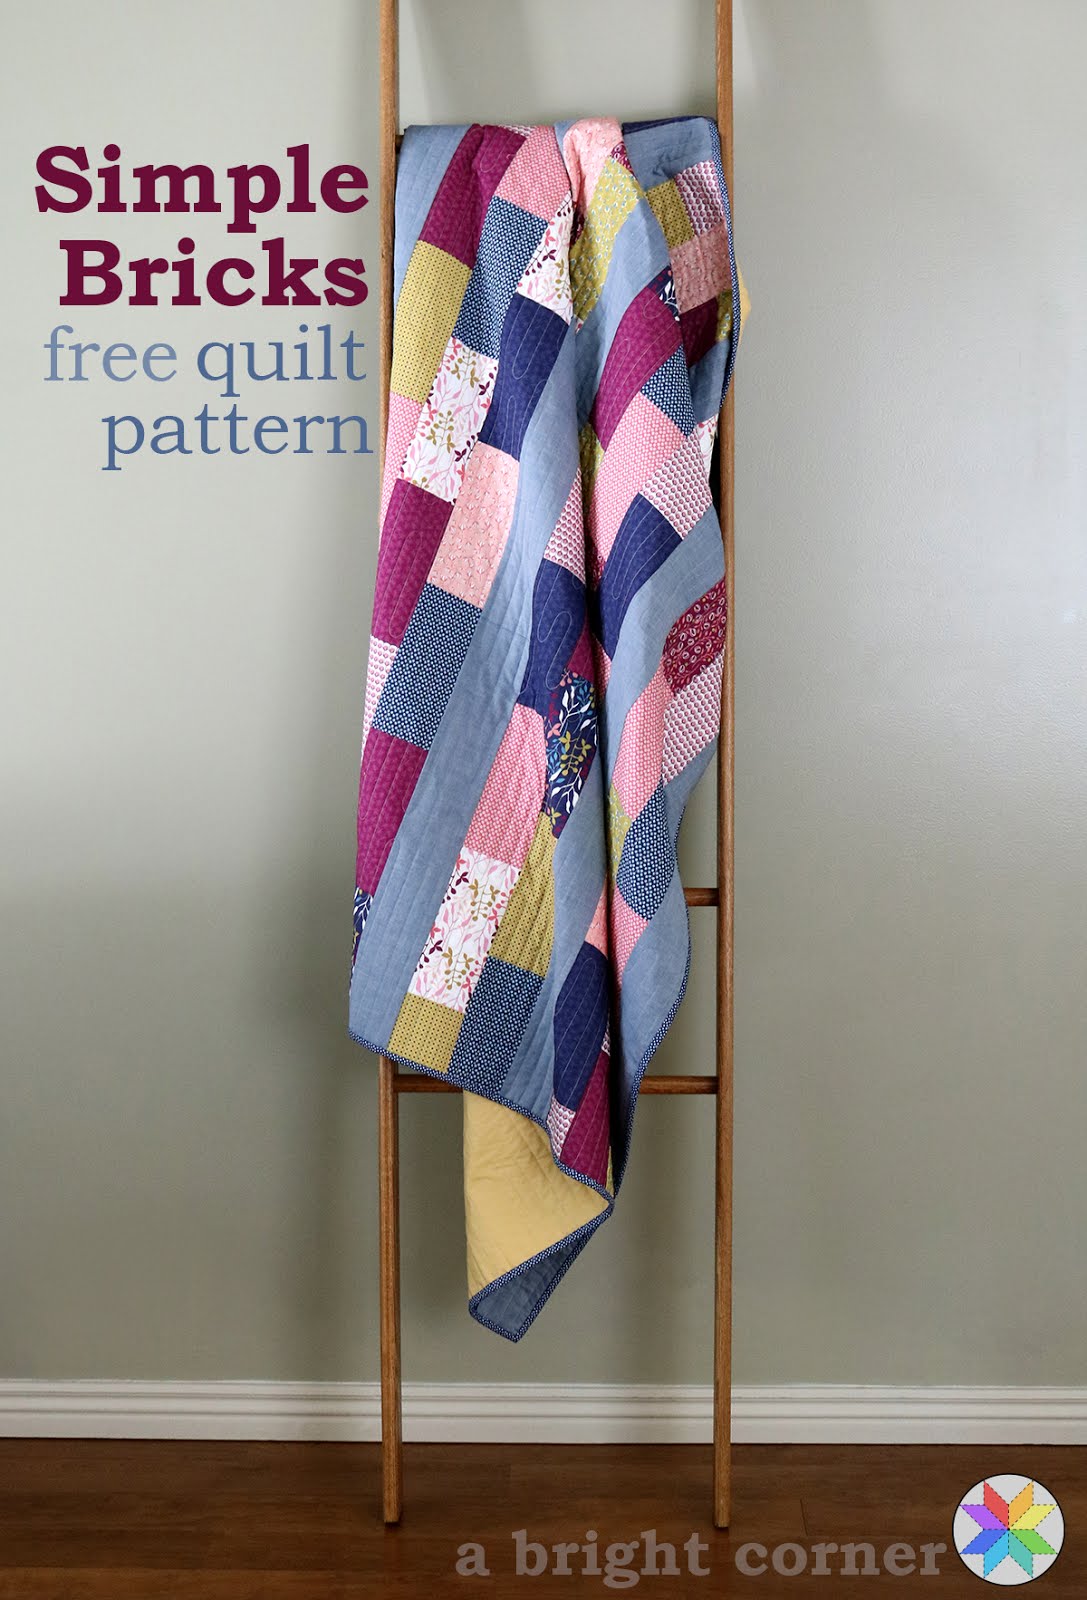
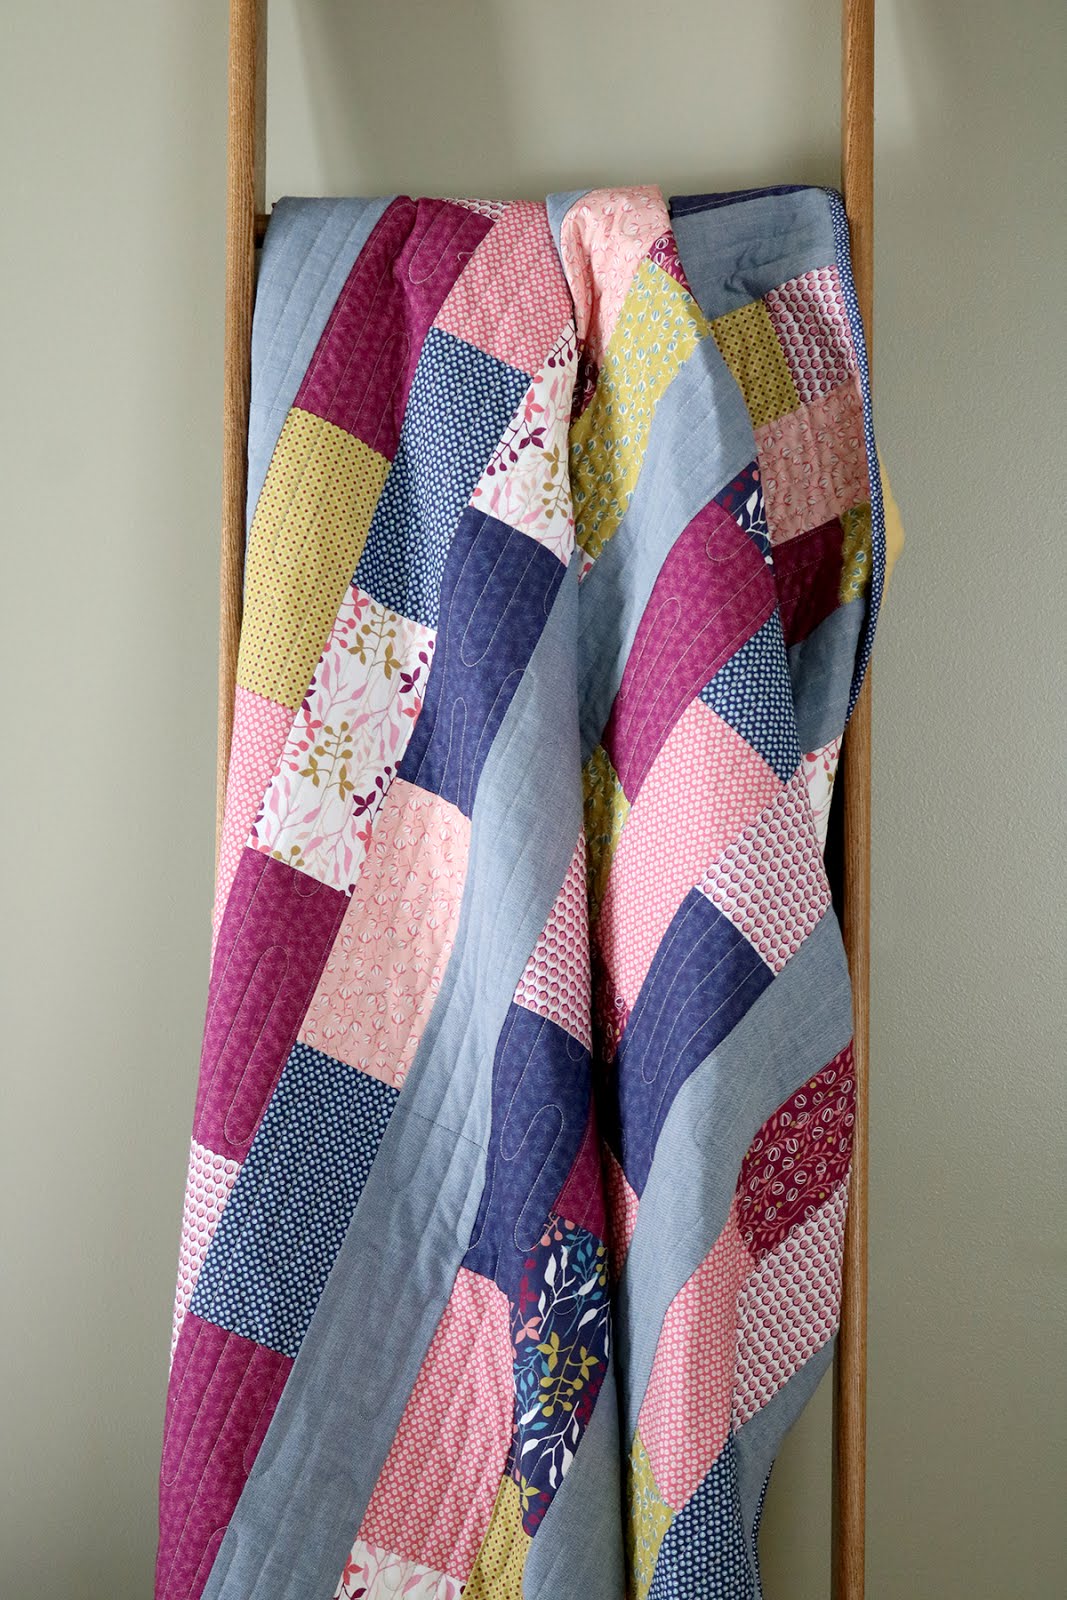
Simple Bricks free quilt pattern from Andy of A Bright Corner - a fat quarter pattern that's quick and easy!

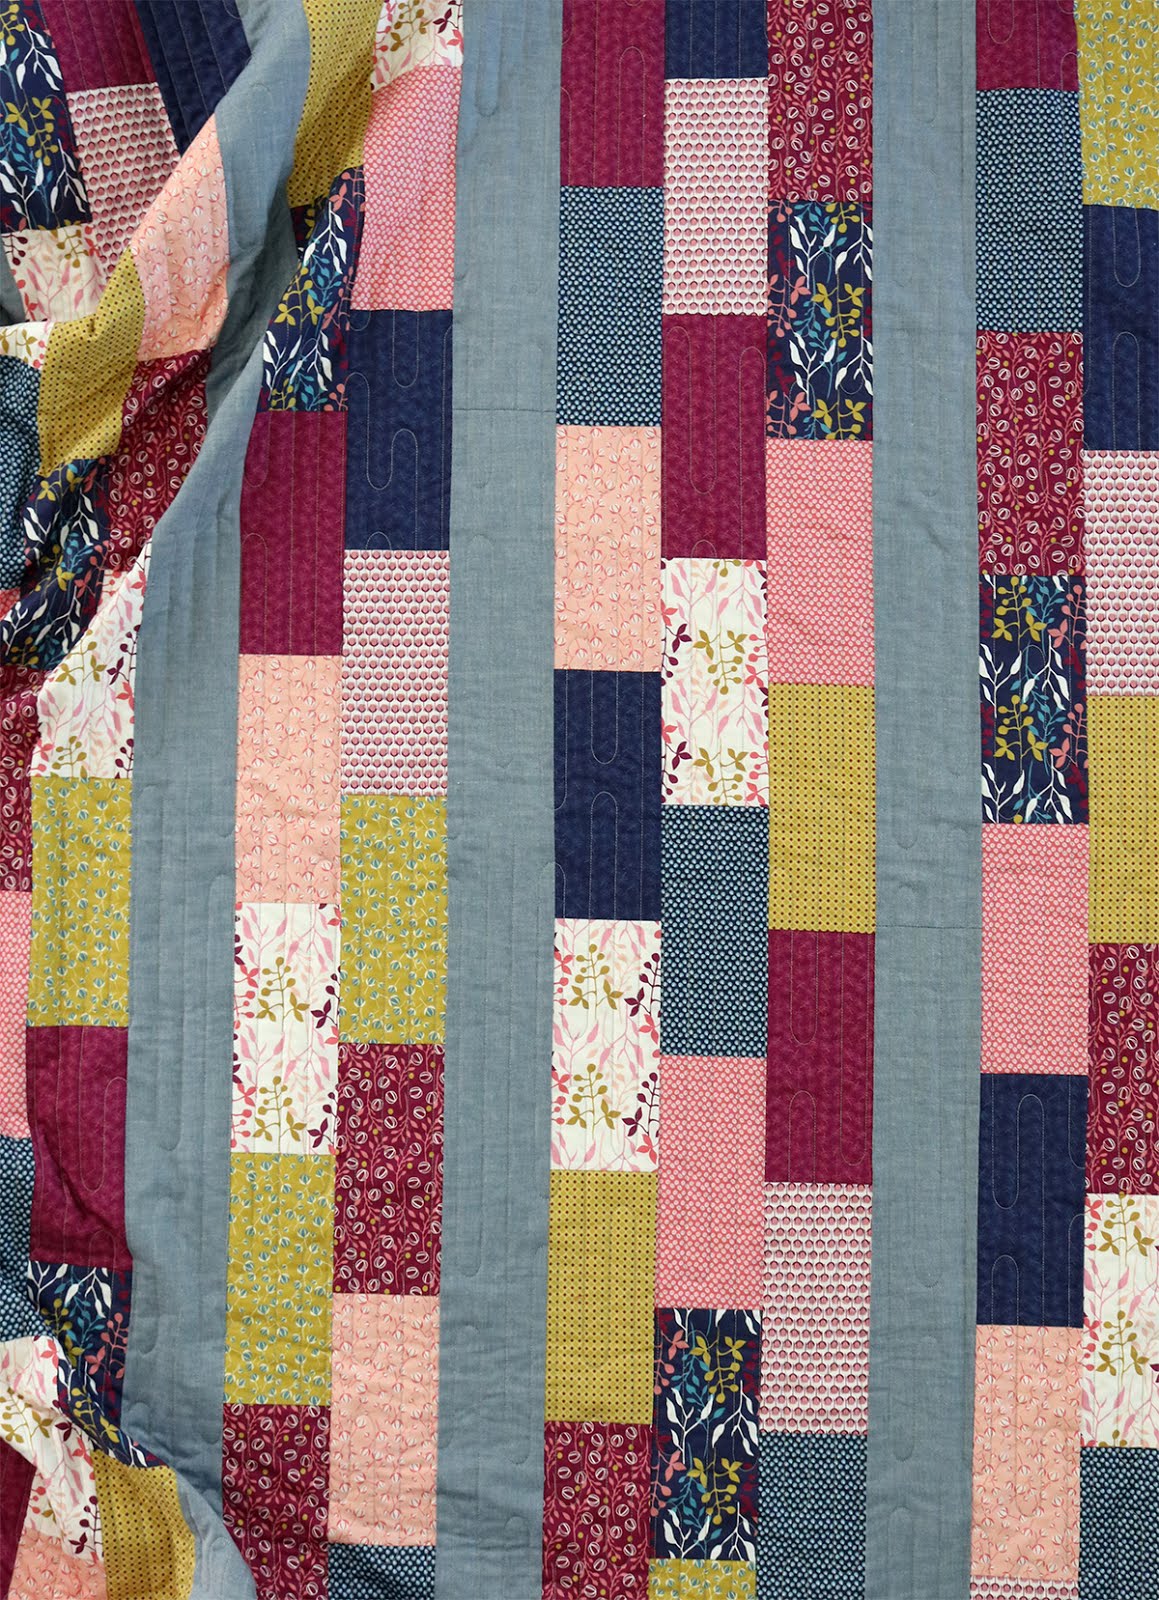
This is Simple Bricks - a fat quarter friendly pattern that sews up quickly since there's no tricky piecing or seams that need to match up!  The finished quilt measures 63" x 72" and needs just 11 fat quarters and just over a yard of background fabric.  

  Wonder Full fabrics designed by Lizzie Clark Designs / Sweet Bee Designs

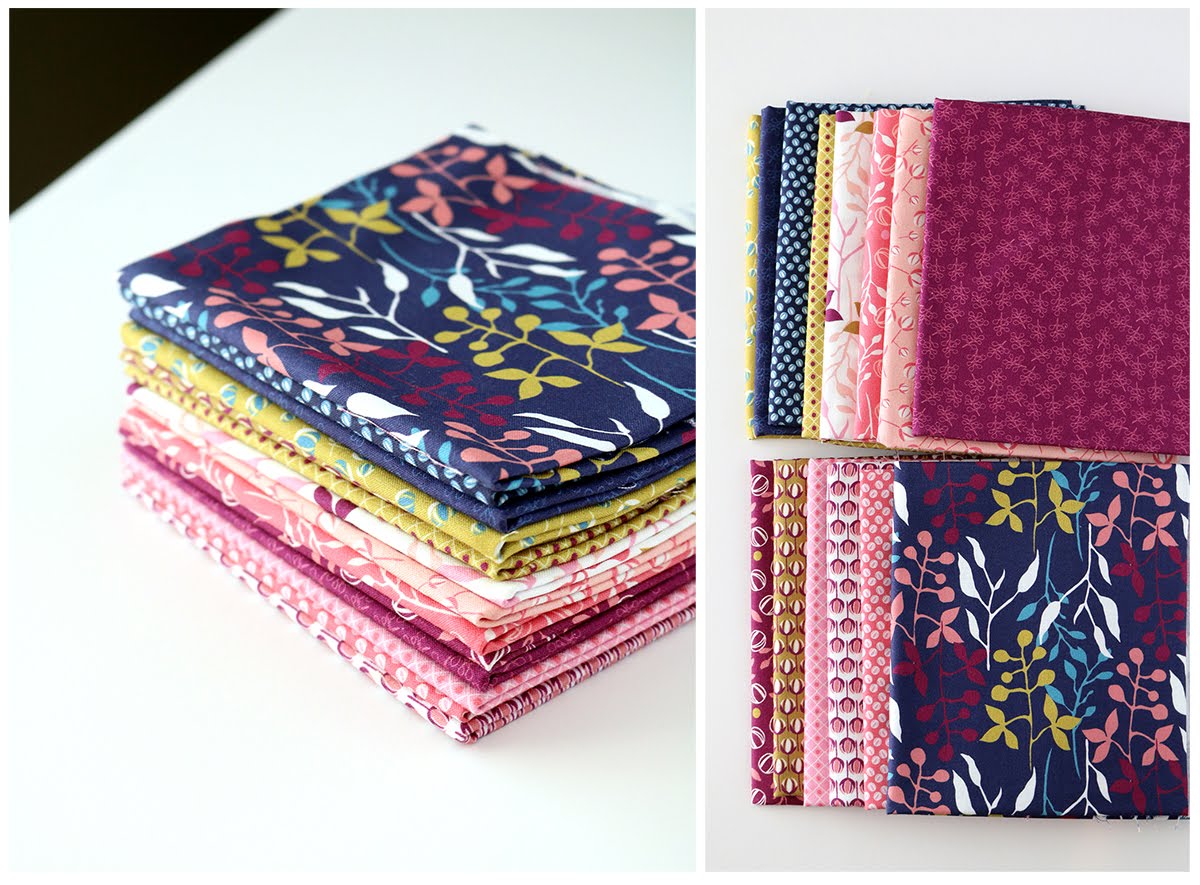
The fabric I used for this quilt is from a line called Wonder Full.  It's designed by Elizabeth Clark (Lizzie Clark Designs) for Sweet Bee Designs.  There's been a lot of fun projects being created lately with this pretty fabric! 

Simple Bricks free quilt pattern from Andy of A Bright Corner - a fat quarter pattern that's quick and easy!

I fell in love with those rich berry colors combined with the navy.  And then you throw that mustard color in there and I just couldn't resist!  

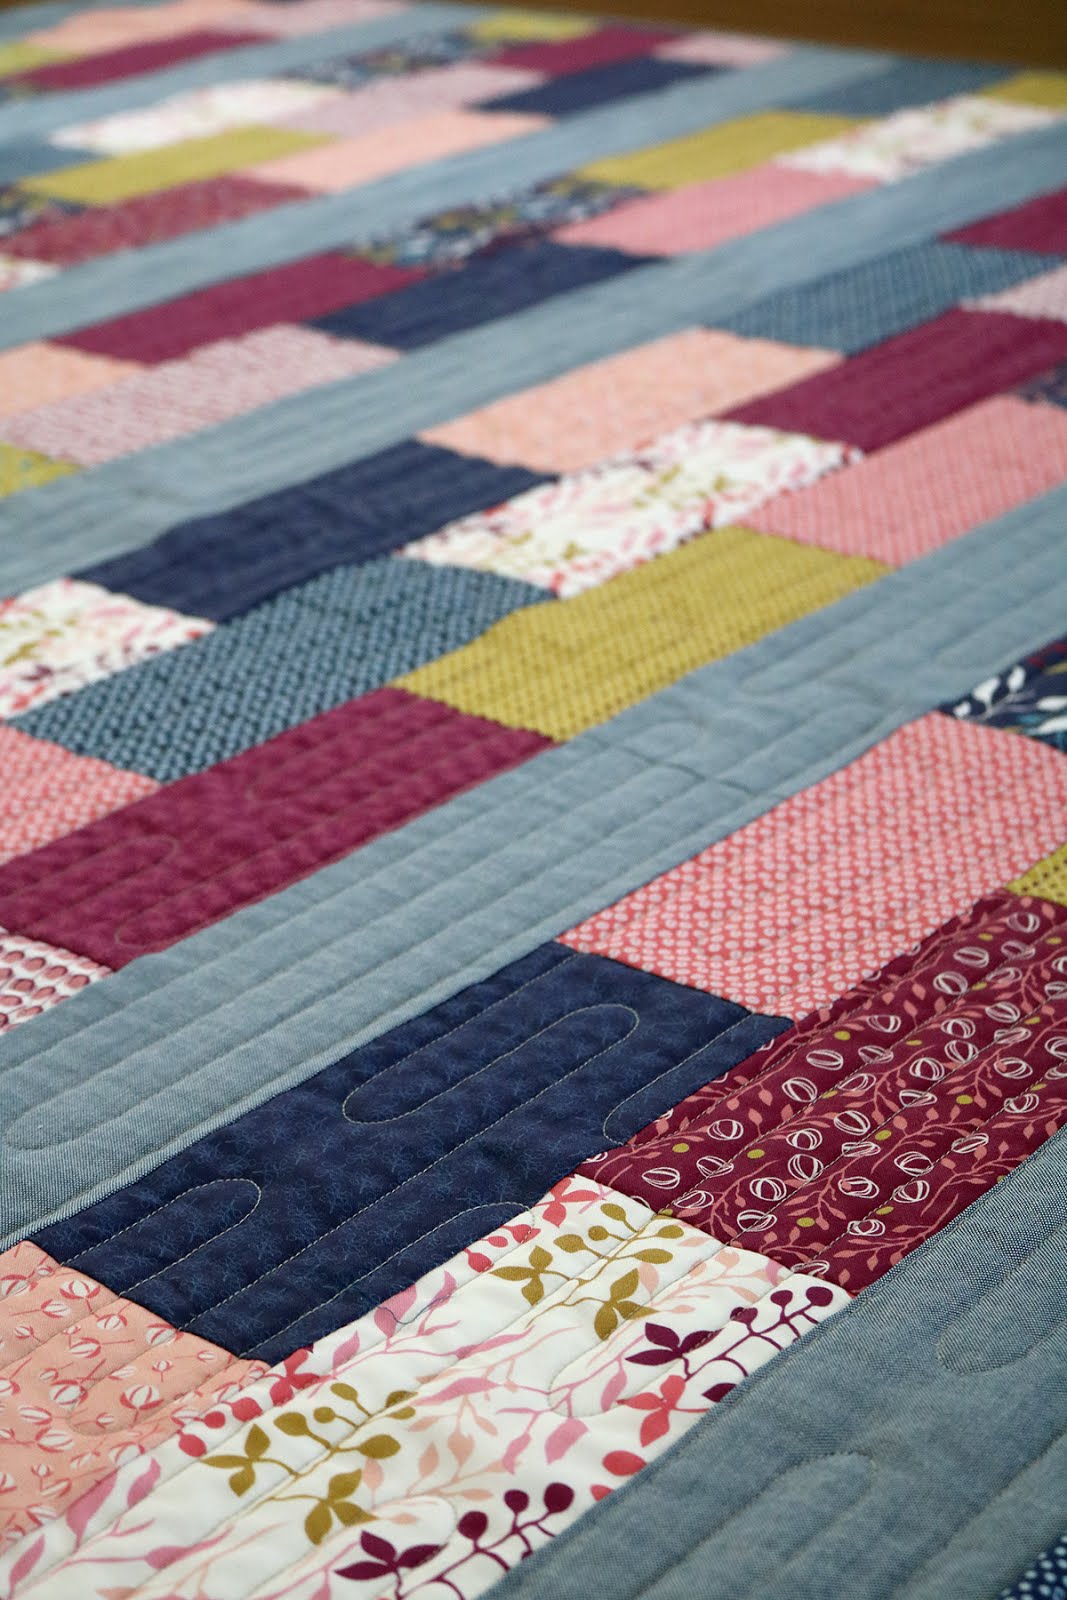
I paired the prints with a super soft chambray which made the perfect background.  I didn't want the background to be too stark- like a white would be.  The chambray blended beautifully and adds some lovely texture to the quilt as well.  

Simple Bricks free quilt pattern from Andy of A Bright Corner - a fat quarter pattern that's quick and easy!

You can grab the free Simple Bricks quilt pattern here.  Pretty please use this for your personal use only!  If you're a shop please just send customers here to download their own copy of the pattern.  Thank you!  

If you make a Simple Bricks quilt I'd love to see it.  Tag me on Instagram and use the hashtags #simplebricksquilt and #abrightcornerpatterns so we can all see what you've created! 

Simple Bricks free quilt pattern from Andy of A Bright Corner - a fat quarter pattern that's quick and easy!

Want to see more projects using Wonder Full?  There's been some great ones!

6/25 Sarah Goer - Sarah Goer Quilts
6/26 Becky Vandenberg - Be So Crafty
6/27 Becca Plymale - Sunflower Seams
6/28 Stephanie Jacobson - Steph Jacobson Designs
6/29 Allison Dutton - Allison Sews
6/30 Andy Knowlton - A Bright Corner
  7/1 Lissa LaGreca - Lovingly Lissa
  7/2 Jennifer Strauser - Dizzy Quilter
  7/3 Sherry Shish - Powered by Quilting

For a list of shops where you can find Wonder Full fabrics click here!

Simple Bricks free quilt pattern from Andy of A Bright Corner - a fat quarter pattern that's quick and easy!

Quilt details:
63" x 72"
Pattern:  Simple Bricks quilt pattern
Fabric:  Wonder Full by Lizzie Clark Designs
Quilting:  Maze (edge to edge computerized design)


Sunday, June 10, 2018

Second Look Sunday: Bow Tie Quilt + Pattern

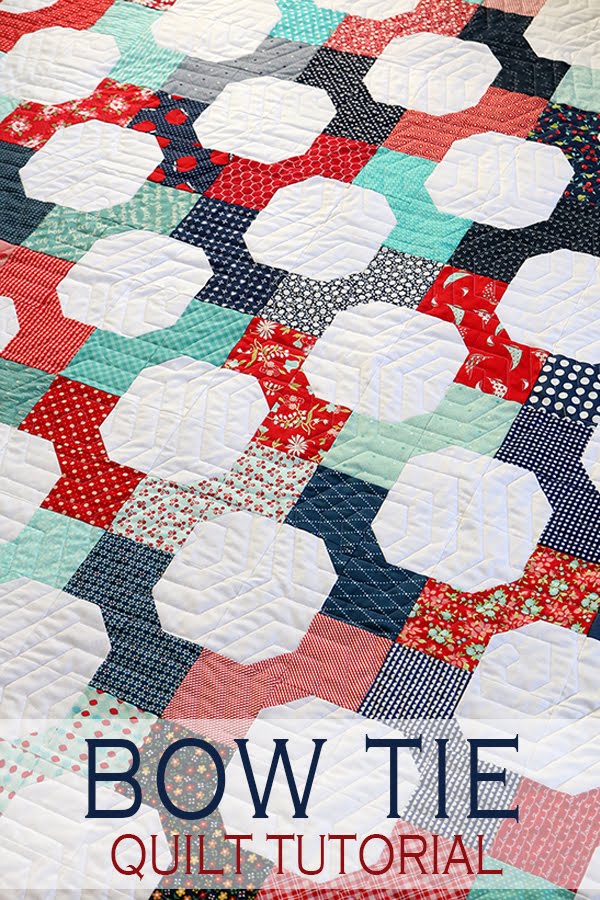
Well hello there!  It's been quiet around here, hasn't it?  It's time for another Second Look Sunday post and I'm sharing a quilt I finished just this week, using a tutorial that originally appeared on my blog in 2015.

What's Second Look Sunday you ask??  Well, on the 2nd Sunday of each month I highlight and share a quilt tutorial from past years that you might have missed the first time around!

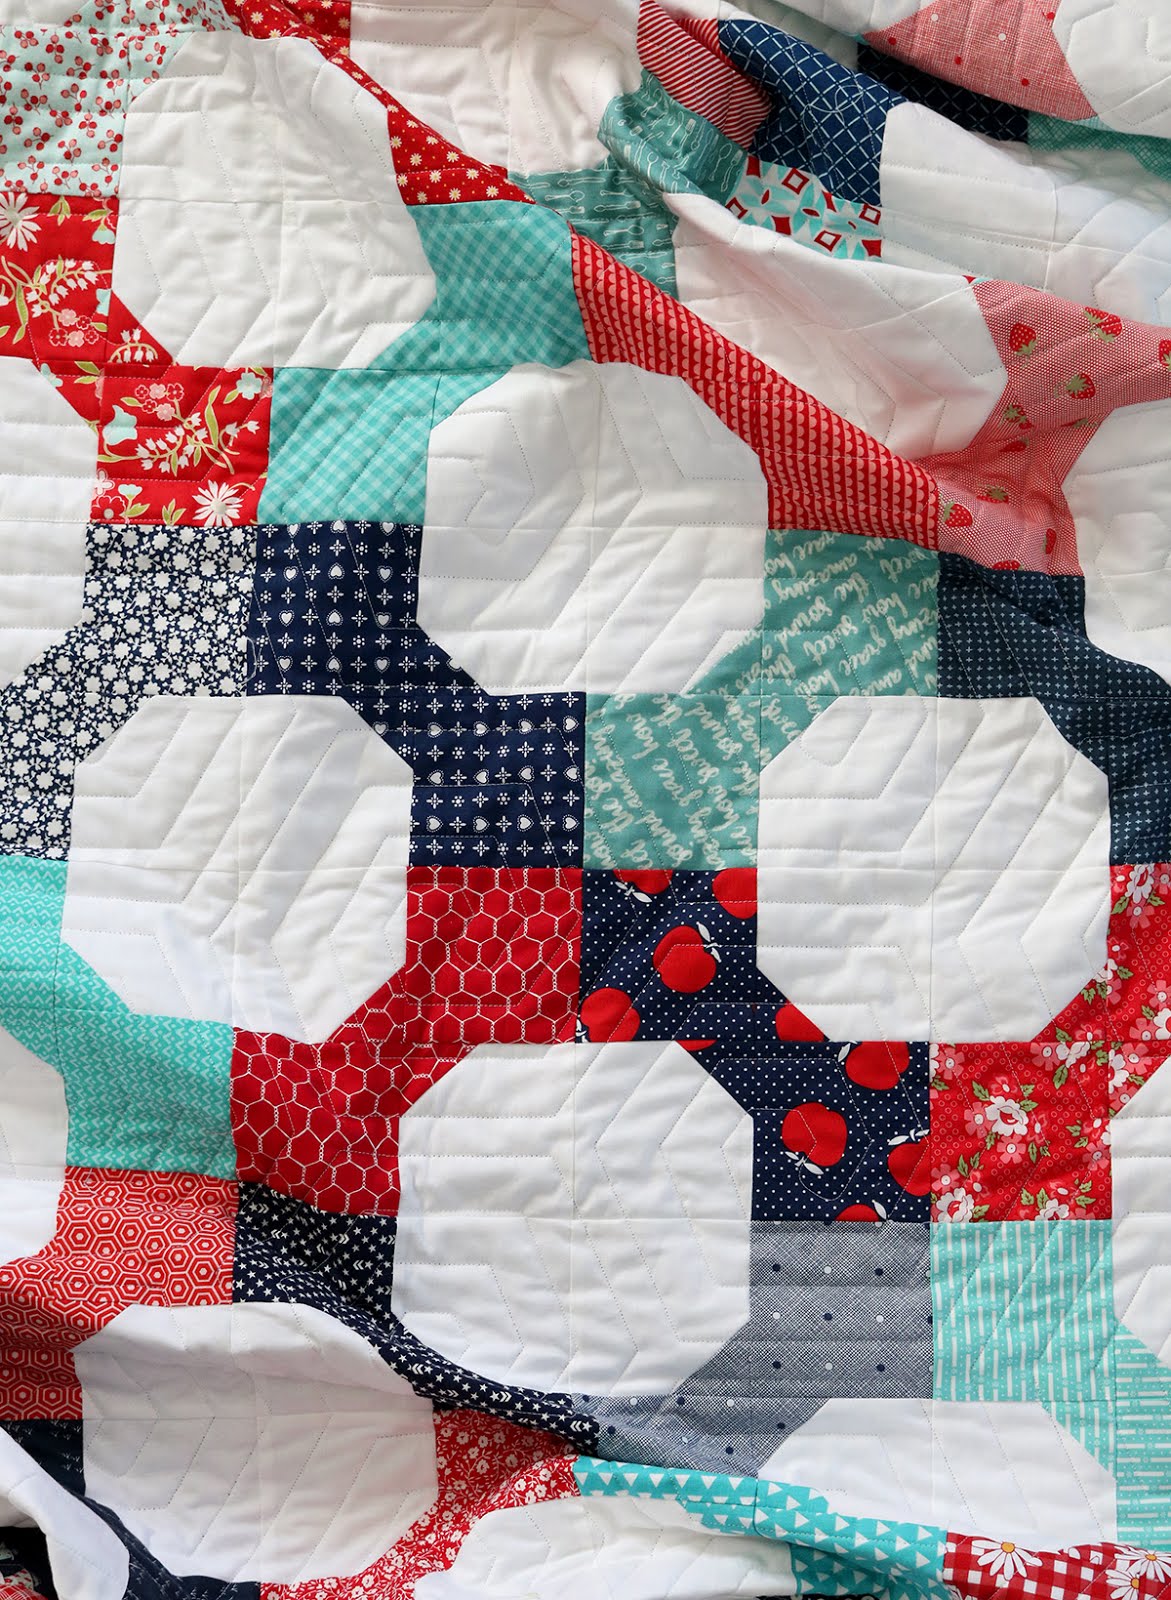
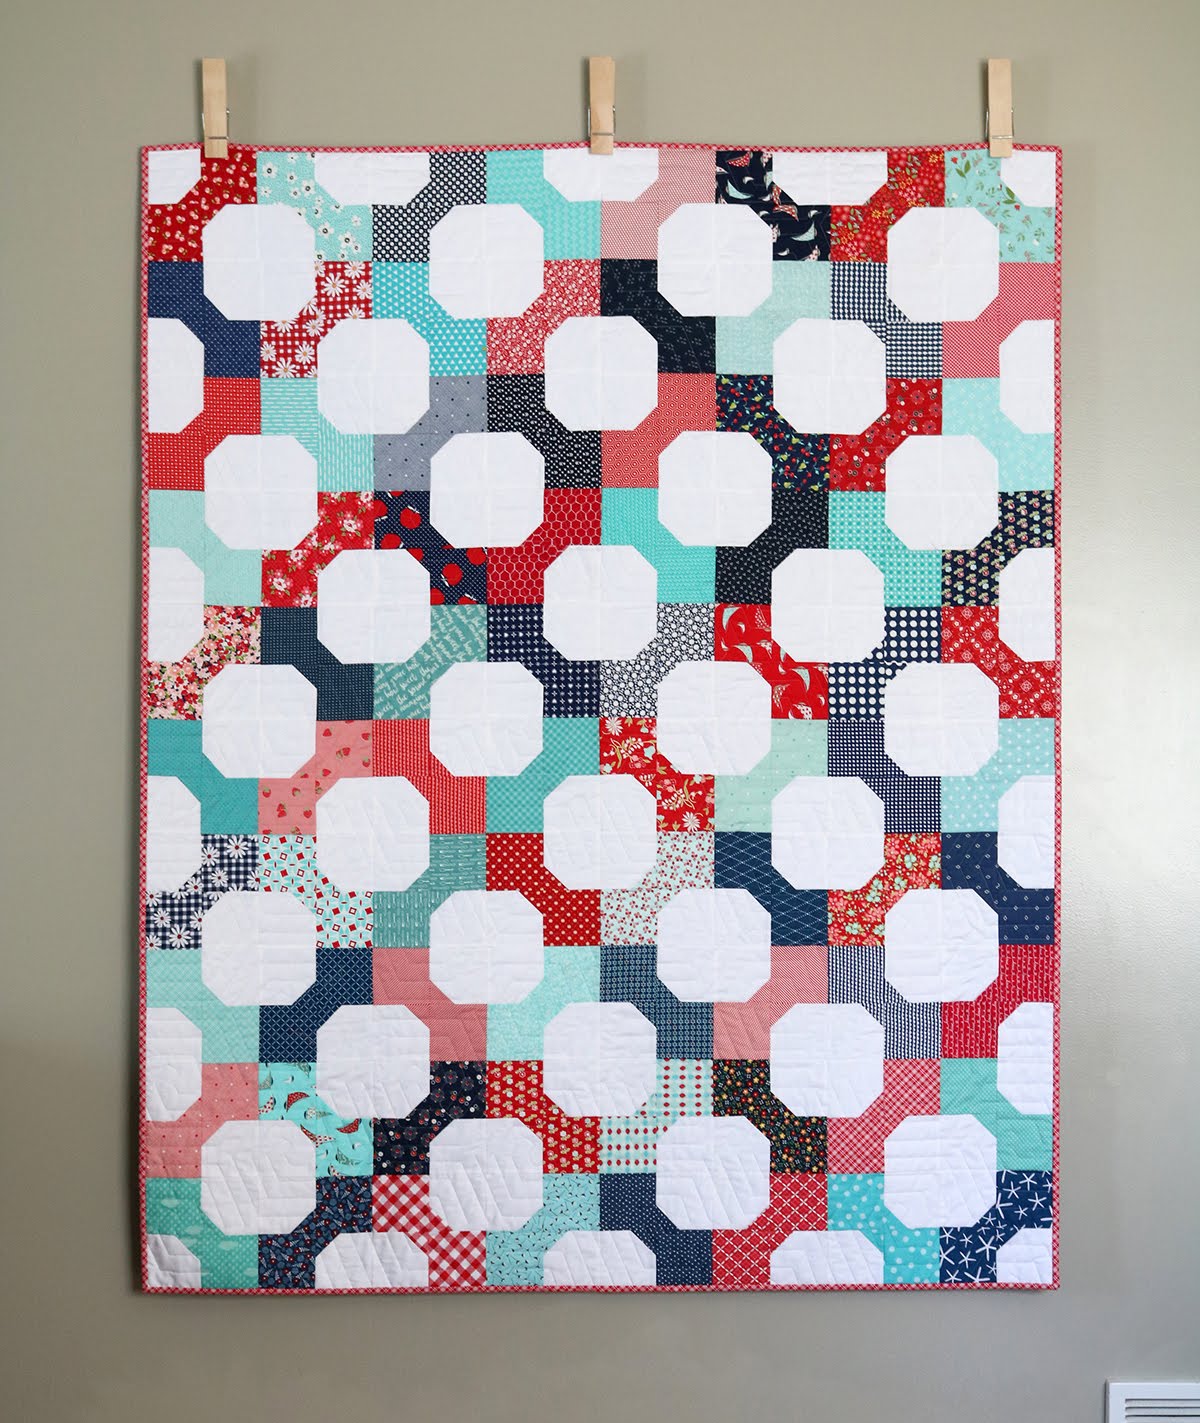
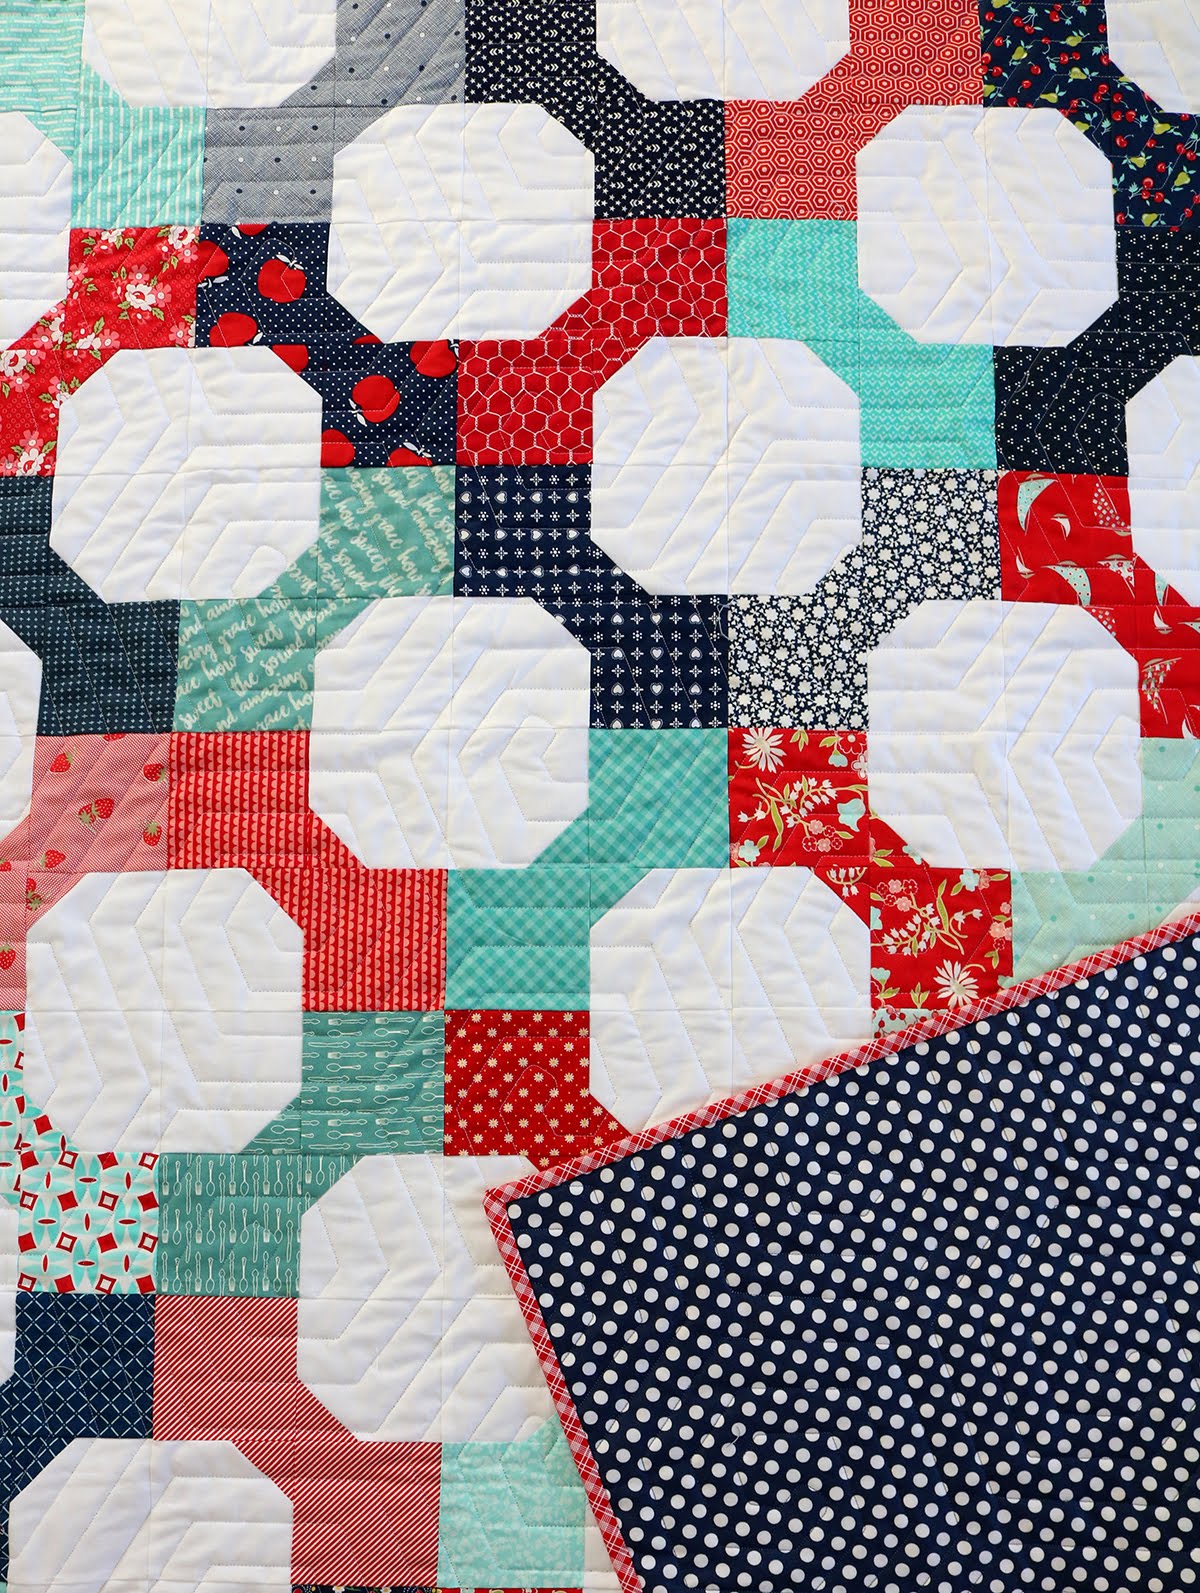
Bow Tie quilt tutorial from Andy of A Bright Corner - A fat quarter quilt that also makes a great scrap quilt project!

My original version of this quilt was made using some lovely Liberty prints and ever since then I've reeeaaallly wanted to re-make it in some summery, patriotic colors.  Right now I'm in love with the red/navy/aqua color combo.

Bow Tie quilt tutorial from Andy of A Bright Corner - A fat quarter quilt that also makes a great scrap quilt project!

The quit finishes at 56" x 70".  This time around I used fabrics from my stash and I tried not to repeat any prints - so it's got a fun and scrappy look to it.

It took longer to cut the fabrics this way, but the blocks stitch together quickly so it was still a pretty quick project.

Bow Tie quilt tutorial from Andy of A Bright Corner - A fat quarter quilt that also makes a great scrap quilt project!

You can find the original blog post and tutorial for this quilt here, and if you'd like a handy printable PDF pattern you can grab that here (for personal use only please!)

If you make a bow tie quilt from my tutorial I'd love to see it!  Tag me on Instagram (@abrightcorner) or Facebook and use the hashtag #abcbowties so we can all see what you create!

Bow Tie quilt tutorial from Andy of A Bright Corner - A fat quarter quilt that also makes a great scrap quilt project!

Quilt Details:
56" x 70"
Pattern:  Ties to Liberty Bow Tie Quilt Pattern
Fabric:  Scraps from my stash
Quilting:  Honeycomb edge to edge computerized design


Wednesday, May 9, 2018

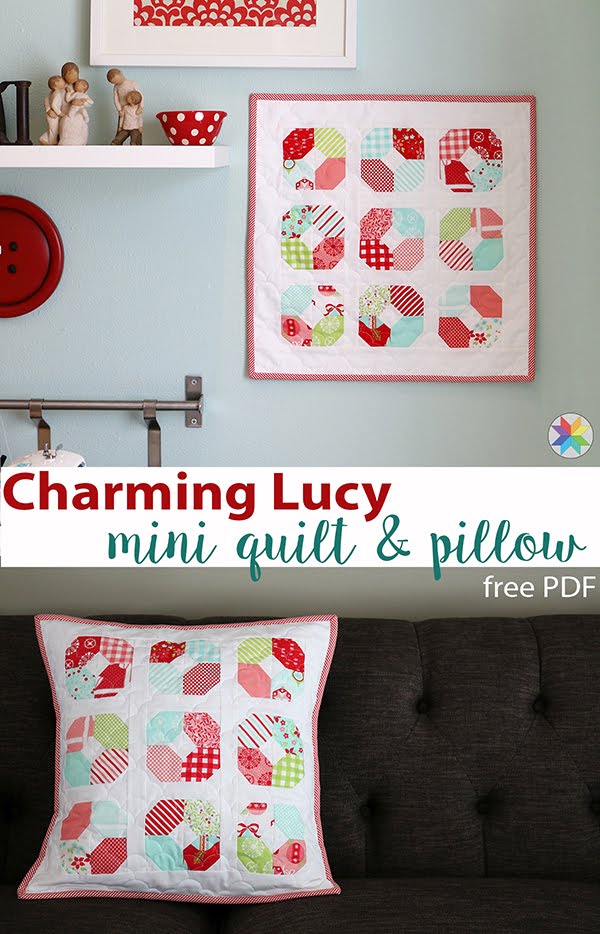
Charming Lucy Mini Quilt + Pillow

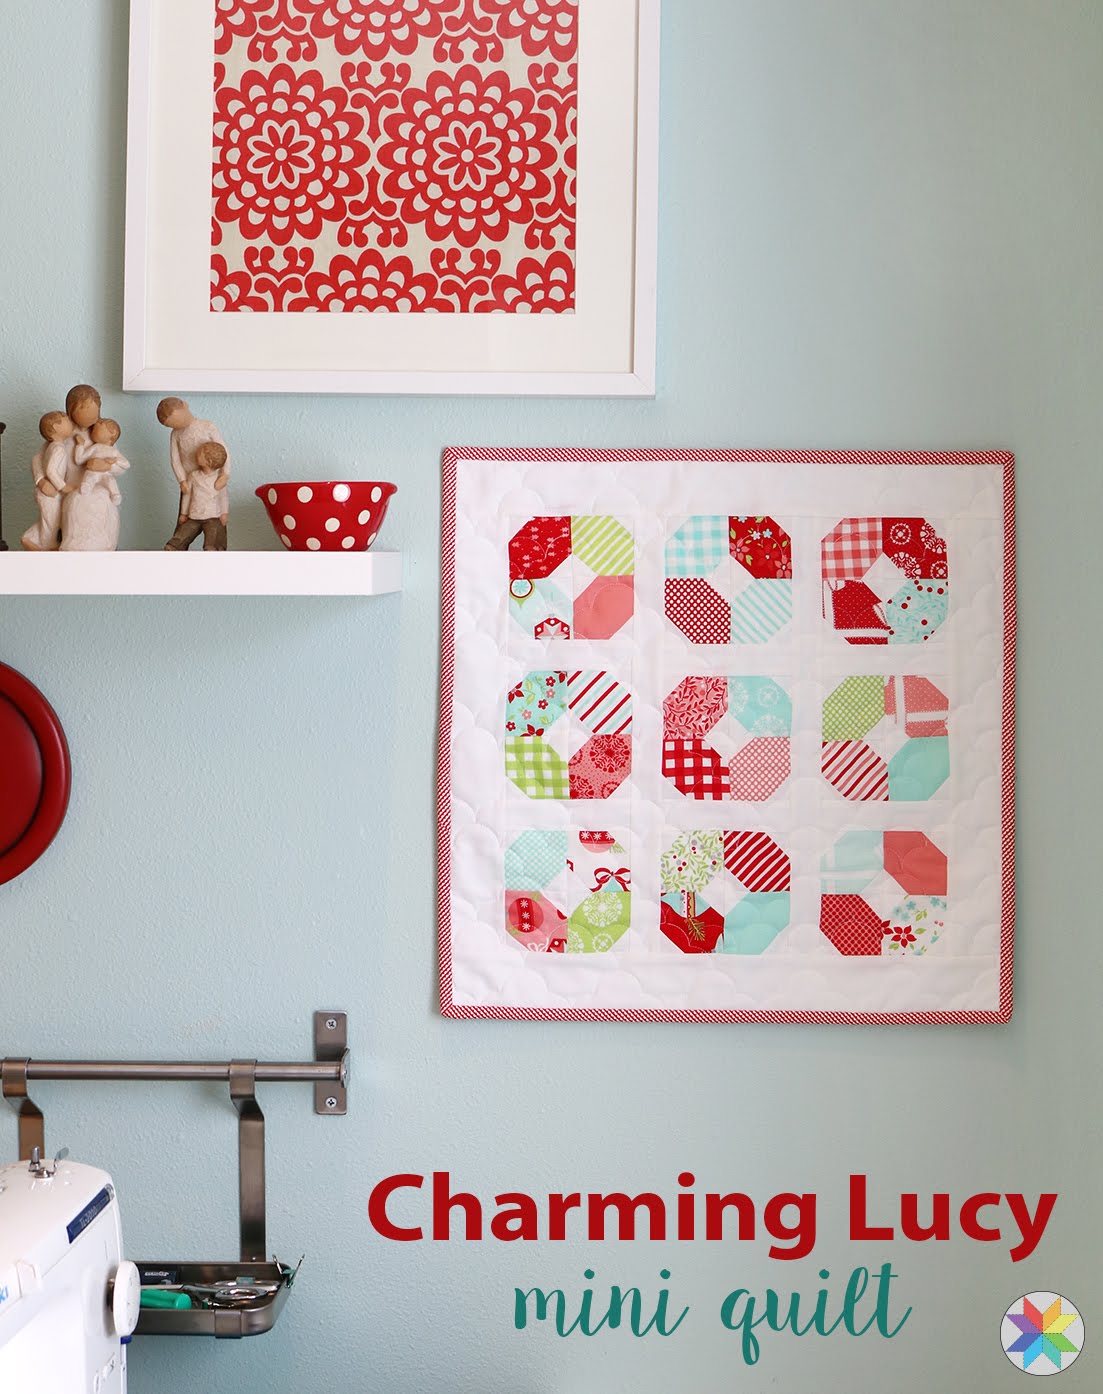
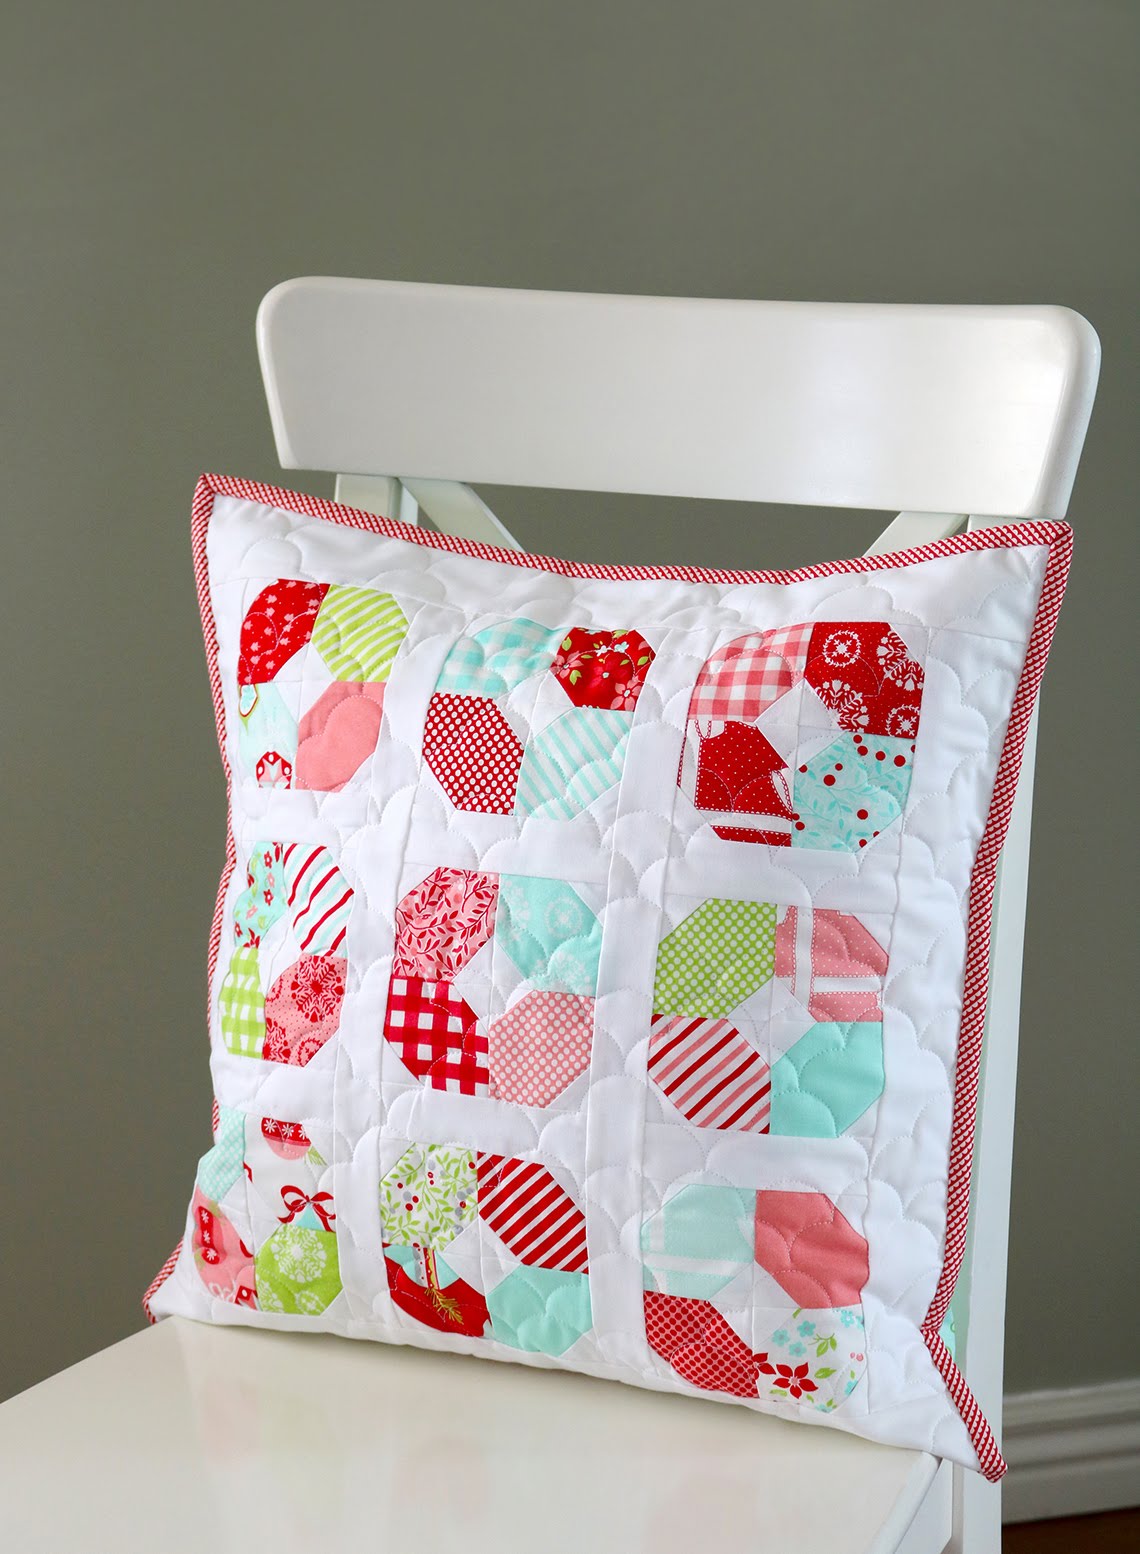
Hey everyone!  I have a fun little project to share with you today, and I've created a handy PDF download for it as well. 

Remember when I shared my Charming Lucy baby quilt pattern?  Well ever since then I've wanted to try making a mini quilt version!

Charming Lucy mini quilt or pillow free PDF pattern from Andy of A Bright Corner--- A great idea for using those mini charm packs!

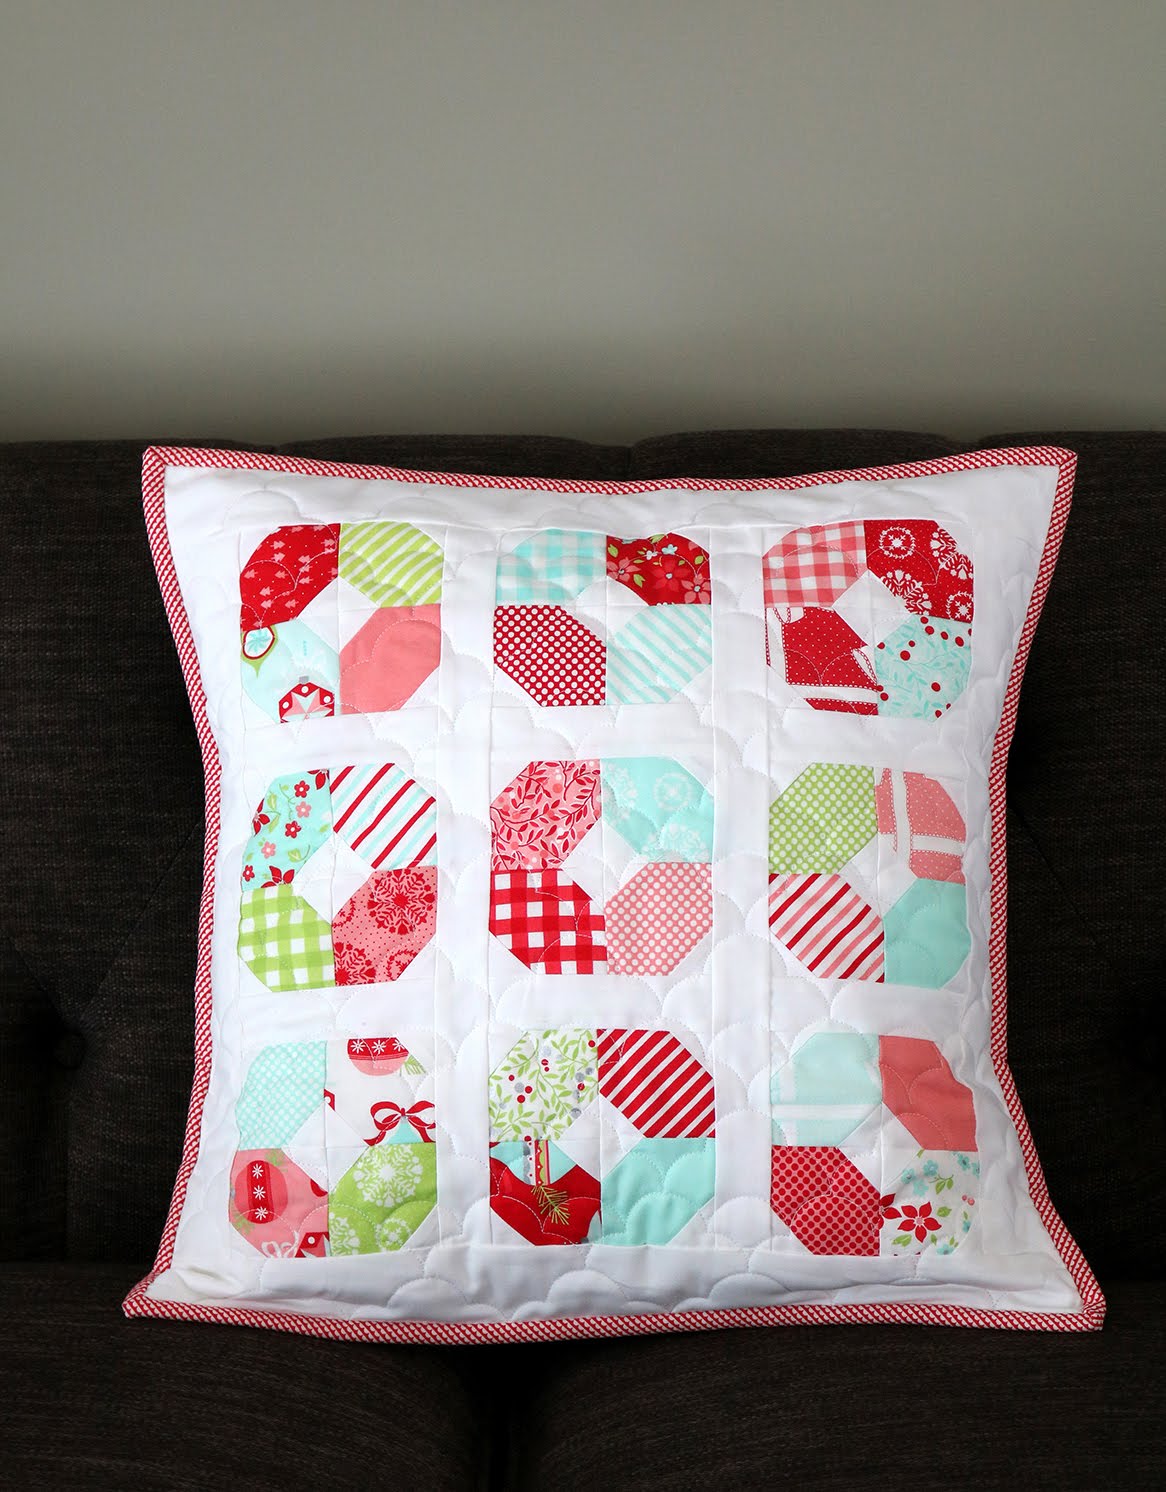
The original Charming Lucy uses a charm pack (5" squares), so for this mini I wanted to figure out a way to use a mini charm pack (2.5" squares.)  It turns out that one mini charm pack plus a little background and backing will make an 18" mini quilt or pillow. 

Since I didn't really want to keep a Christmas mini quilt up on my wall year 'round, I decided to make mine into a pillow.  And I've added the instructions for the pillow into the PDF pattern to give you that option as well!

Charming Lucy mini quilt or pillow free PDF pattern from Andy of A Bright Corner--- A great idea for using those mini charm packs!

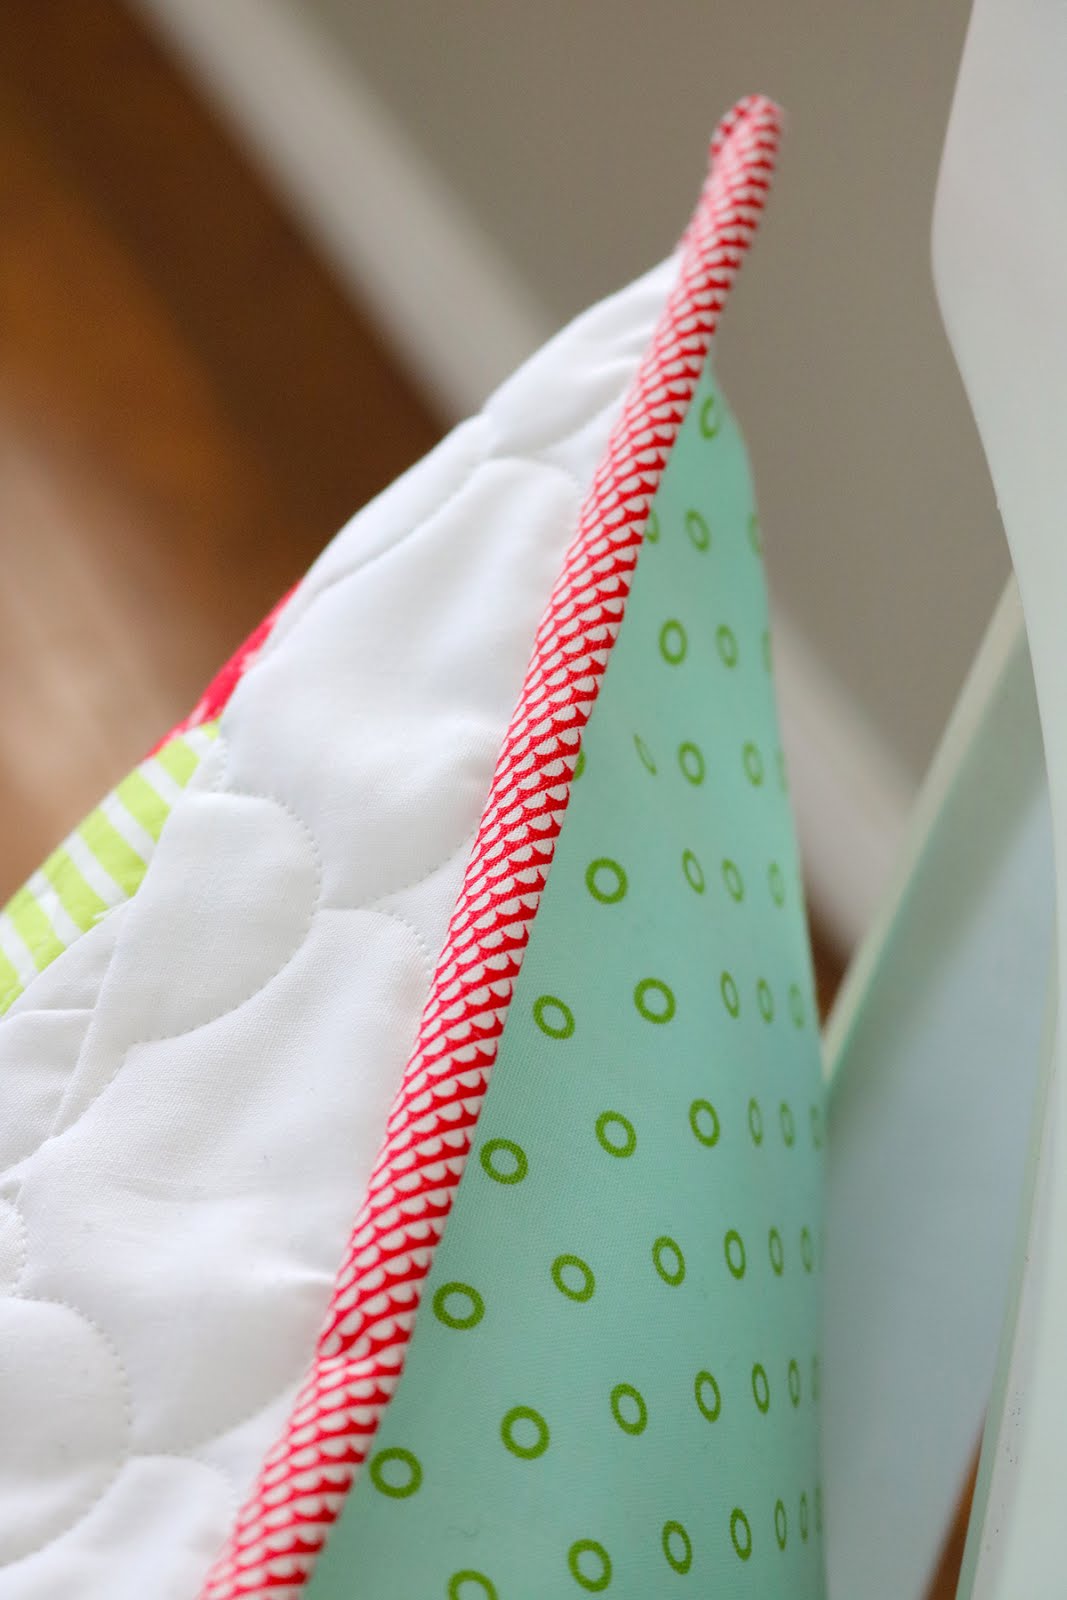
The pillow has an envelope backing (speedy!) with binding on the edges.  I just love adding binding to my pillows.  It frames them up so nicely, don't you think?  Plus it just gives one more opportunity to add some color! 

Charming Lucy mini quilt or pillow free PDF pattern from Andy of A Bright Corner--- A great idea for using those mini charm packs!

One thing I've started doing with my mini quilts and pillows recently was to make the outer border slightly larger than needed.  Then after it's quilted I trim it down to size.  Sometimes I find that in the quilting process things can shift a little, and with small projects like this, every 1/4" counts!  The extra border space gives me just a little bit of wiggle room and helps to create a nicer finished project.

Charming Lucy mini quilt or pillow free PDF pattern from Andy of A Bright Corner--- A great idea for using those mini charm packs!

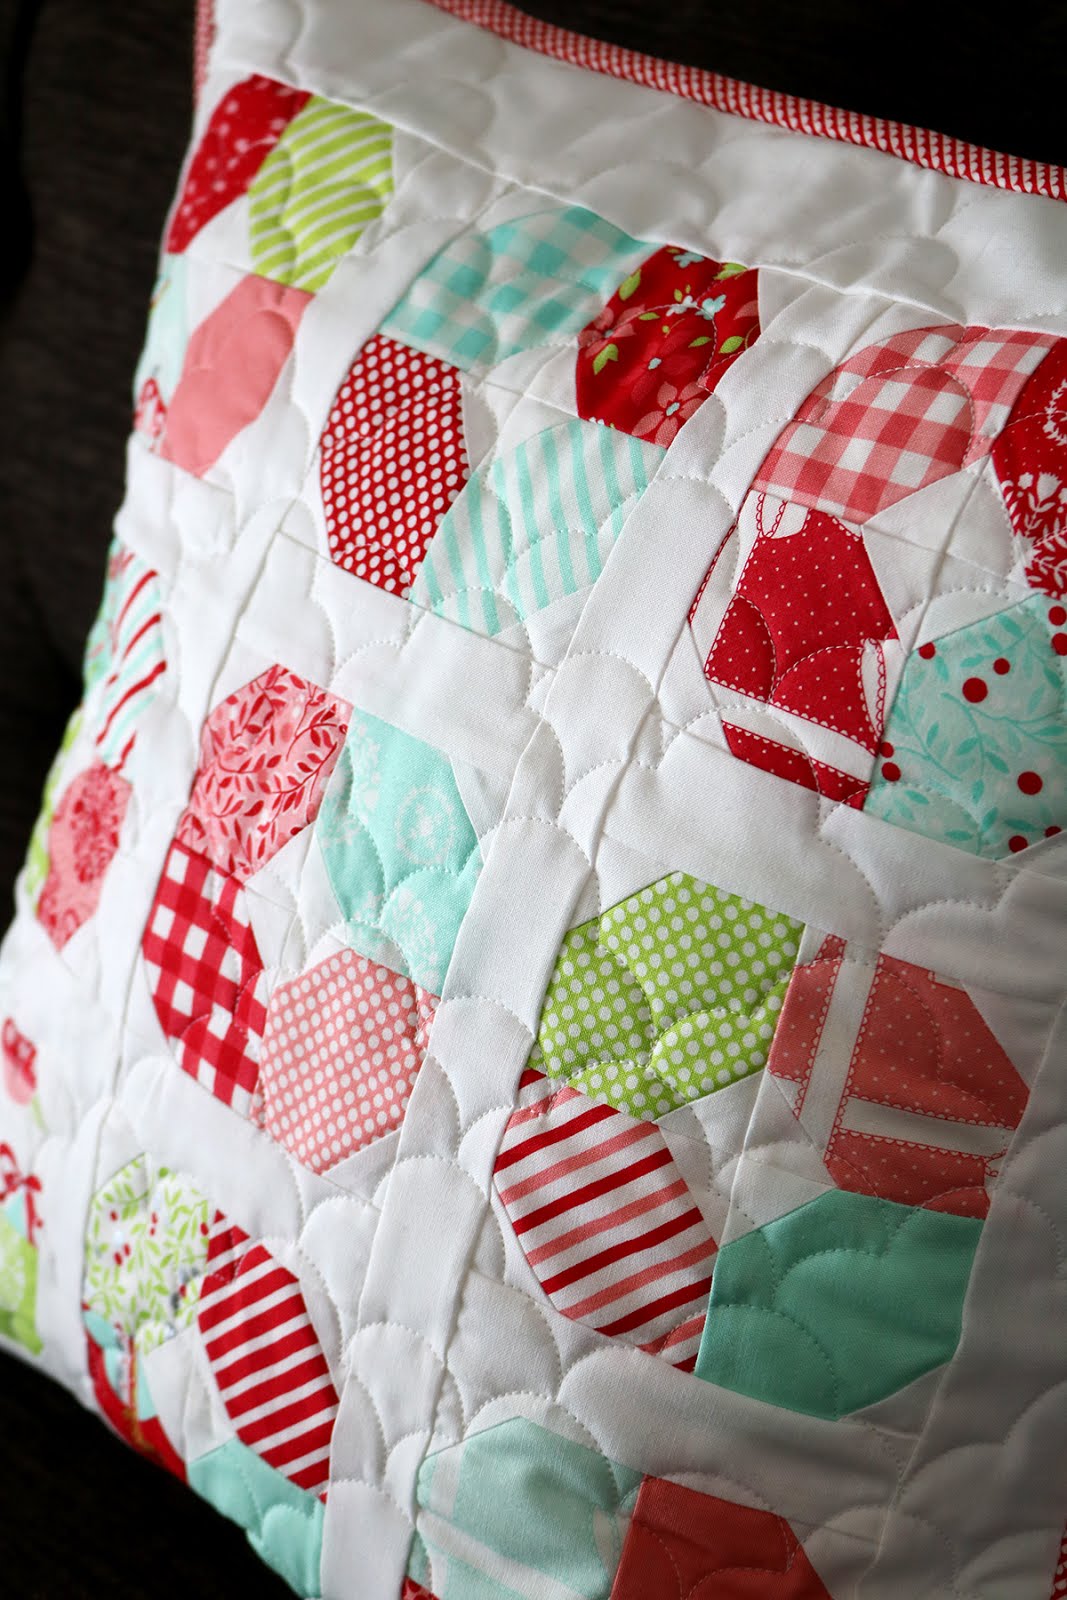
For my pillow I used a mini charm pack of Vintage Holiday fabrics by Bonnie & Camille for Moda Fabrics.  

If you're wanting a non-Christmas version, you can see other fun mini charm packs here from the Fat Quarter Shop.

Charming Lucy mini quilt or pillow free PDF pattern from Andy of A Bright Corner--- A great idea for using those mini charm packs!

Before you go, be sure to grab the free PDF pattern here. The pattern is available as a free download for all A Bright Corner newsletter subscribers. 

If you make a Charming Lucy mini quilt or pillow I'd love to see it!  Tag me on Instagram (@abrightcorner) or Facebook, and be sure to use the hashtags #charminglucymini and #abrightcornerpatterns. 

Happy sewing!
--Andy

Charming Lucy mini quilt or pillow free PDF pattern from Andy of A Bright Corner--- A great idea for using those mini charm packs!


**This post may contain affiliate links, which means I may receive a small commission (at no additional cost to you) when purchases are made through links found in this post.
Wednesday, April 25, 2018

Kits for Lofty

Hey there - just stopping in for a minute to let you know that there are kits available for Lofty! 

Lofty quilt pattern by Andy of A Bright Corner - crib size fat quarter quilt

Olie and Evie online quilt shop has created kits for the crib size of Lofty and has them listed here.

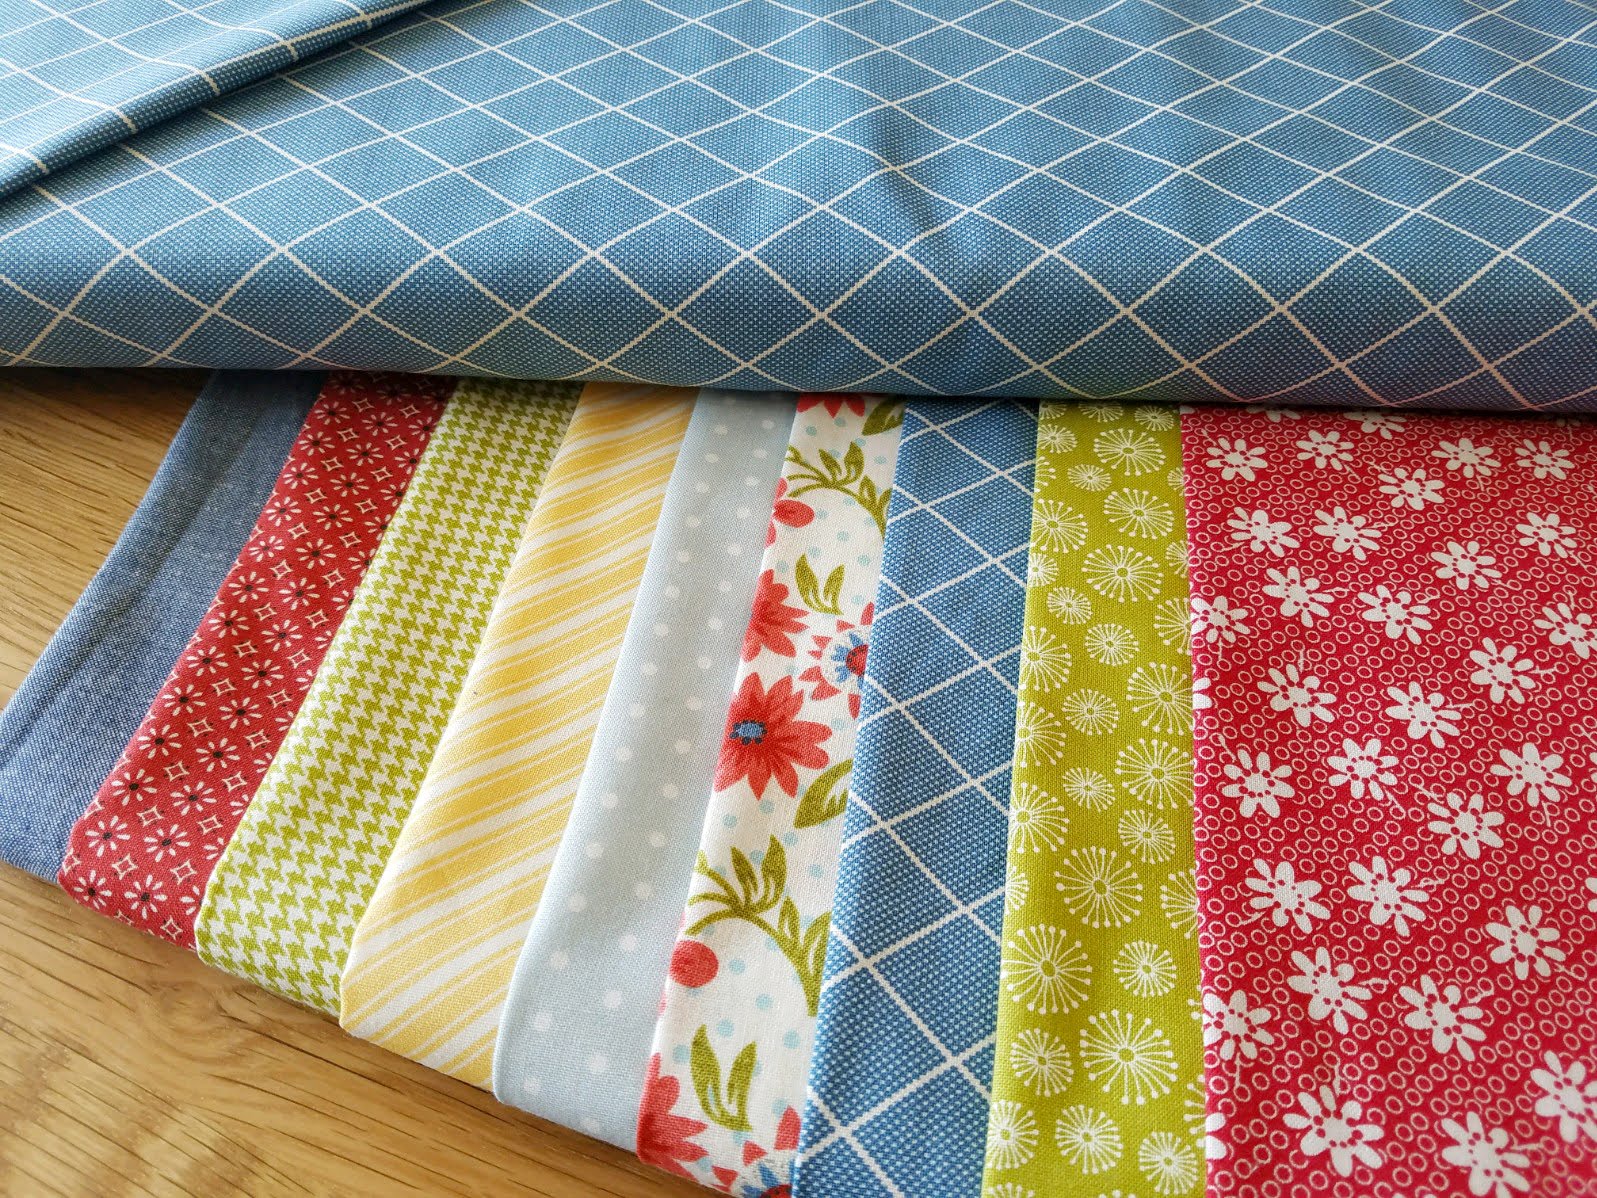
It's a great bundle of fabrics - from 8 different Moda fabric lines, 5 different designers -- but yet they all play so well together don't you think? 

Lofty quilt kits from Olie and Evie for the Lofty quilt pattern from A Bright Corner - love this bundle of fabrics

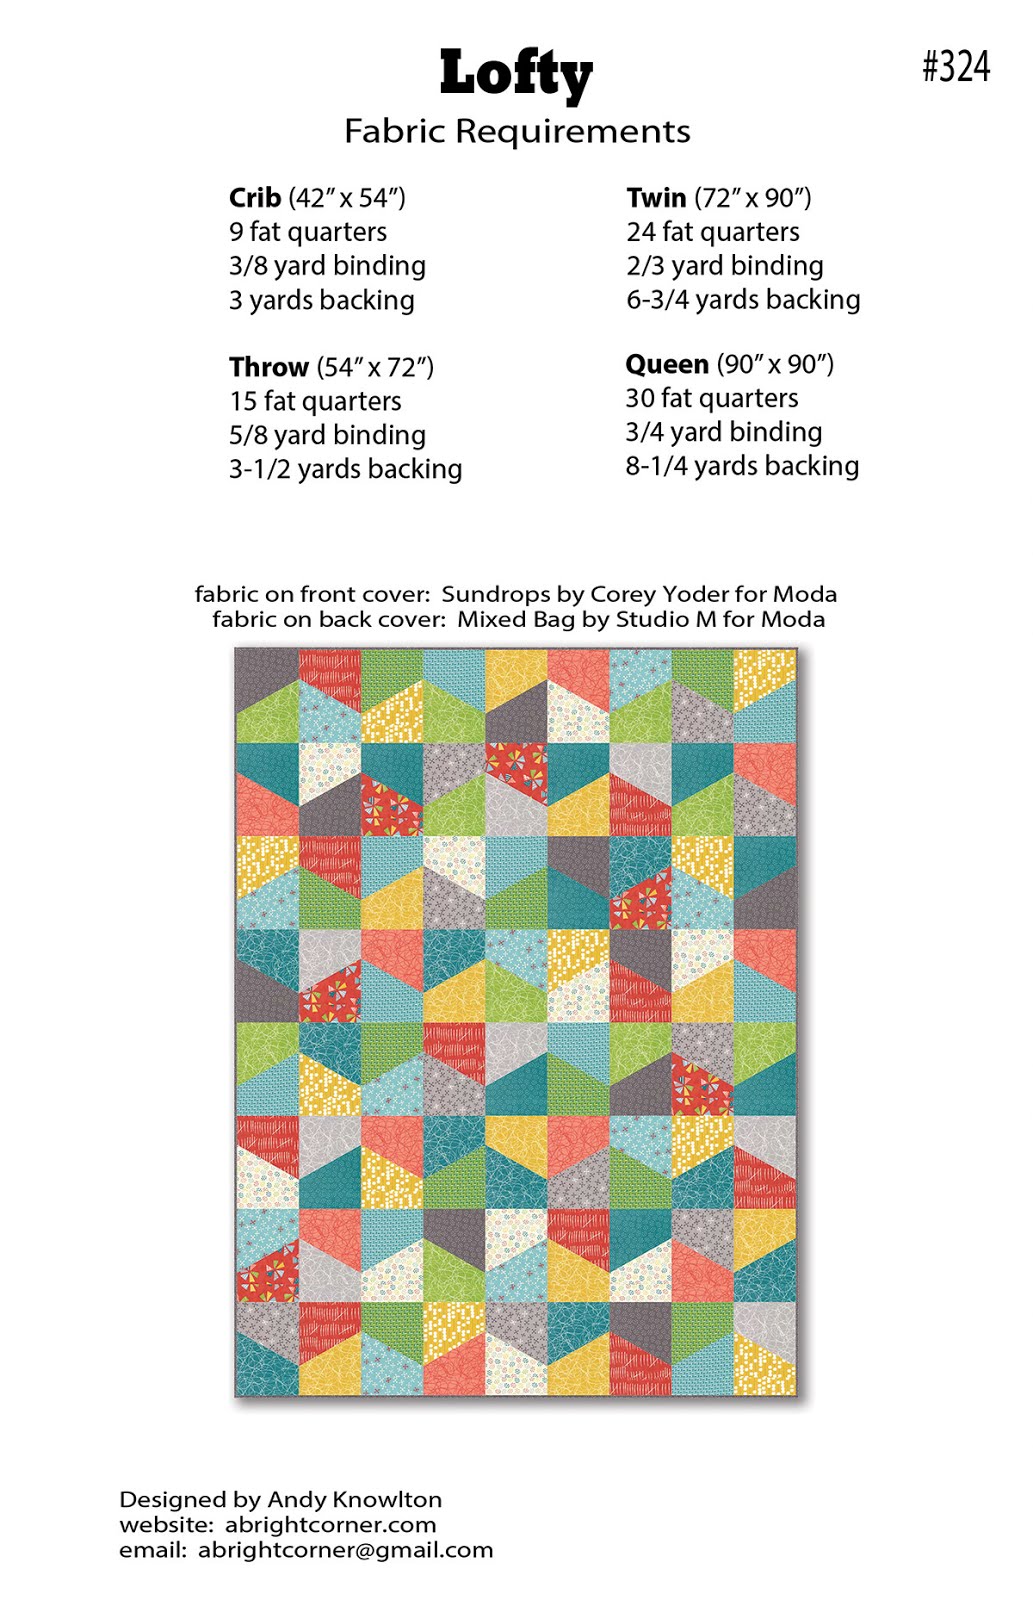
The kit includes the fat quarters, binding and quilt pattern needed to make this crib quilt measuring 42" x 54".  And if you wanted to make a larger size let her know and I'm sure she'd be happy to add some fat quarters to your order to make the throw size!  (crib size needs 9 FQ, throw needs 15 FQ)


Lofty quilt pattern by Andy of A Bright Corner - A fat quarter quilt in four sizes


She will also be listing kits for Lofty using the new Nest fabrics (by Lella Boutique) soon - that would make a gorgeous quilt!

And if you already have some fat quarters in your stash that you'd like to use, you can grab the Lofty pattern here!

Happy quilting!
--Andy


Tuesday, April 24, 2018

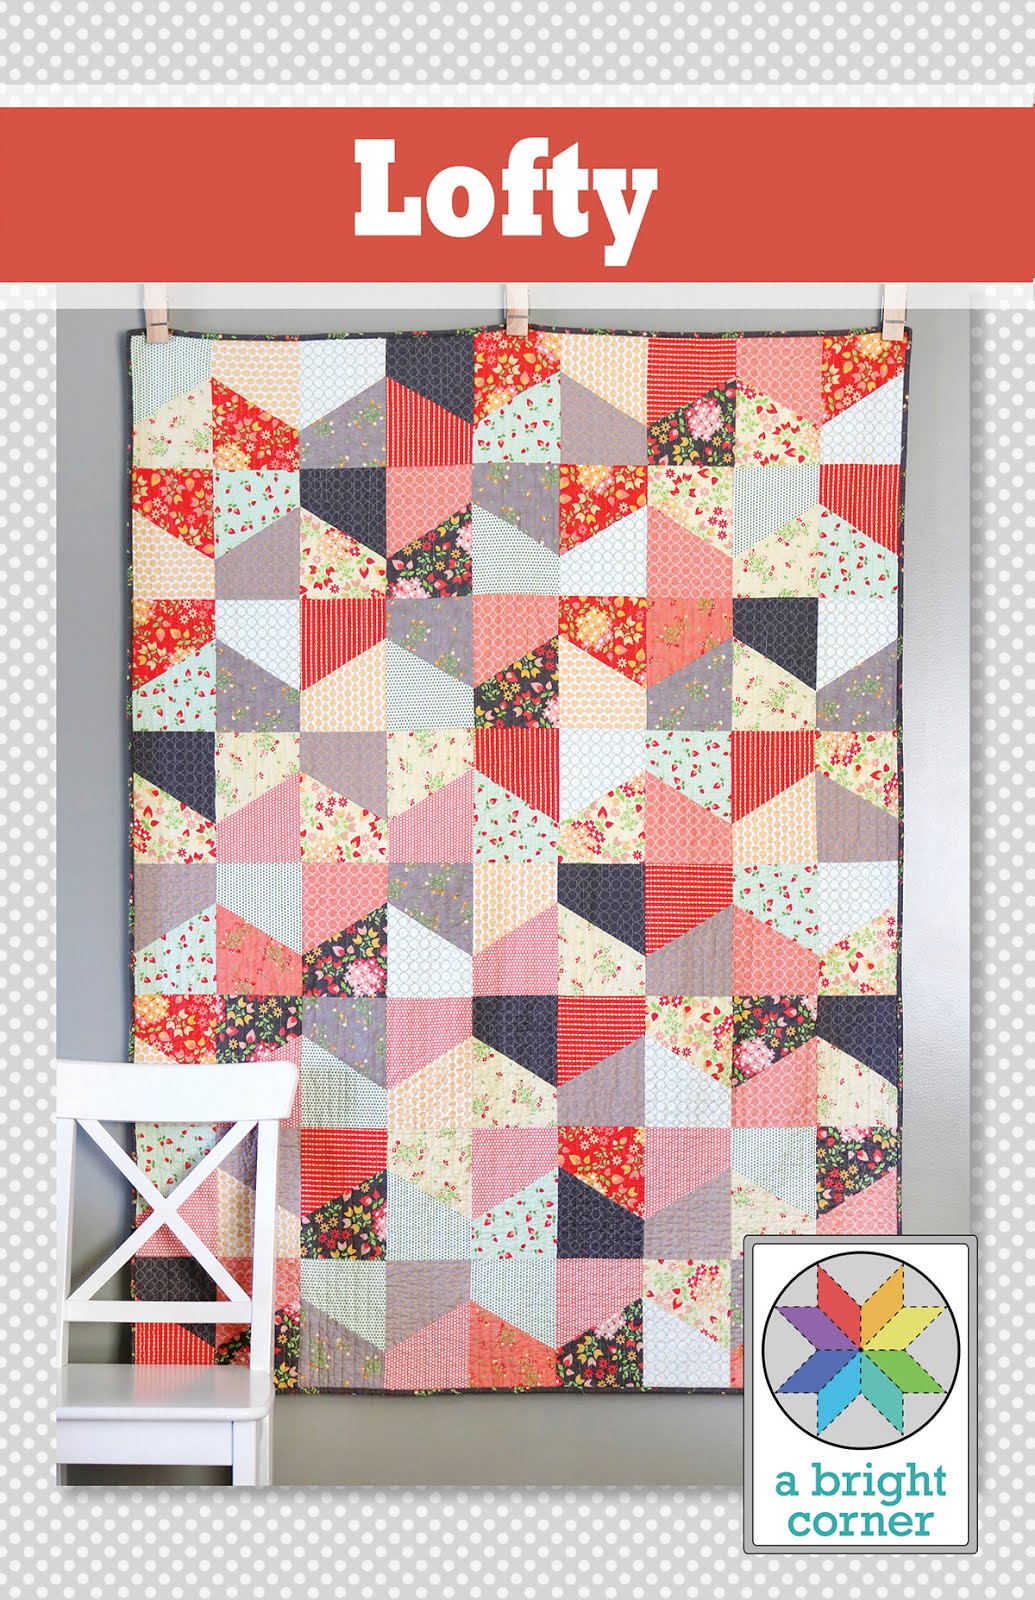
Lofty - A New Quilt Pattern!

I've been looking forward to this blog post for a couple of weeks now -   I have a new quilt pattern in my shop and I get to share it with you today!  And it's my new favorite.  Can I say that?  Or is that like admitting you have a favorite child?  :)

*Updated 2023: The Lofty pattern now includes more fabric options! You can use fat quarters, fat eighths, Layer Cake squares, or 1/3 yard cuts of yardage. Find the updated full-color, booklet style pattern here. 

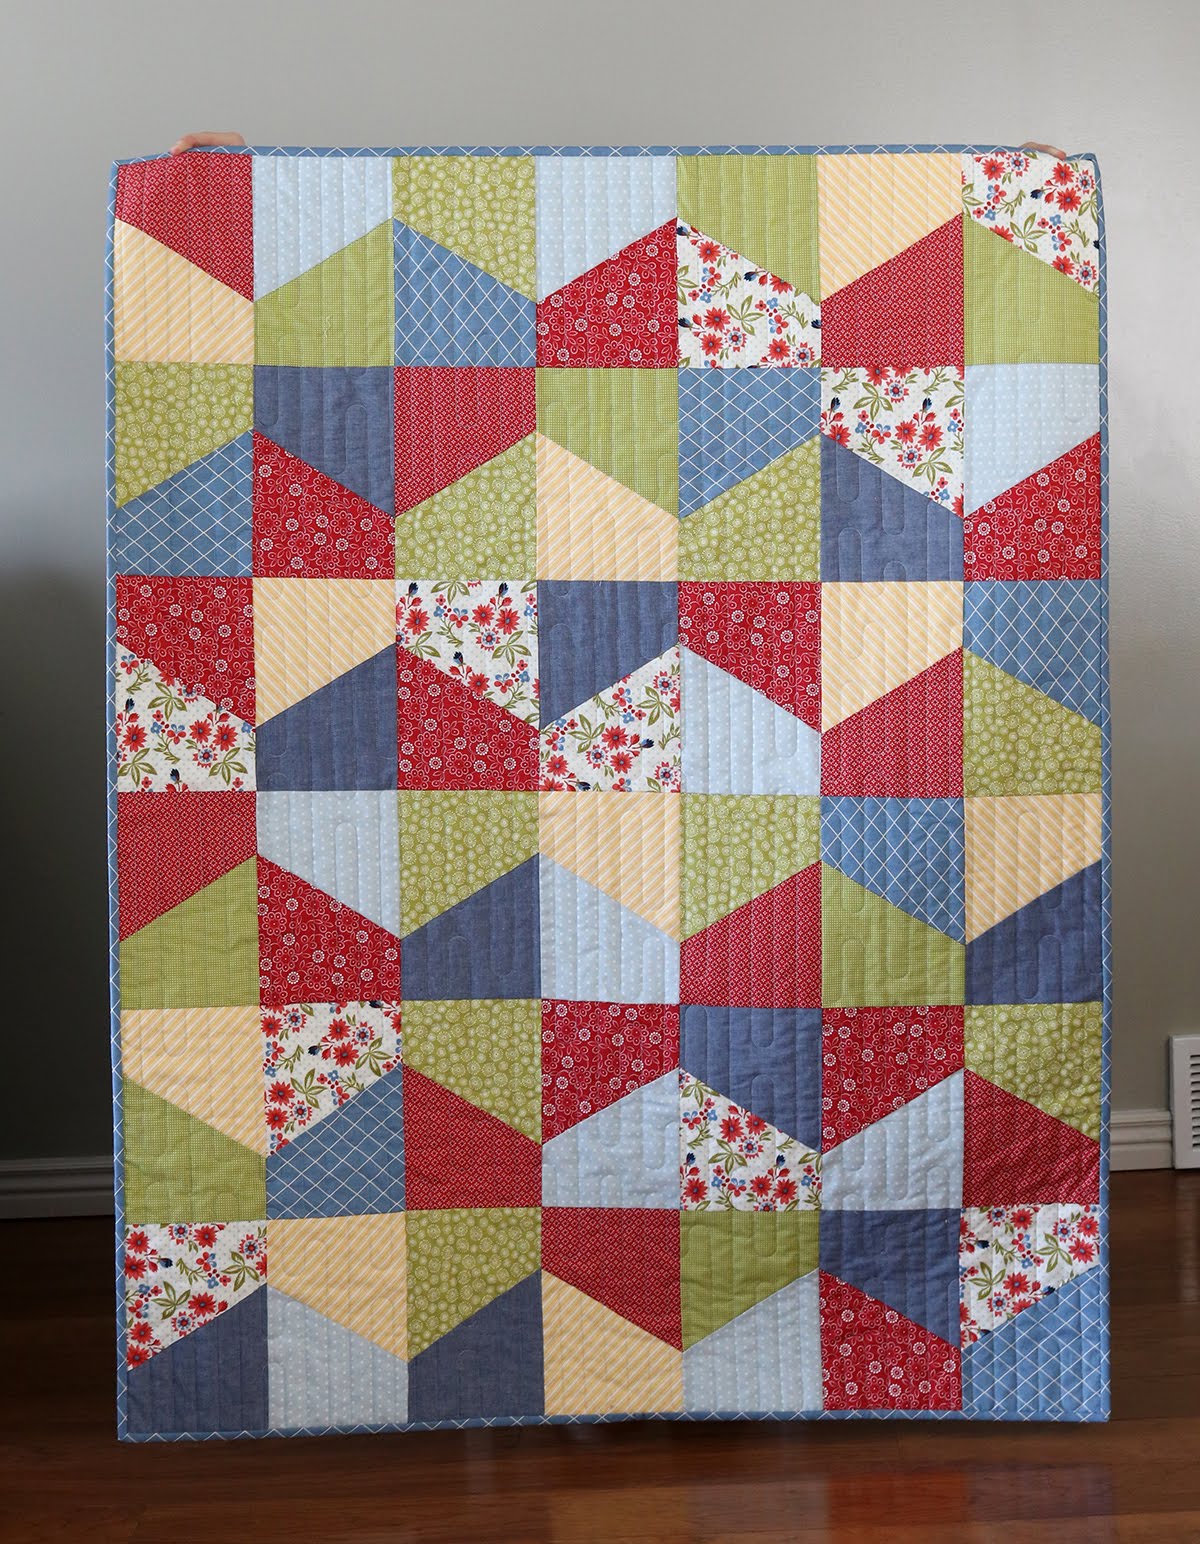
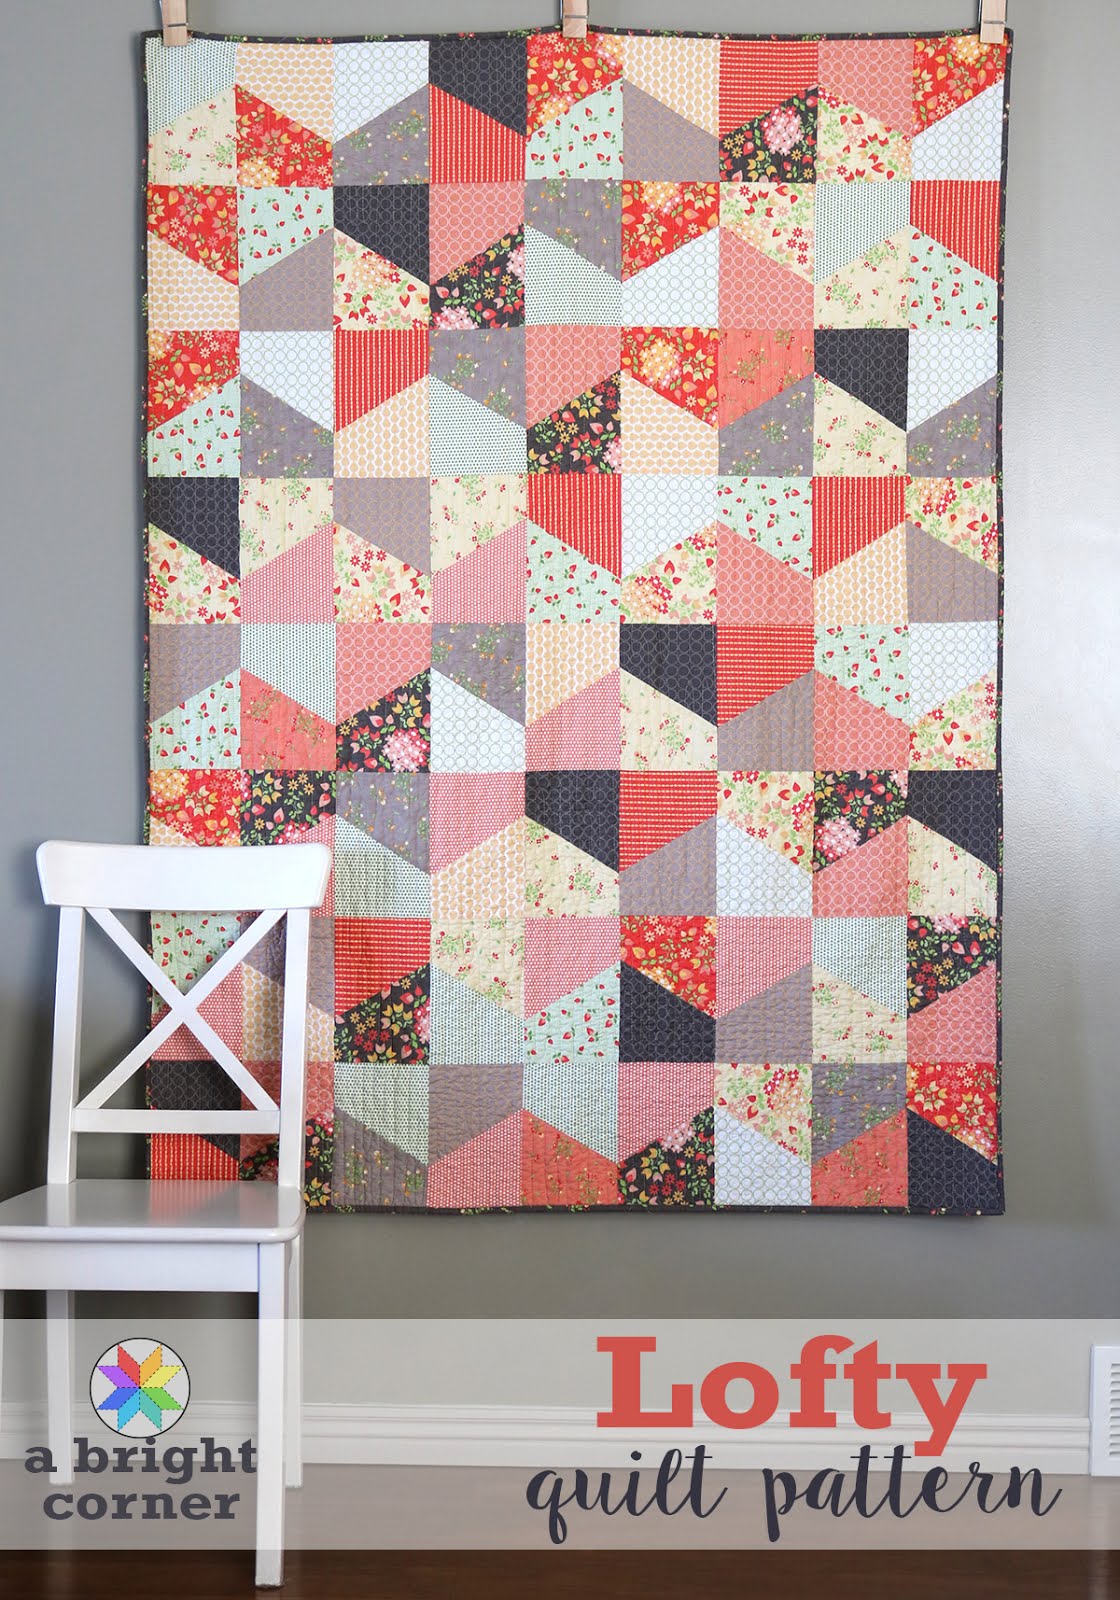
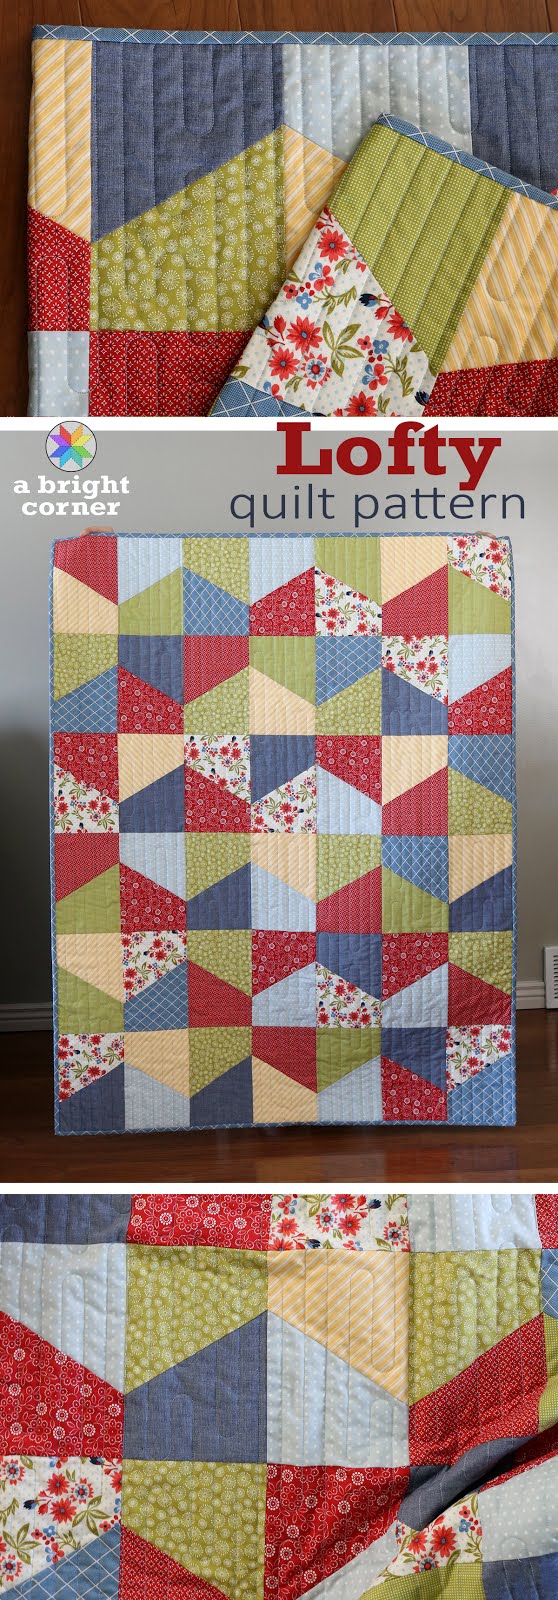
Lofty quilt pattern from Andy of A Bright Corner.  A fat quarter friendly pattern in four sizes!

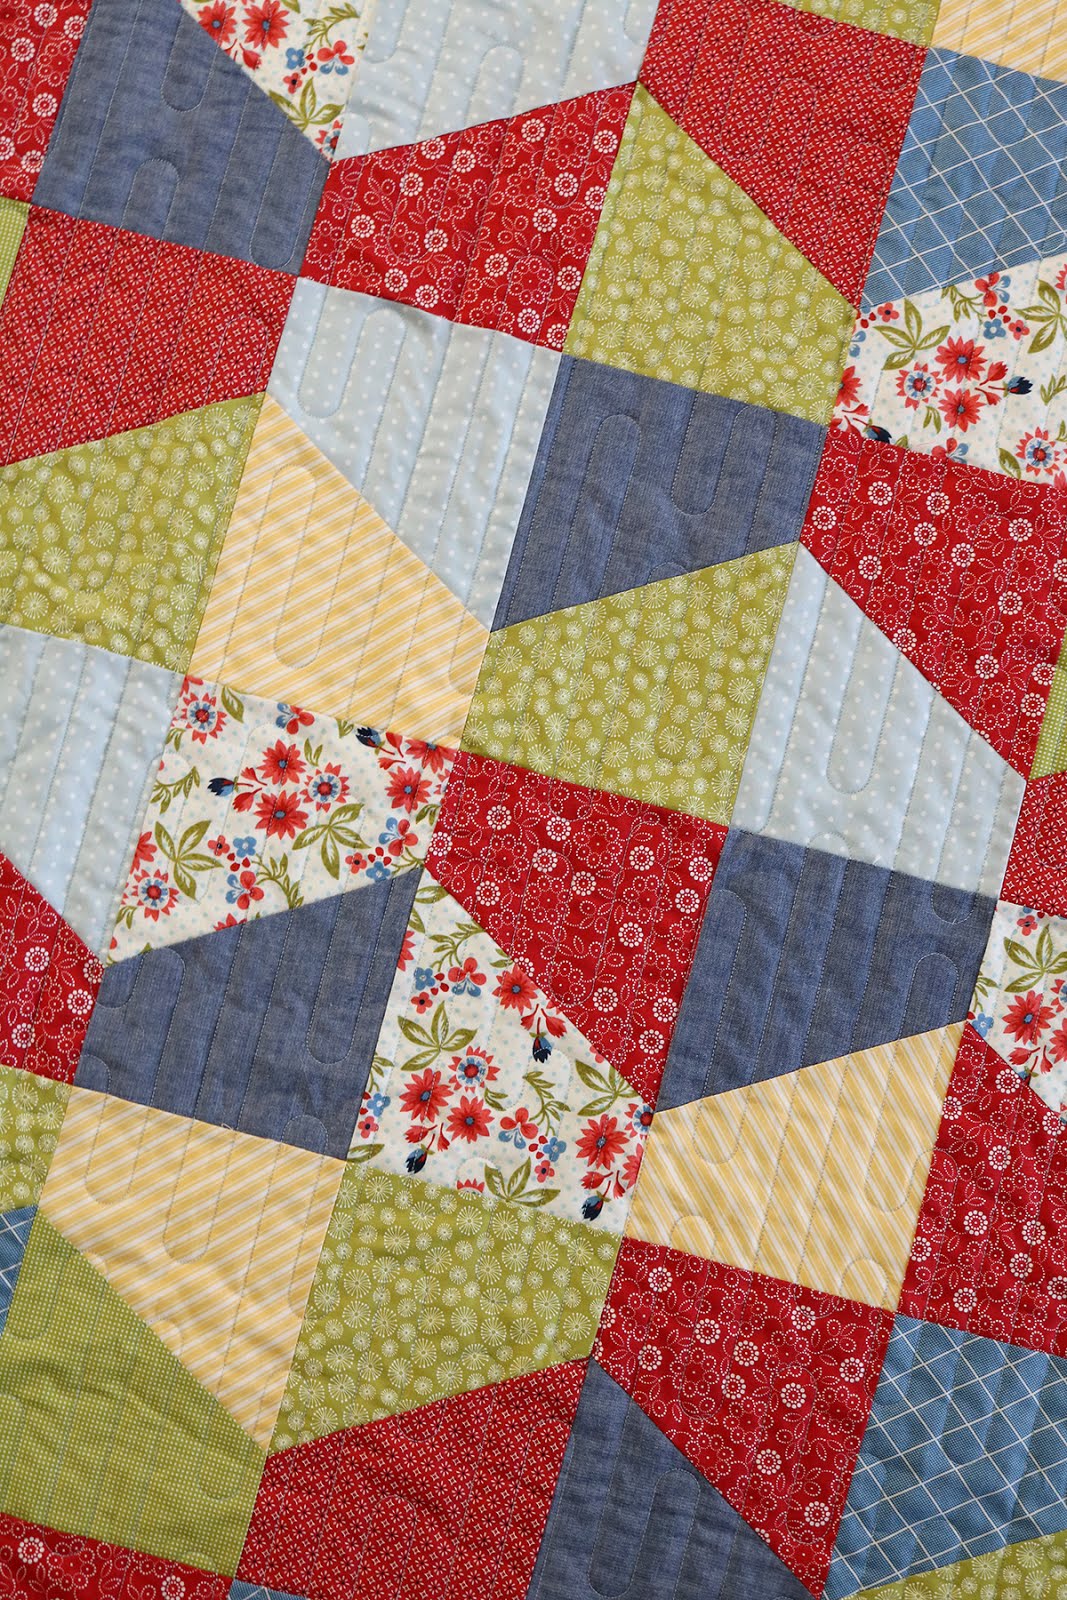
Lofty is a fat quarter quilt pattern (my current favorite precut) that uses some fun angles to create a unique look.  But don't worry....no special rulers are needed!  Just a regular ol' straight ruler and a cutting mat.  

Lofty quilt pattern from Andy of A Bright Corner.  A fat quarter friendly pattern in four sizes!

This quilt pattern makes a colorful, easy quilt -  you'll only need to grab some fat quarters, binding and backing.  No background or accent fabrics needed!  Makes choosing fabrics a bit easier, doesn't it?


Lofty quilt pattern from Andy of A Bright Corner.  A fat quarter friendly pattern in four sizes!

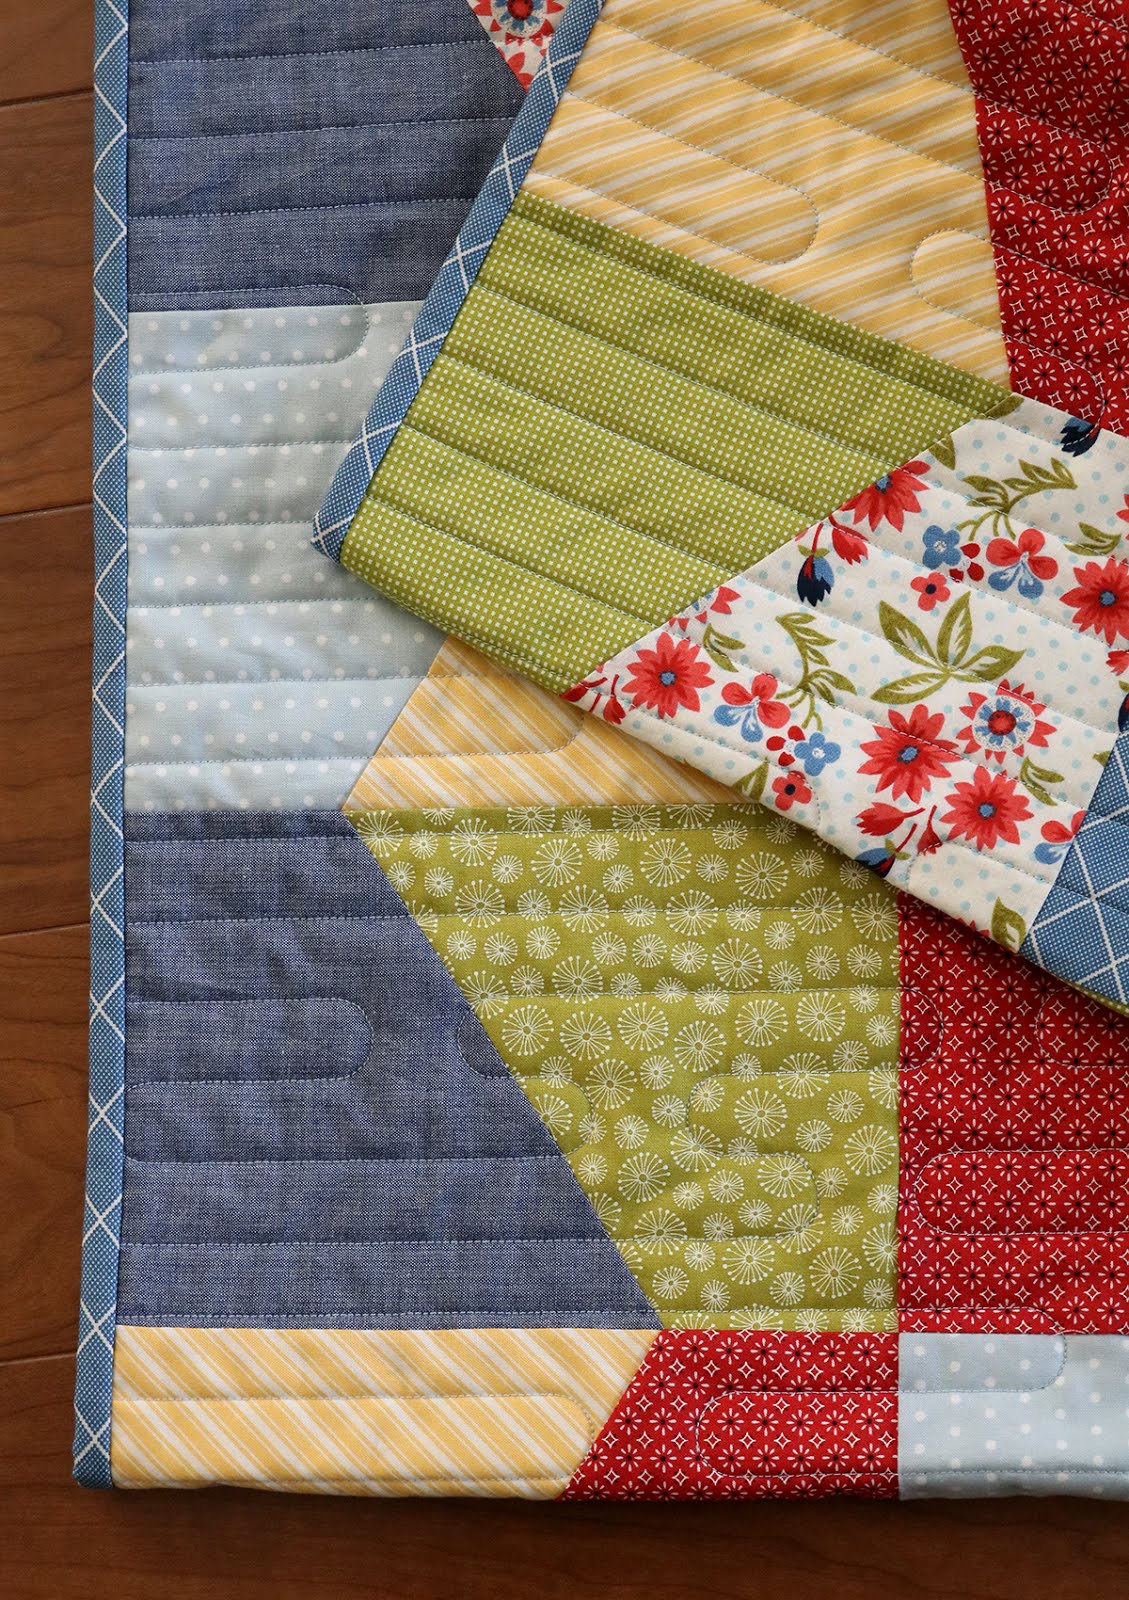
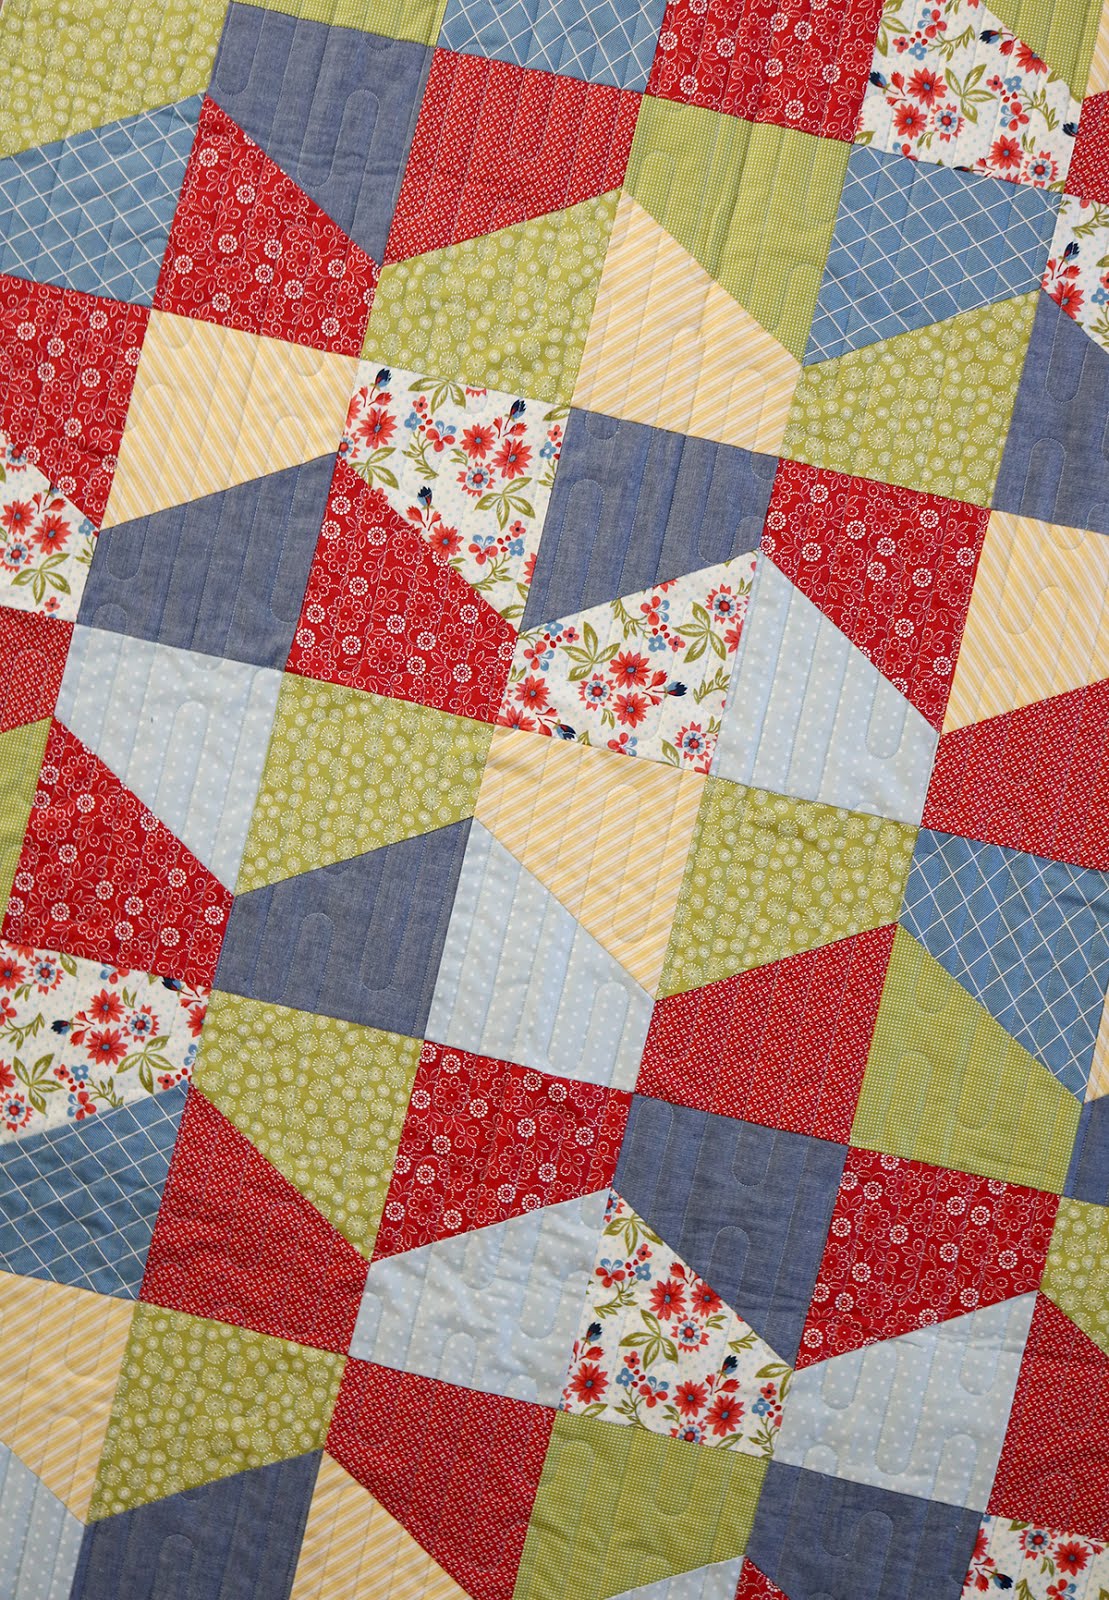
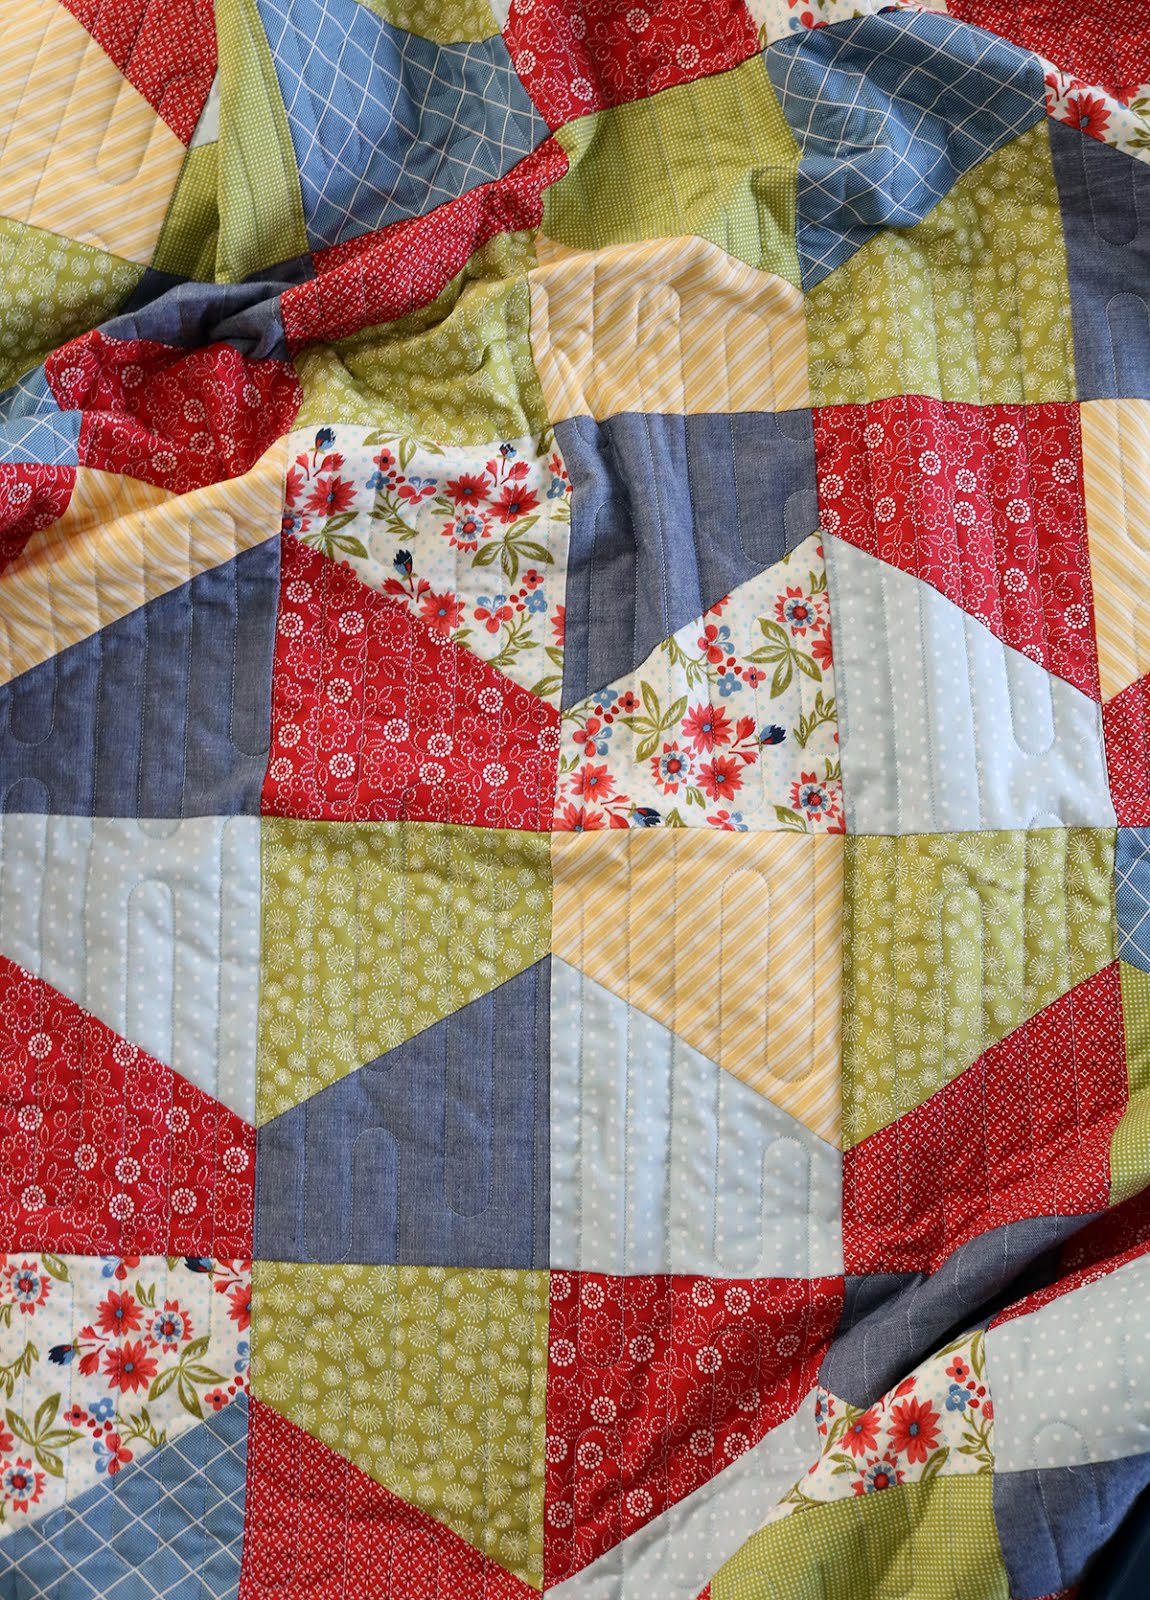
As with most of my patterns, Lofty includes instructions for four sizes of quilts:  crib, throw, twin, and queen.  This one in the photo below is the crib size (42" x 54") and the quilt on the pattern cover is the throw size (54" x 72").

Lofty quilt pattern from Andy of A Bright Corner.  A fat quarter friendly pattern in four sizes!

I have both PDF and paper versions of the pattern available and both are ready to ship now!  I'm more of a paper patterns kind of girl, but I do so love the convenience (and instant gratification) of buying a PDF pattern and being able to download it immediately - and then be sewing within minutes!  

Lofty quilt pattern from Andy of A Bright Corner.  Fat quarter friendly pattern in four sizes!


If you make a Lofty quilt I'd love to see it!  Be sure to use the hashtags #loftyquiltpattern and #abrightcornerpatterns so we can all see what you create.  

Lofty quilt pattern from Andy of A Bright Corner.  Fat quarter friendly pattern in four sizes!

Lofty quilt pattern from Andy of A Bright Corner.  Fat quarter friendly pattern in four sizes!


Lofty quilt pattern from Andy of A Bright Corner.  A fat quarter friendly pattern in four sizes!

Tuesday, April 10, 2018

Sunnyside Ave Fabrics + Playground Quilt Tutorial

**This post may contain affiliate links, which means I may receive a small commission (at no additional cost to you) when purchases are made through links found in this post.  

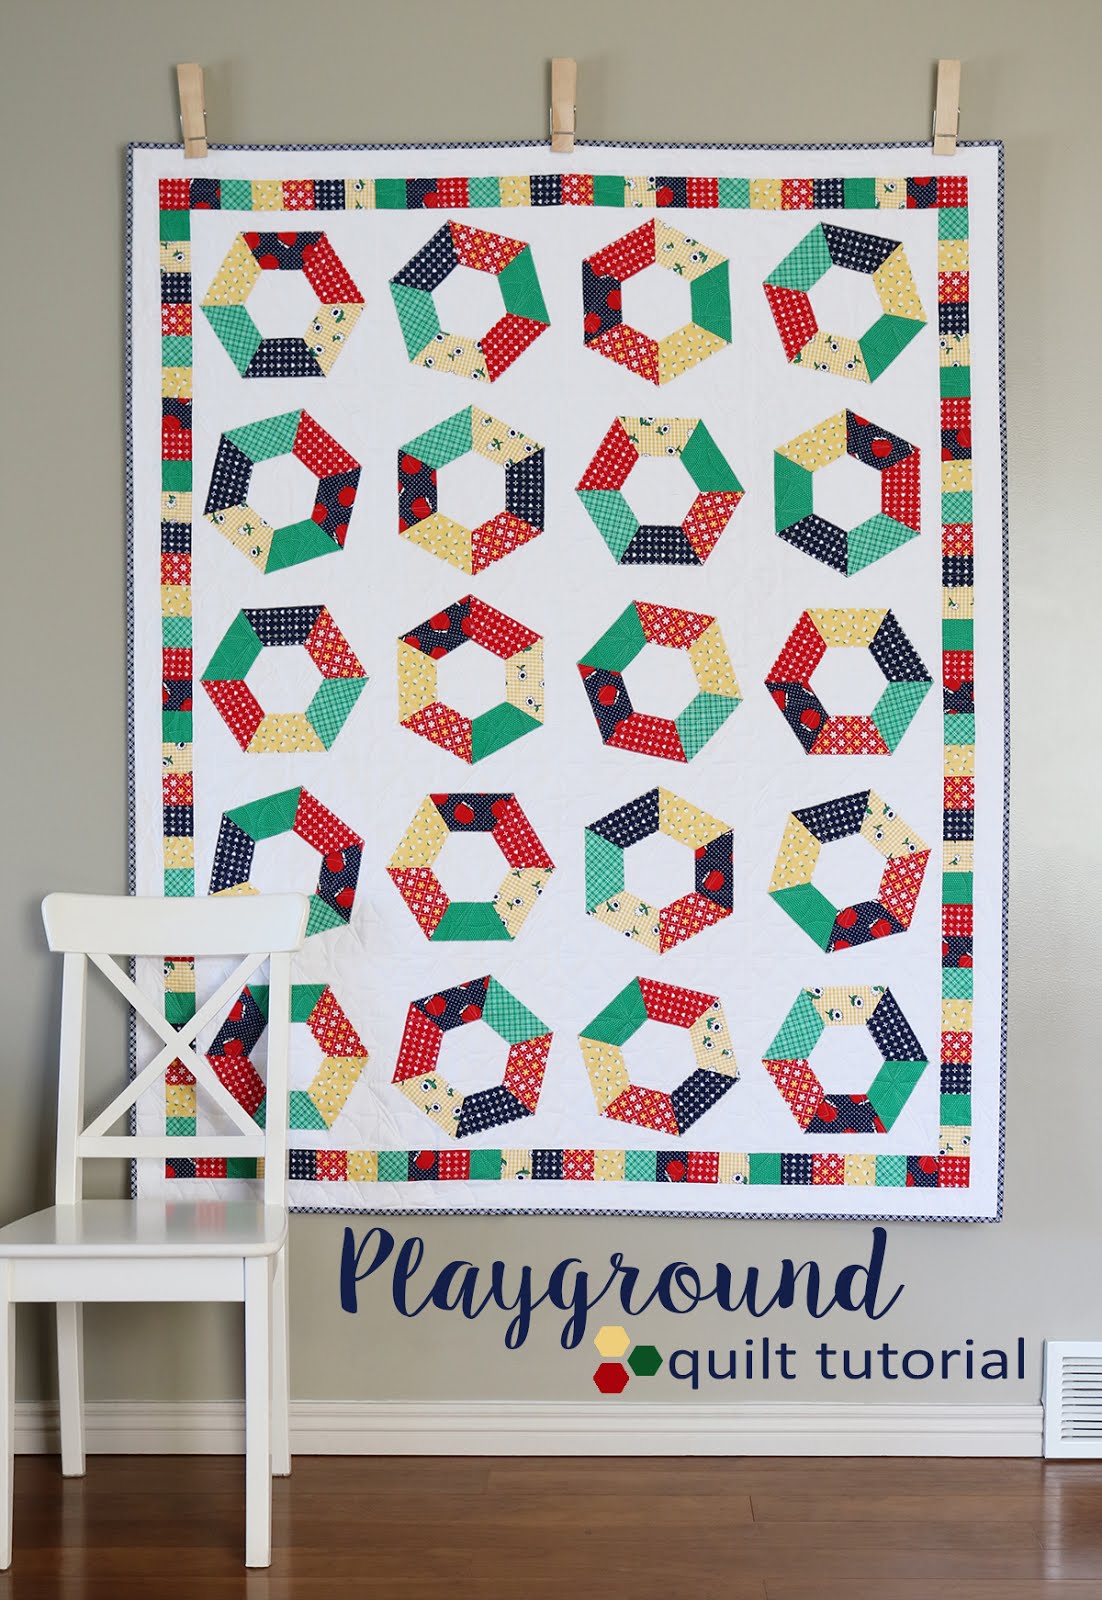
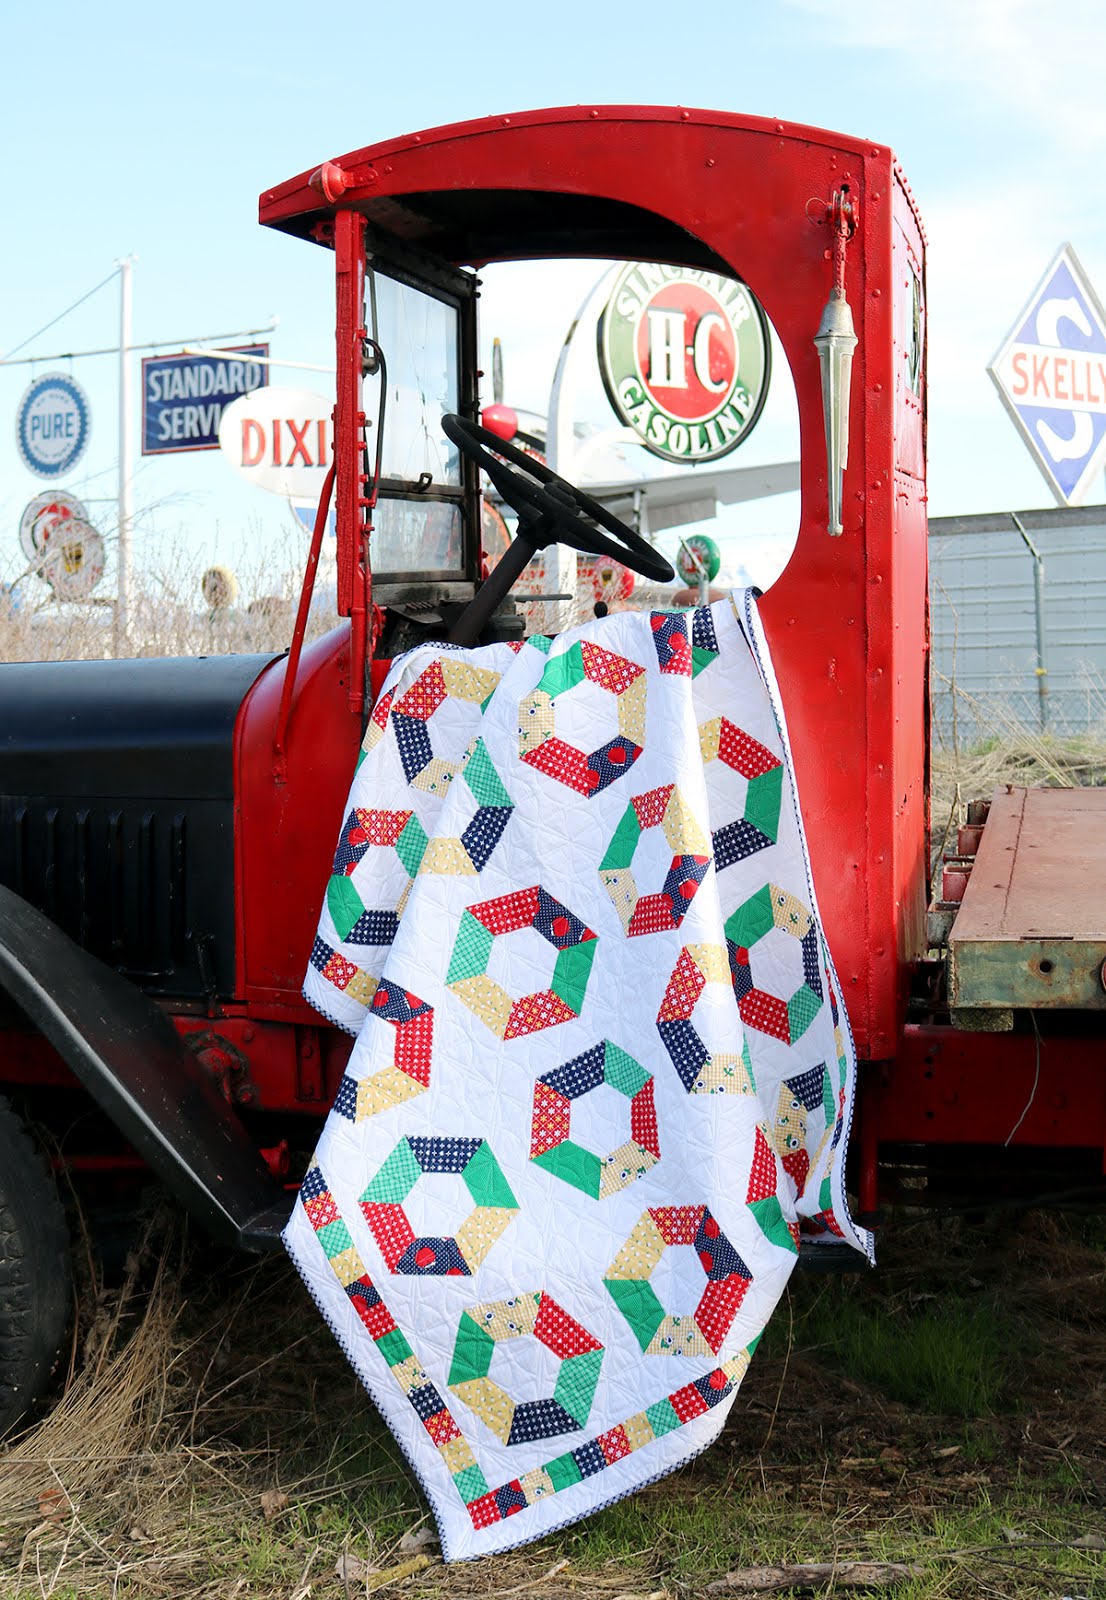
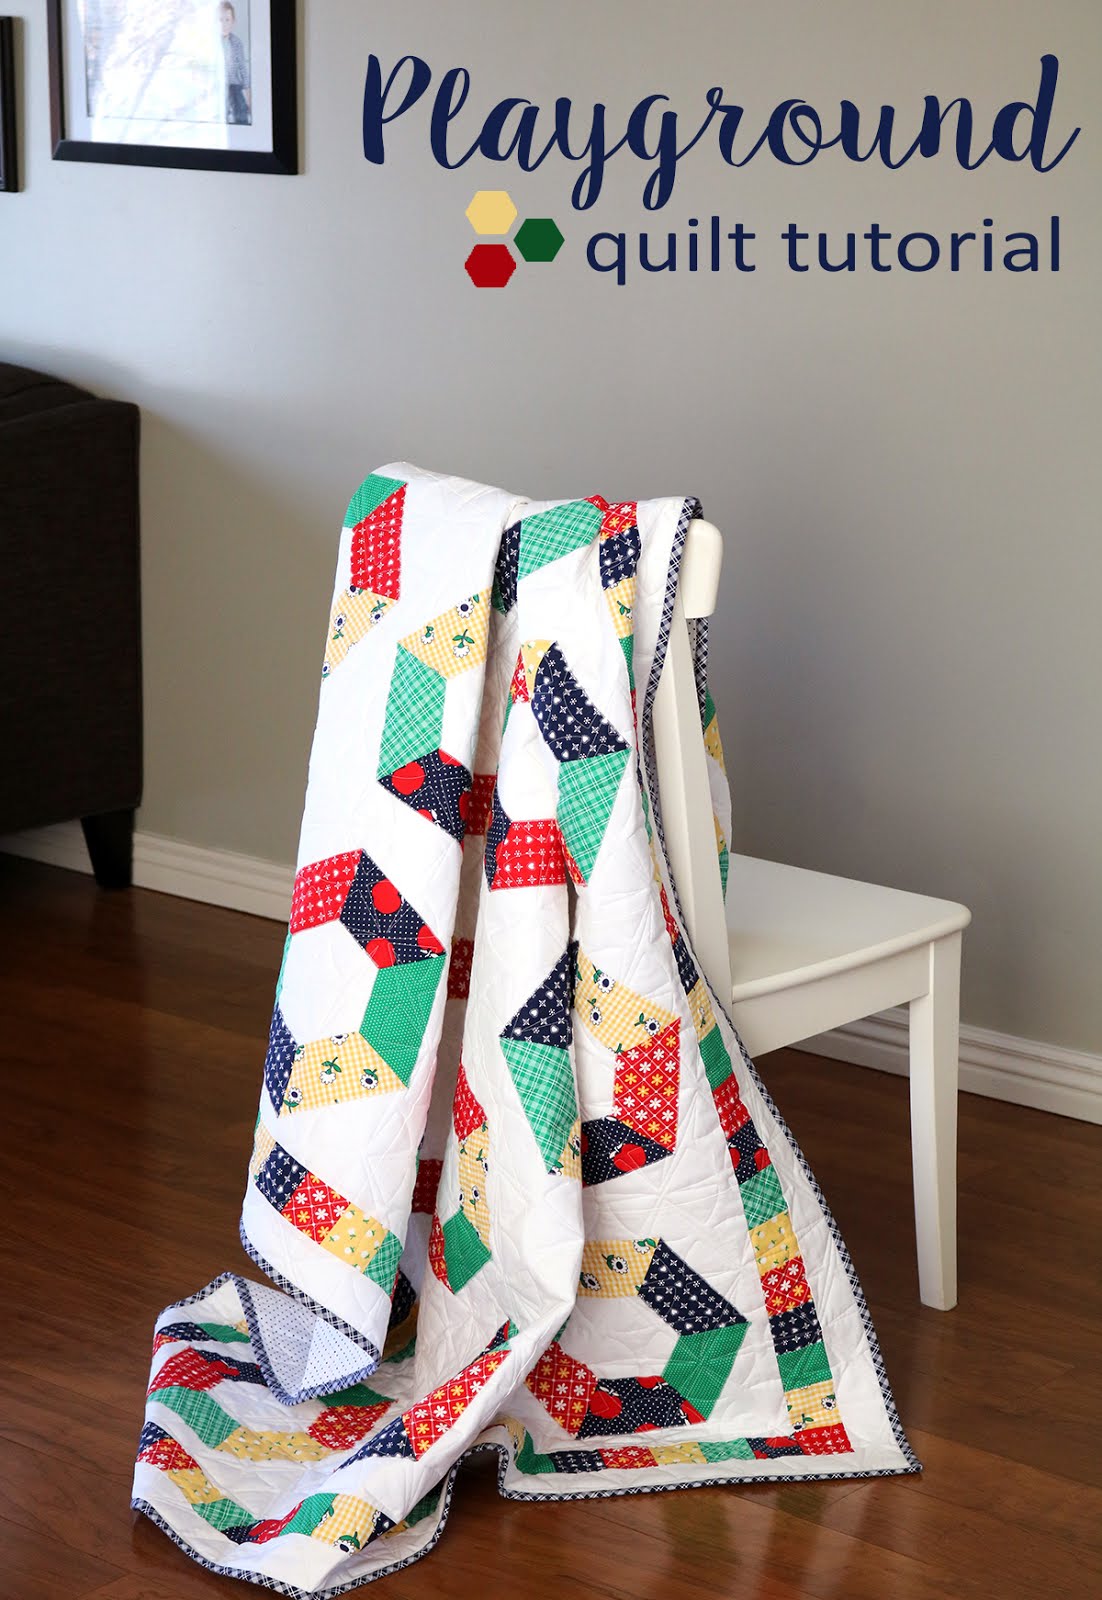
Over this past week I've been sewing with some fun new fabrics!  Amy Smart's latest fabric line, Sunnyside Ave has is now available in stores and it's been so fun to dream up a quilt to go along with it!


Playground Quilt Tutorial by Andy of A Bright Corner

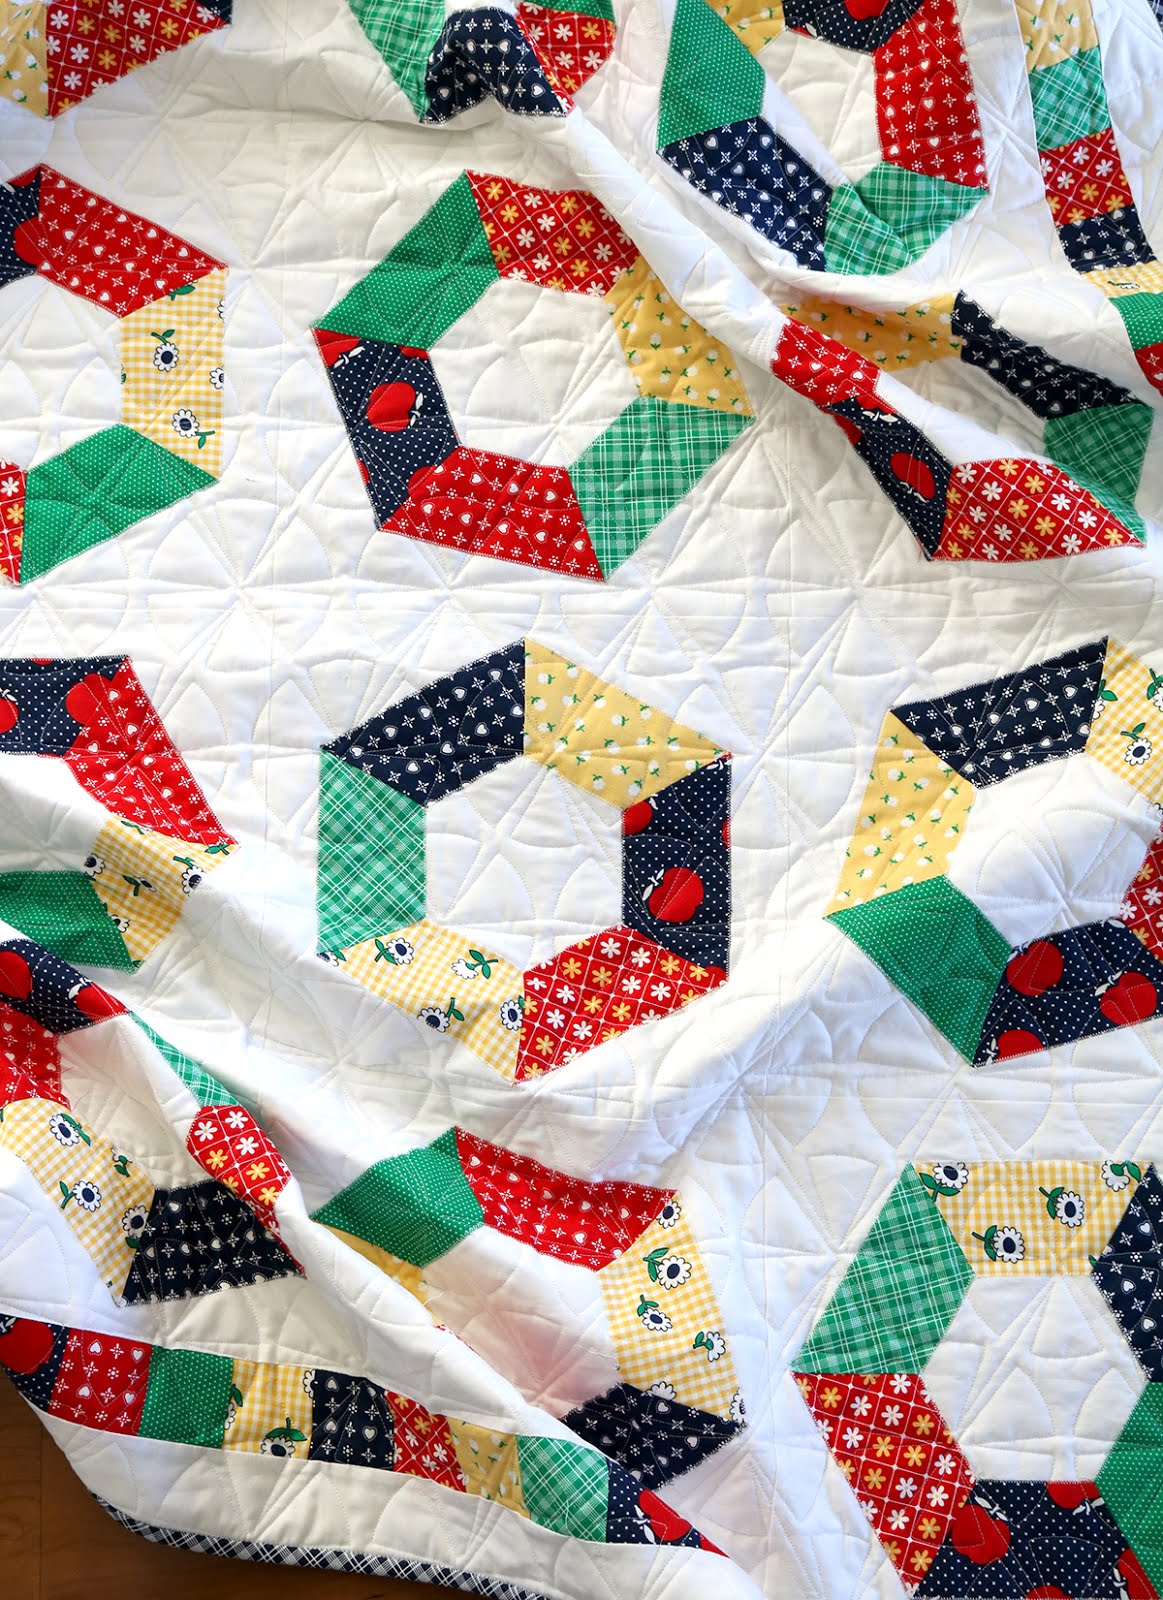
This fabric line is filled with Amy's signature bright and cheery primary colors - paired with daisies, plaids, and my favorite... apples!  And these new prints go hand in hand with the prints from her first line, Gingham Girls.  I just love when designers make lines that coordinate with one another, don't you?


Playground Quilt Tutorial by Andy of A Bright Corner

I named this quilt pattern Playground because the colors and the shape of the blocks reminded me of the old school merry-go-rounds that used to be a playground staple.  Remember those?  It's a little sad that they've all but disappeared from schools and parks.  


Playground Quilt Tutorial by Andy of A Bright Corner

The finished quilt measures 56" x 68"

Ready for the quilt tutorial?  Here's what you'll need:  

At least 1/4 yard each of 8 various prints
3-1/4 yards background fabric
5/8 yard binding fabric
3-3/4 yards backing fabric

You'll also need:
a ruler with a 60 degree marking on it
glue stick
coordinating thread 


Cutting Instructions: 
From the background fabric cut 7 @ 12.5" x WOF.  Subcut into 12.5" squares.  You'll need 20.  From the background fabric also cut 7 @ 2.5" x WOF and set aside to use for the border.

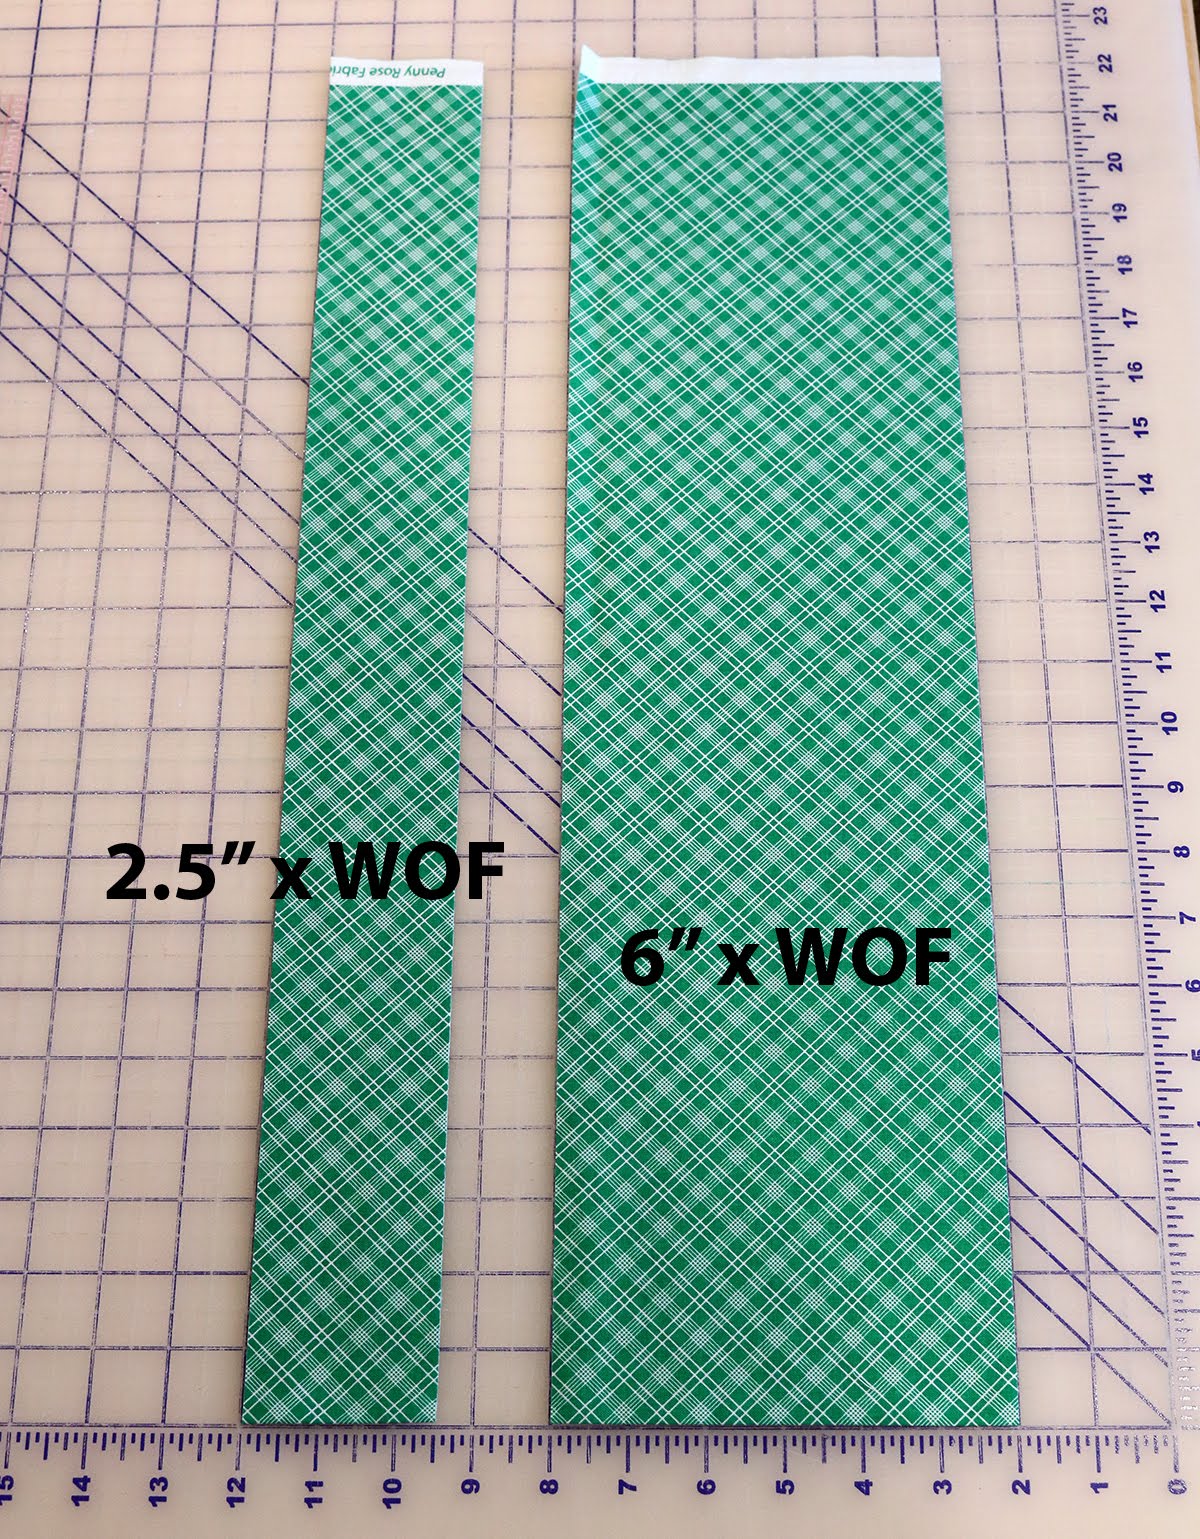
Cut each of the prints into 1 @ 2.5" x WOF and 1 @ 6" x WOF.


Playground Quilt Tutorial by Andy of A Bright Corner

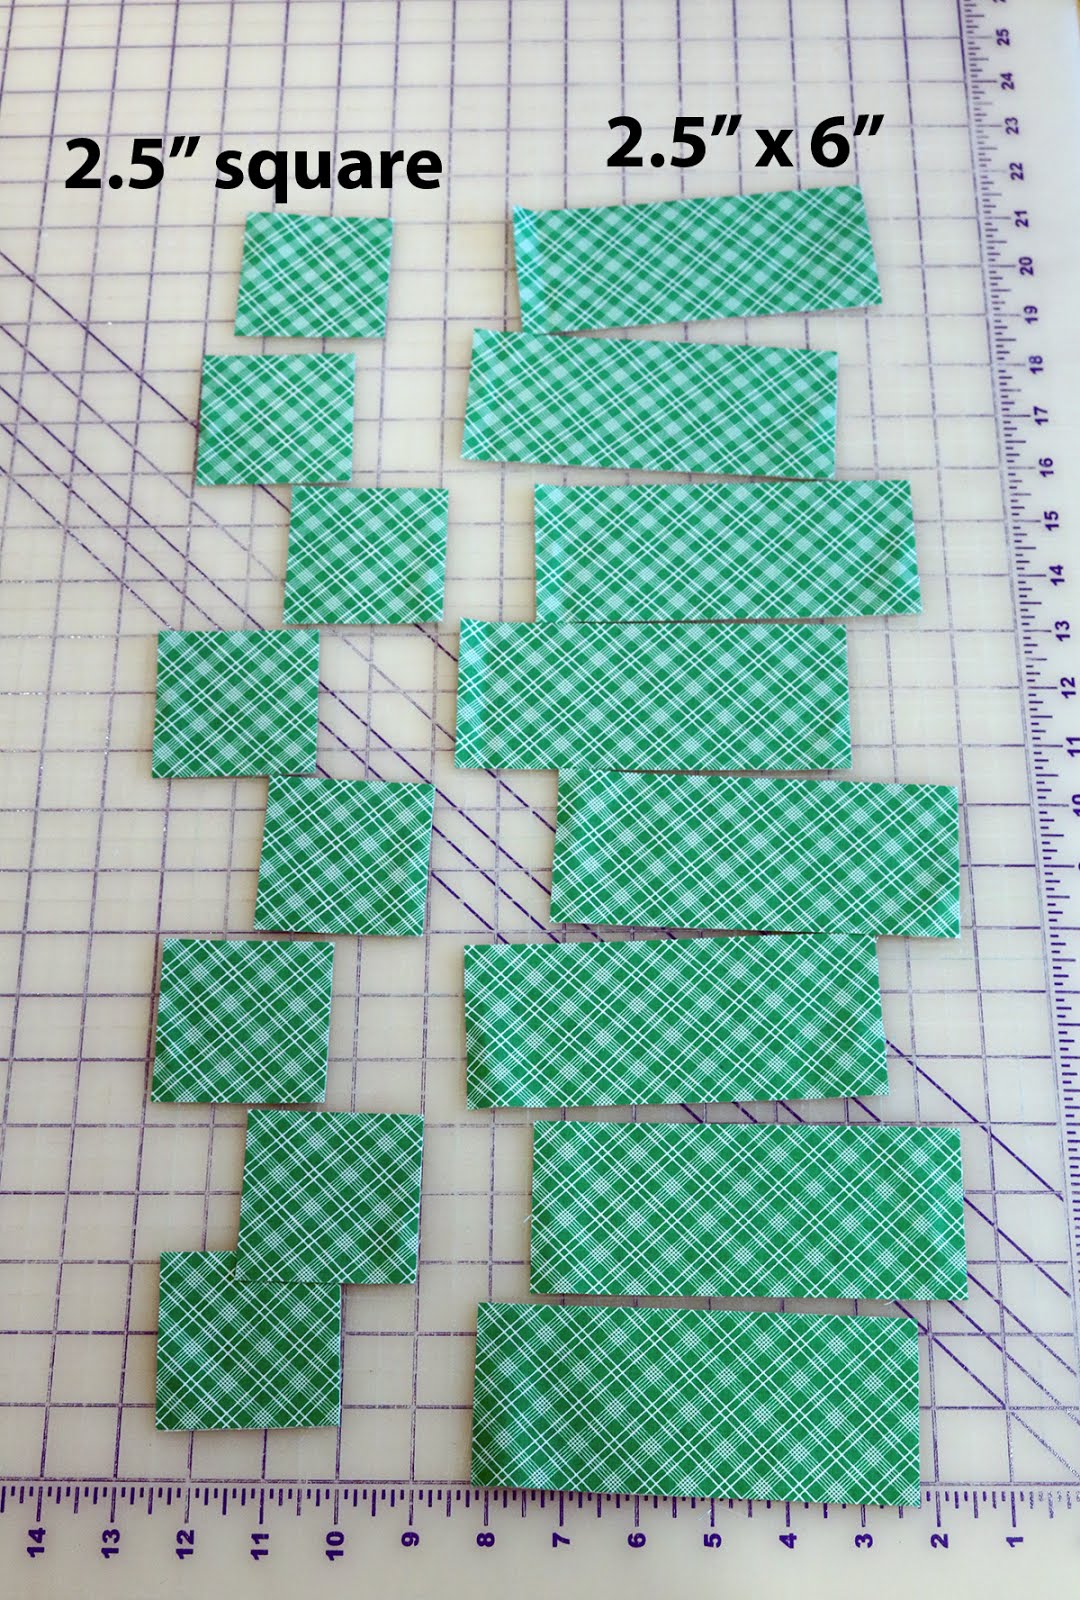
Then cut the 2.5" x WOF strip into 2.5" squares, and cut the 6" wide strip into 2.5" x 6" sections.


Playground Quilt Tutorial by Andy of A Bright Corner

Now it's time to get all fancy with our rulers.  Find a ruler with a 60 degree marking on it.  

Playground Quilt Tutorial by Andy of A Bright Corner

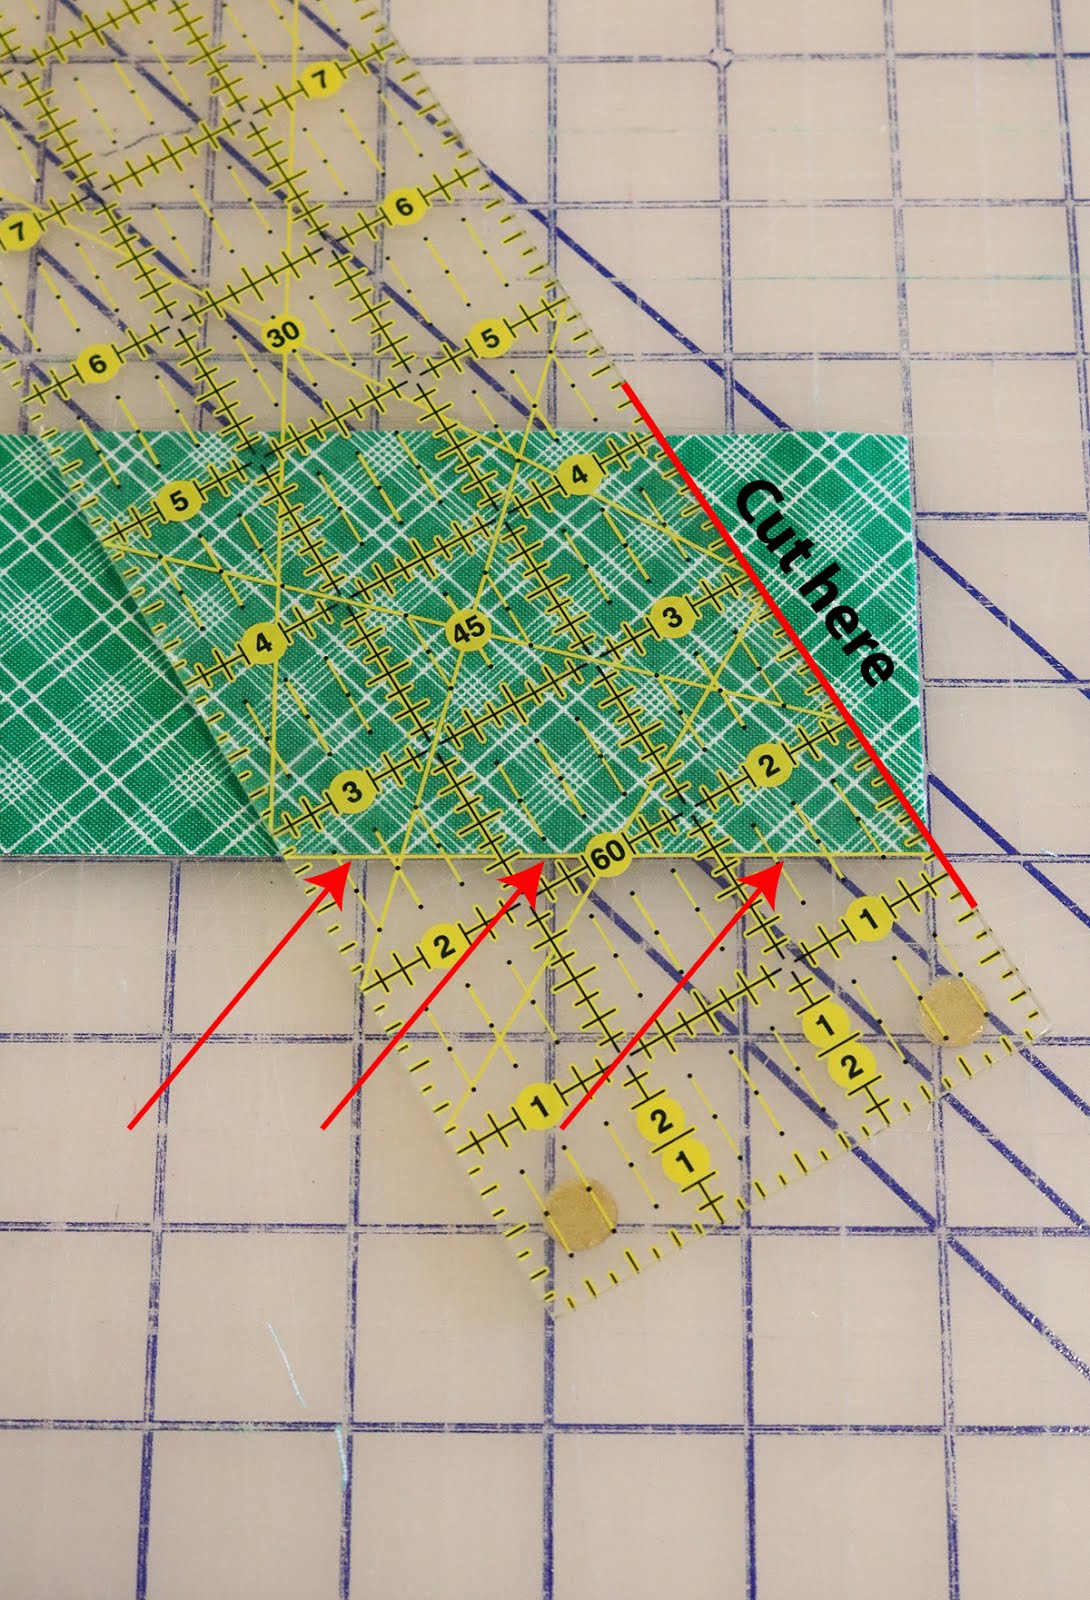
Line up the 60 degree line on your ruler with the bottom edge of a strip.  Move the ruler over so that it intersects the bottom right corner of the strip.  Then use your rotary cutter to cut along the edge of the ruler as shown in the photo above.  You just made your first 60 degree cut!  See...not so hard, right?
Now let's cut the other end of the strip --


Playground Quilt Tutorial by Andy of A Bright Corner

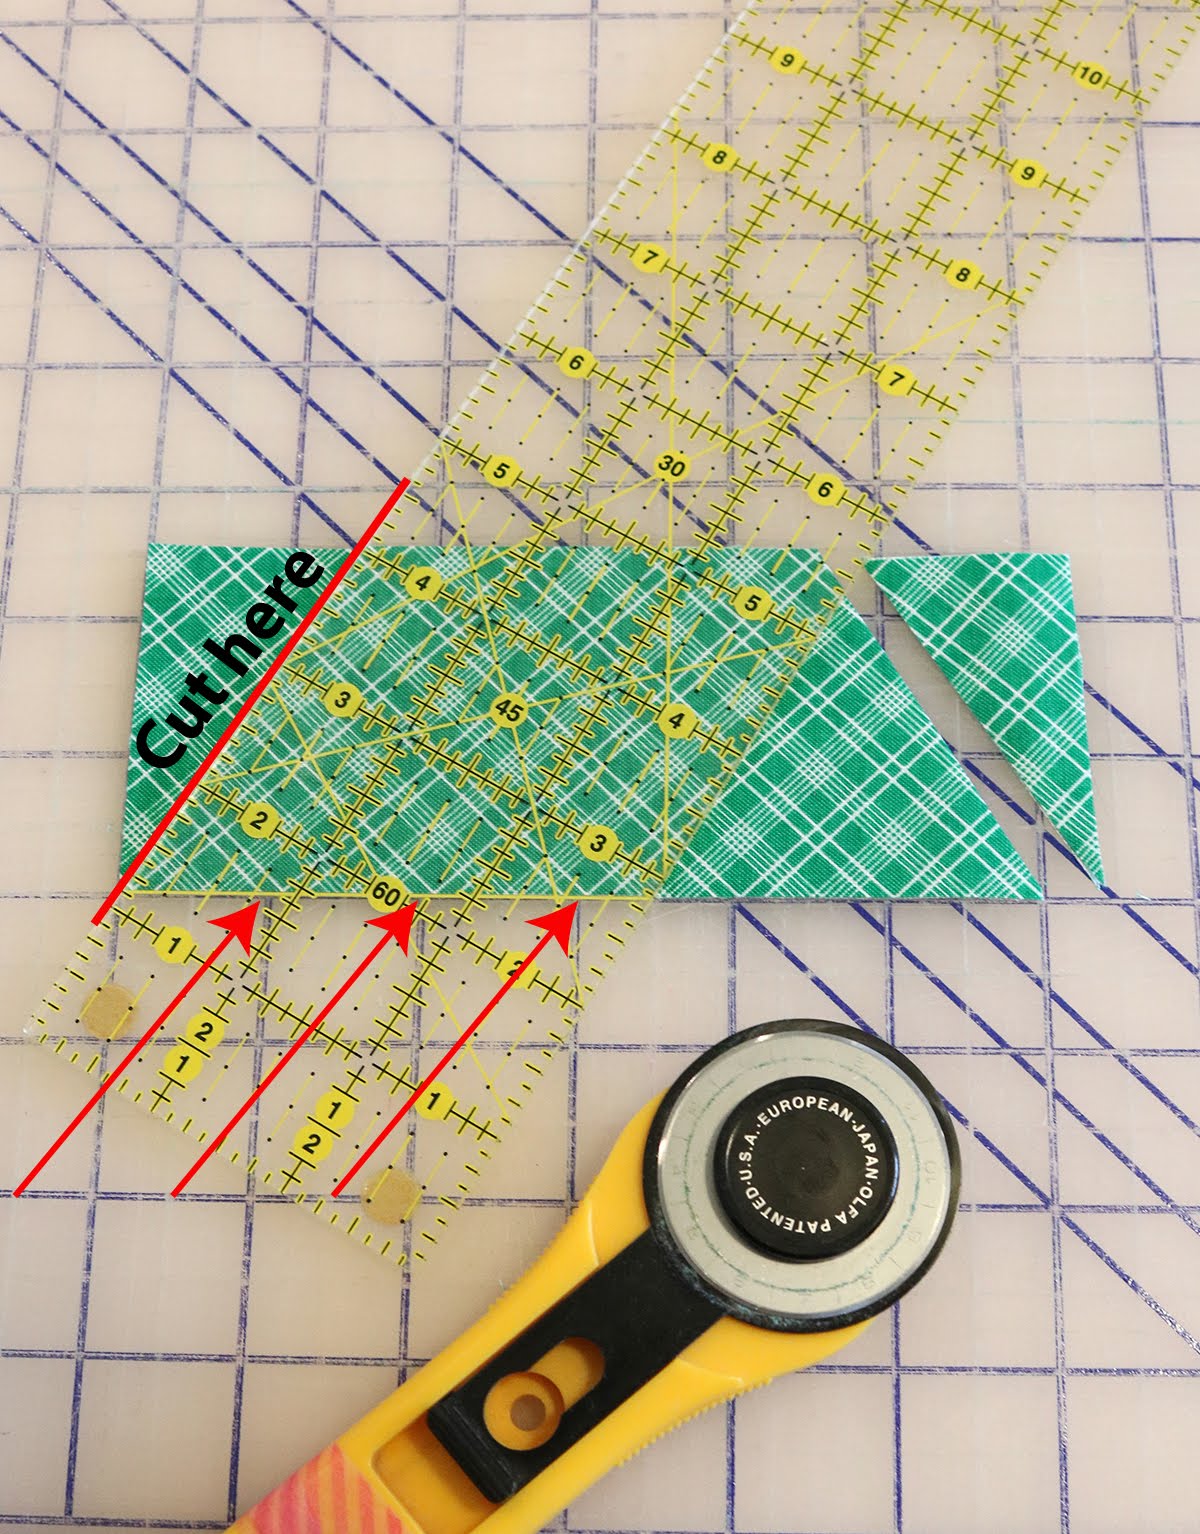
Line up the 60 degree marking on the ruler with the bottom edge of the strip of fabric.  Move the ruler over to the left so that it intersects the bottom left point of the strip.  Then cut along the edge of the ruler.  

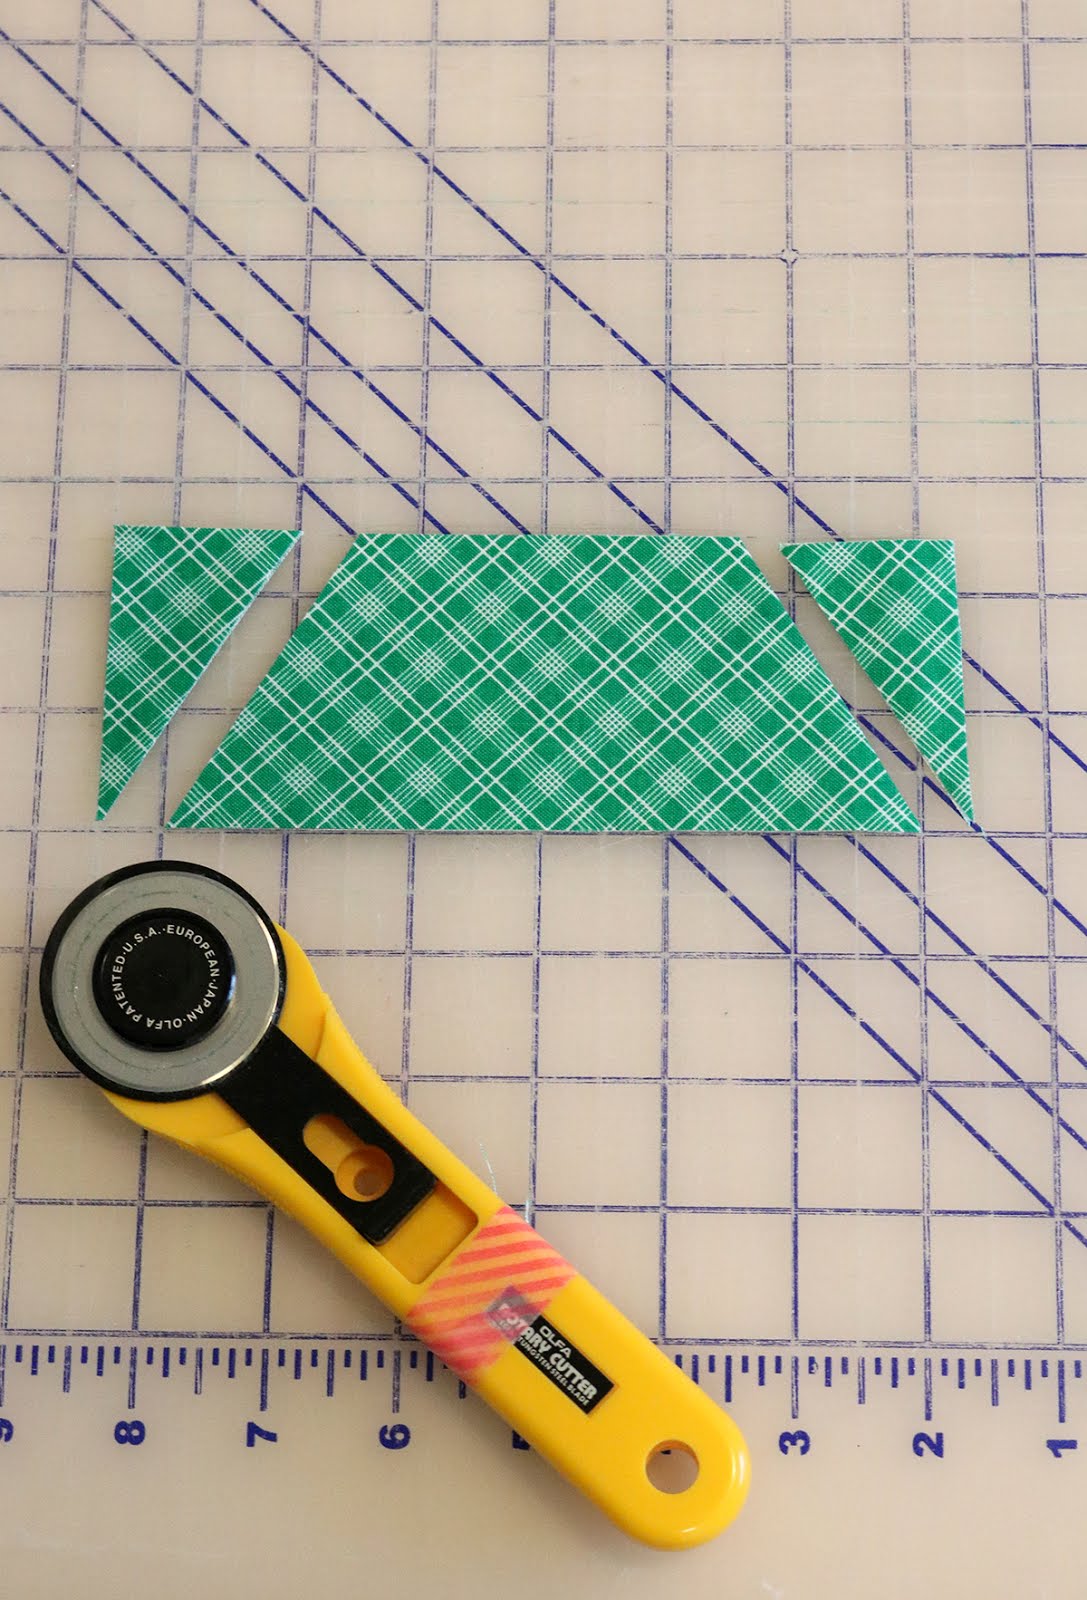
Your strip should look like this now:


Playground Quilt Tutorial by Andy of A Bright Corner

Repeat to cut all of the 2.5" x 6" strips the same way.  You'll need 120 total.  If you have a nice sharp blade in your rotary cutter, you can stack and cut 4 strips at a time.  

Time to make the block!

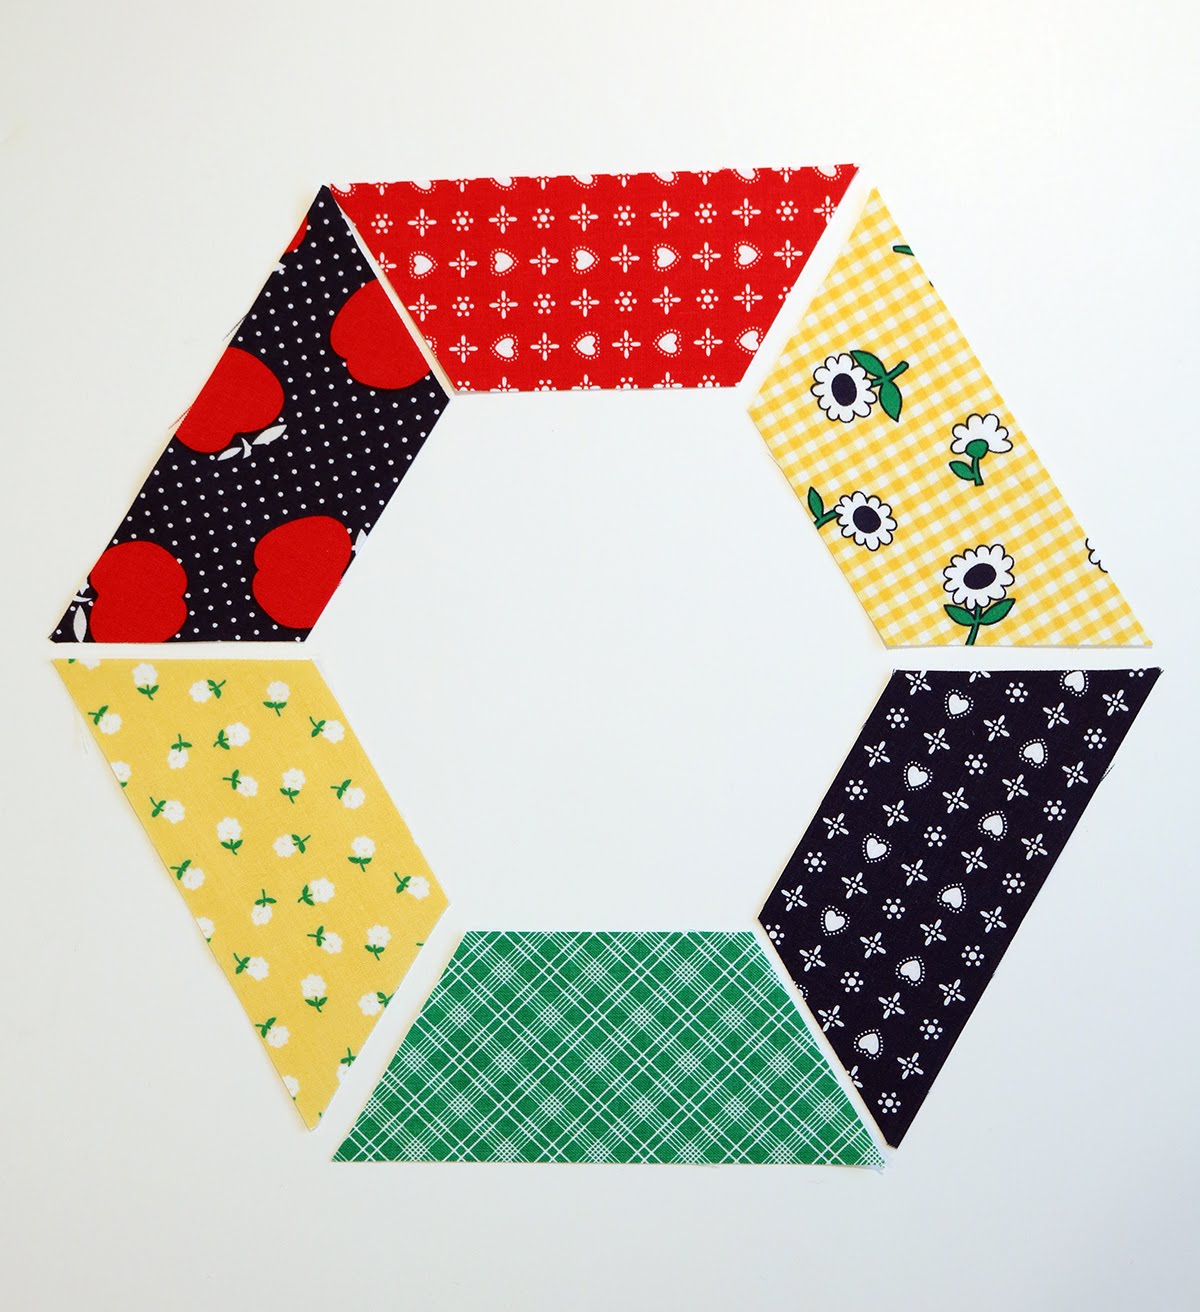
Choose 6 strips from different prints and arrange them like this:


Playground Quilt Tutorial by Andy of A Bright Corner

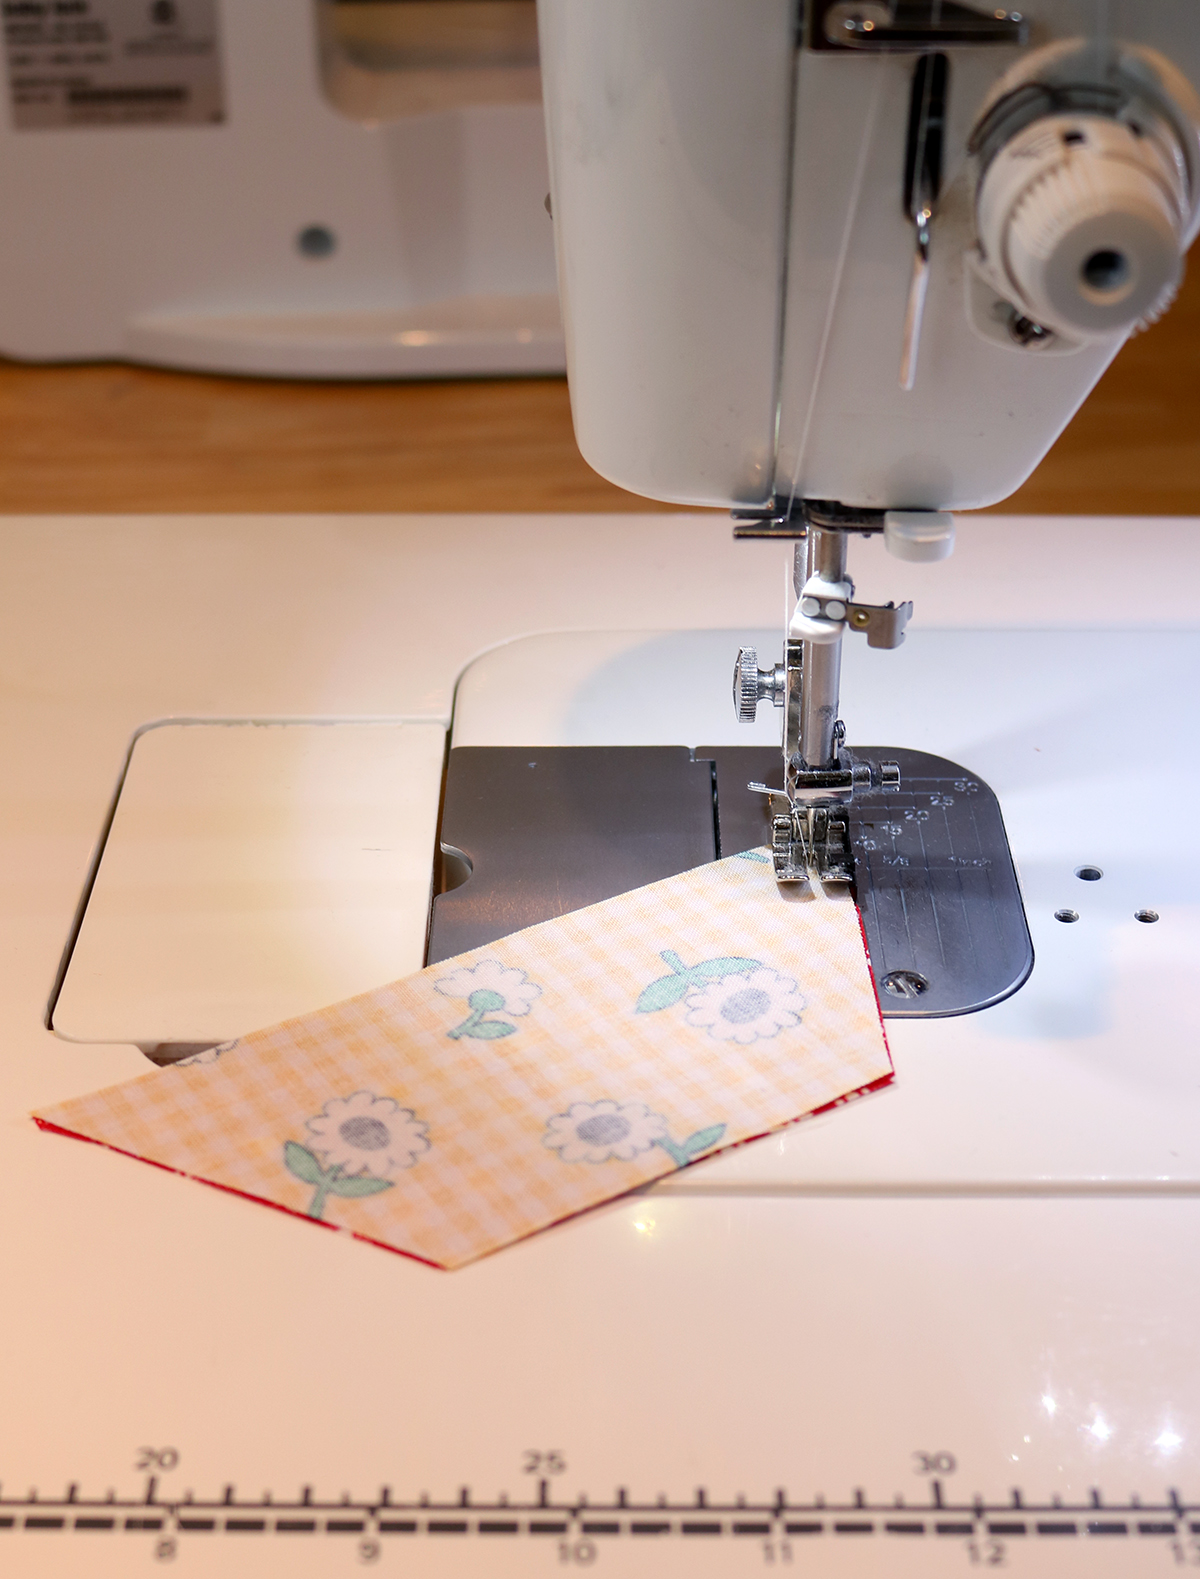
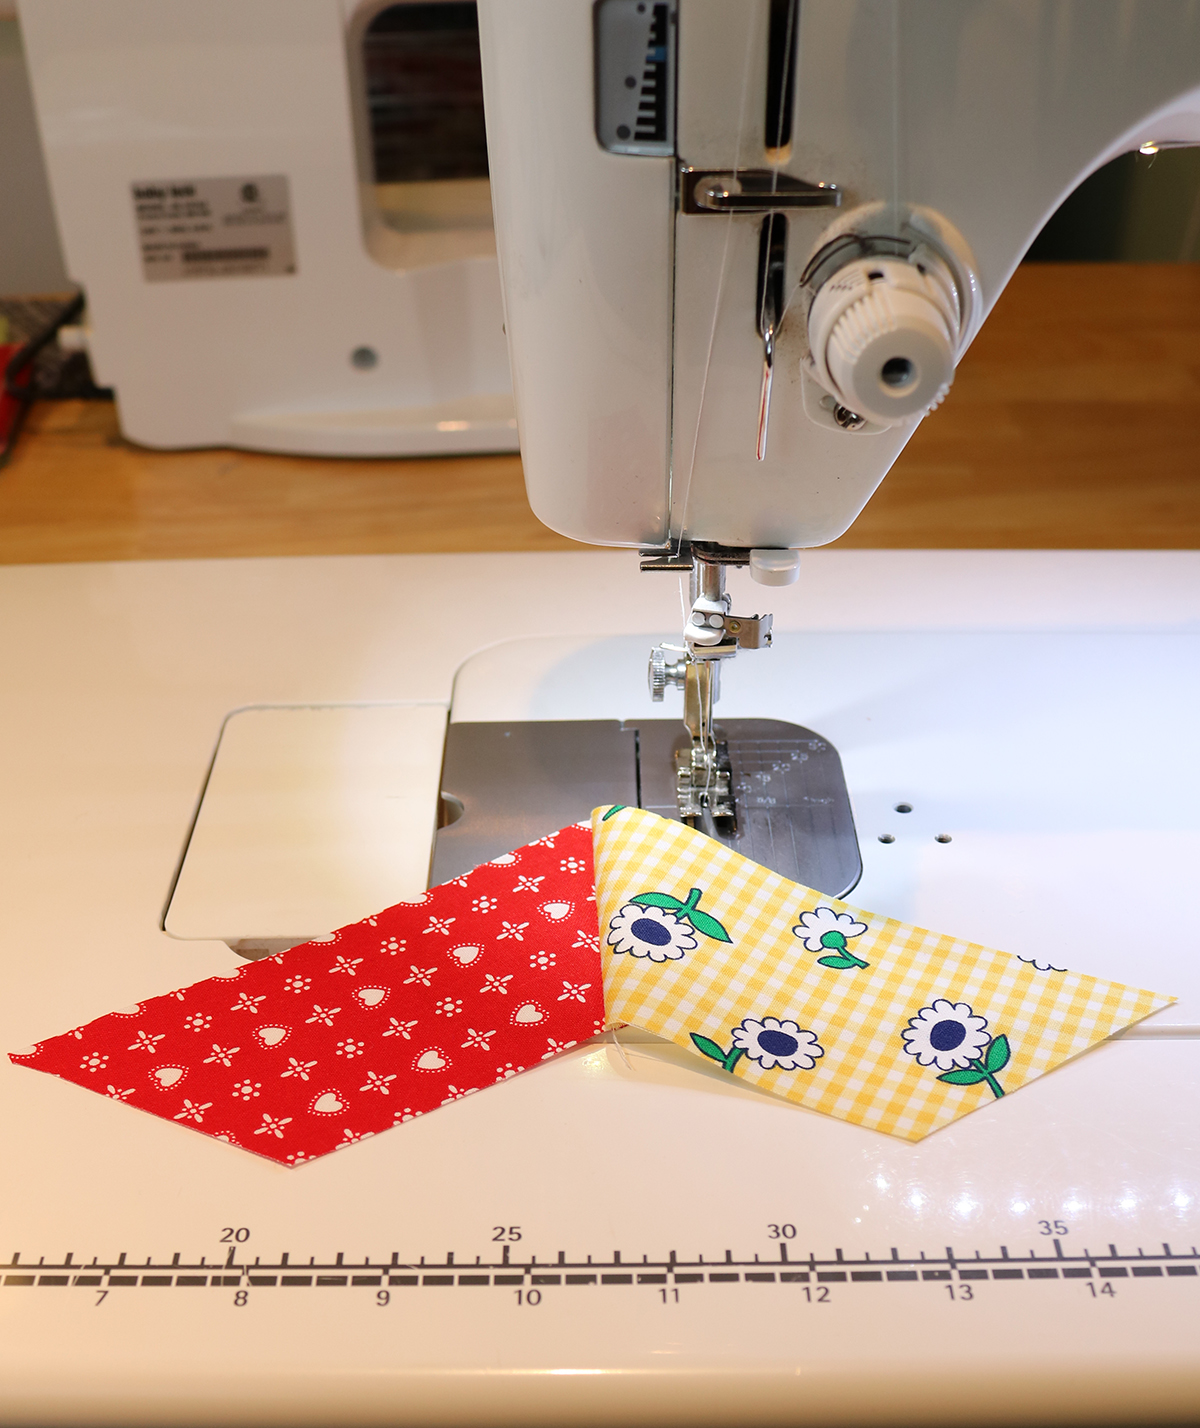
Grab two of the strips, place them right sides together and using a 1/4" seam, sew along the 60 degree cut edge.


Playground Quilt Tutorial by Andy of A Bright Corner

When you open them up, they will look like this:


Playground Quilt Tutorial by Andy of A Bright Corner

Continue sewing the strips together until you have made the entire hexagon ring.  

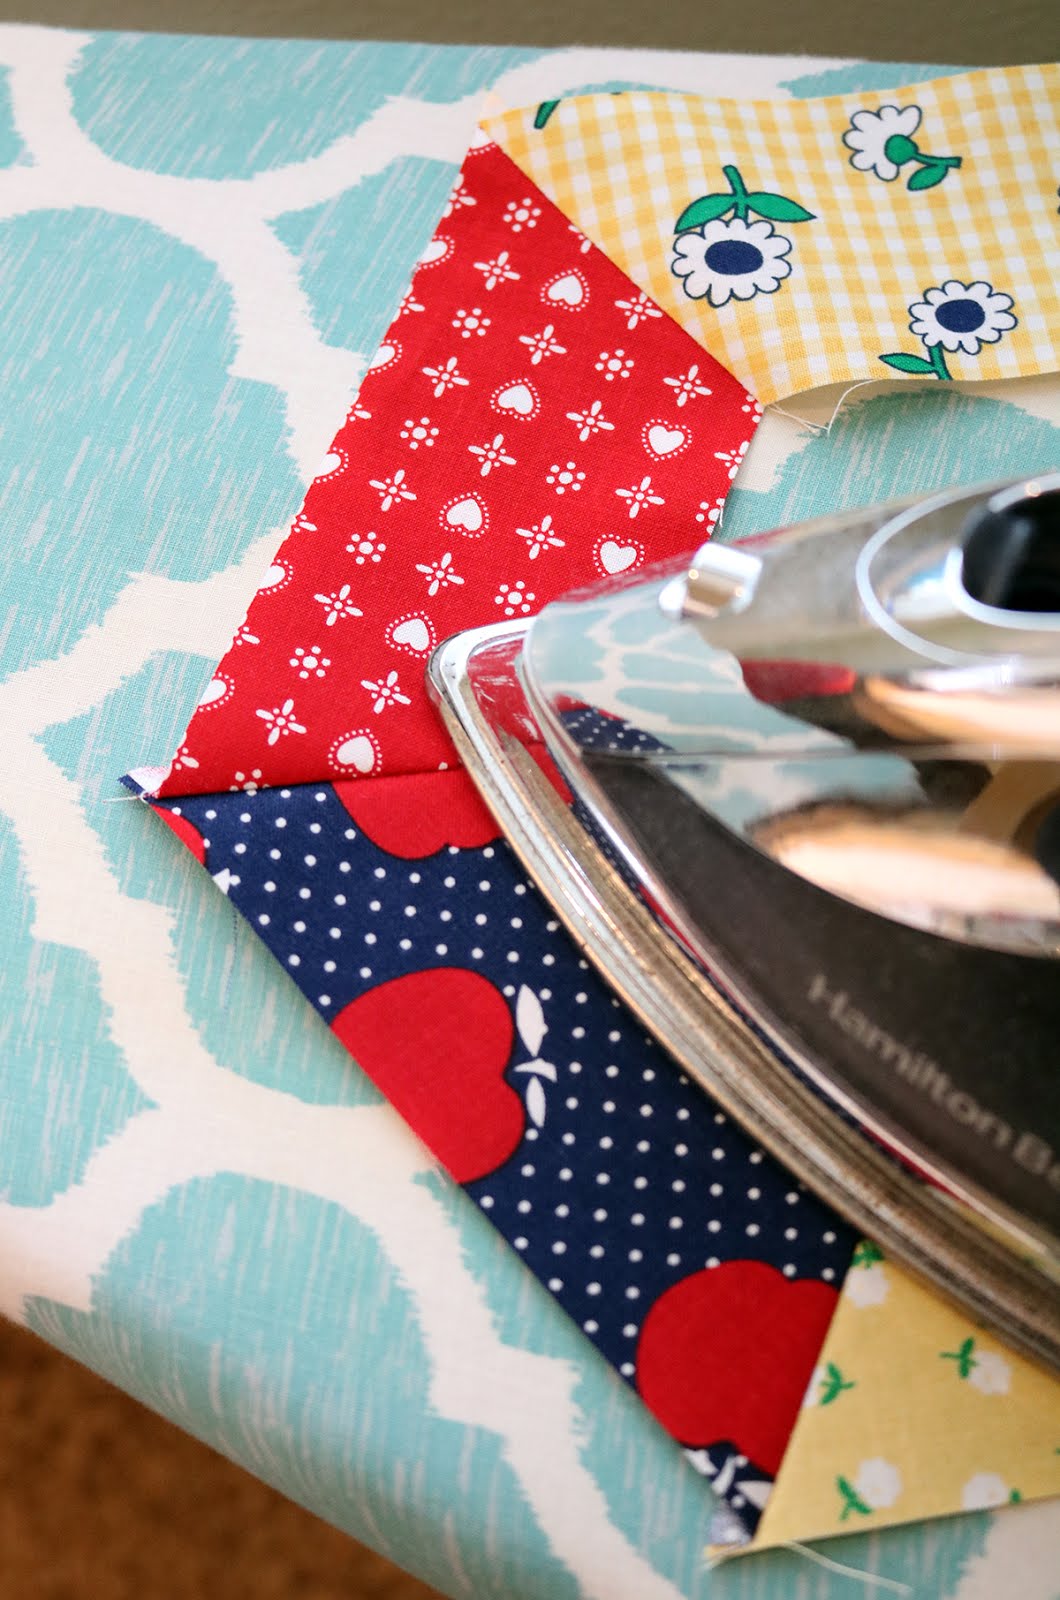
Press seams in one direction (it doesn't matter which direction.)  


Playground Quilt Tutorial by Andy of A Bright Corner

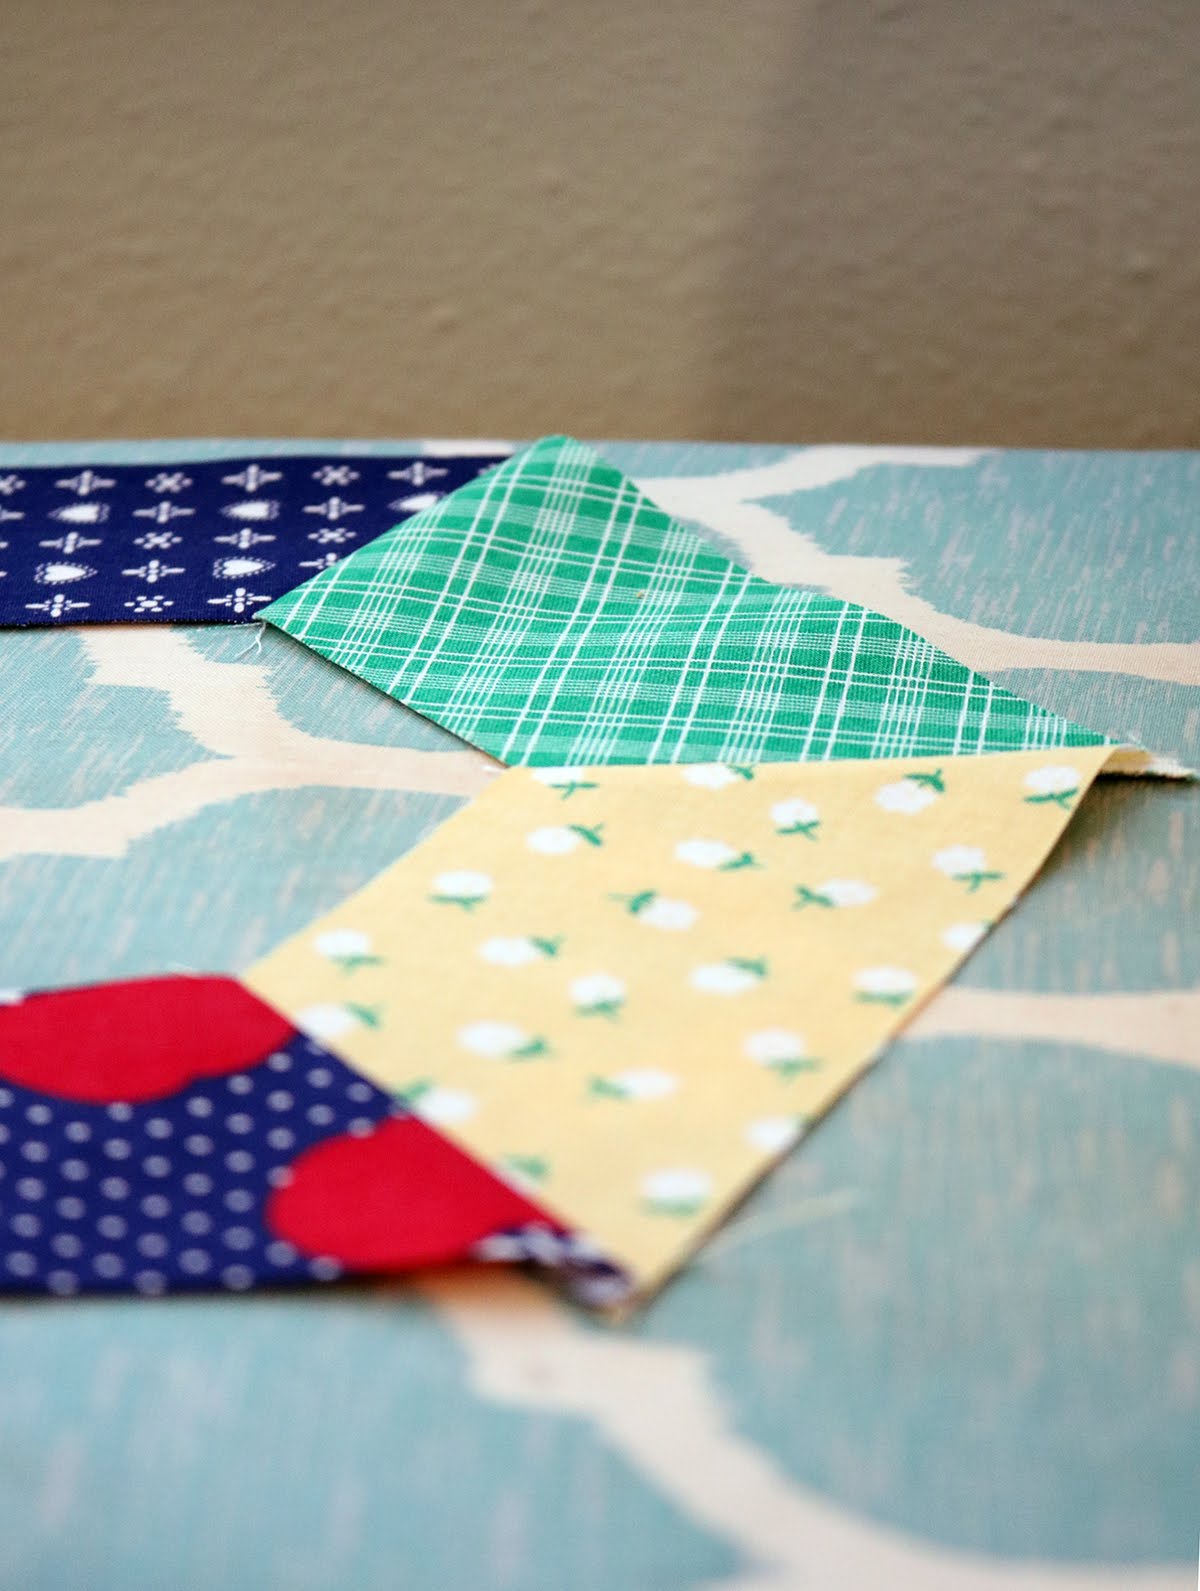
And if your block doesn't lay flat at first don't worry!  Some of mine did, and some didn't.  See the little bit of wave in the green strip below?  That will work itself out in the next couple of steps.  

Playground Quilt Tutorial by Andy of A Bright Corner

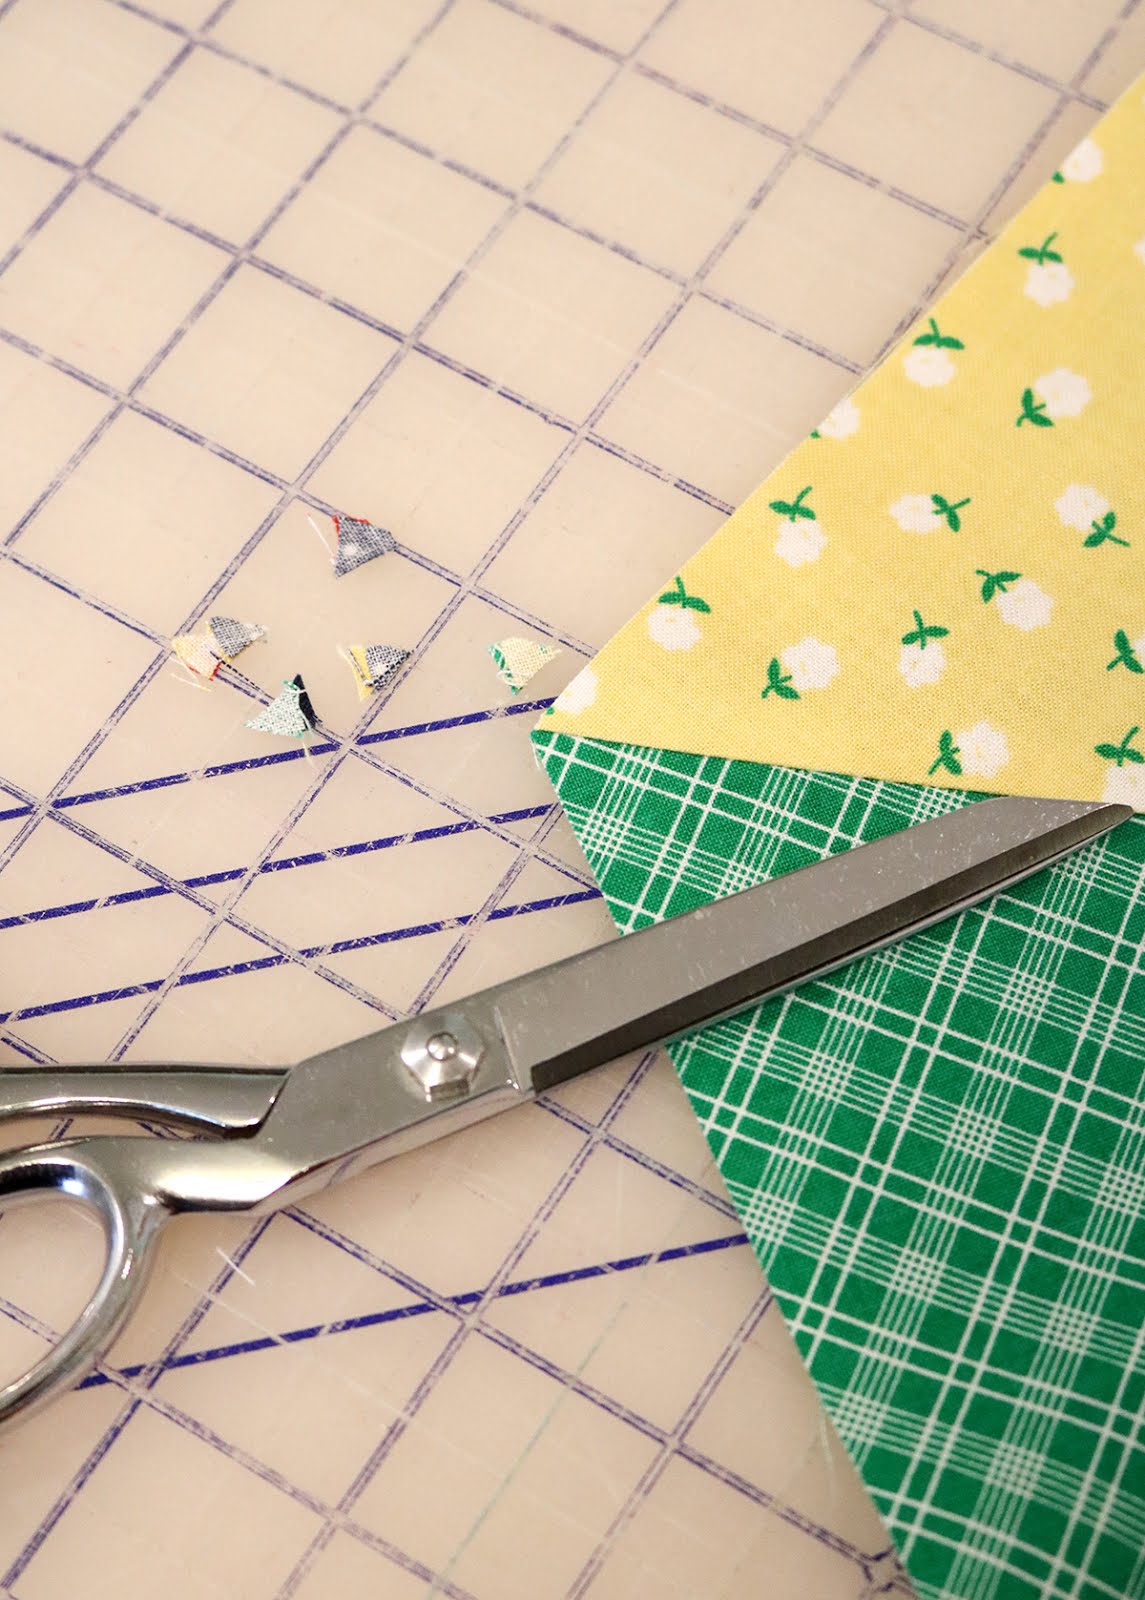
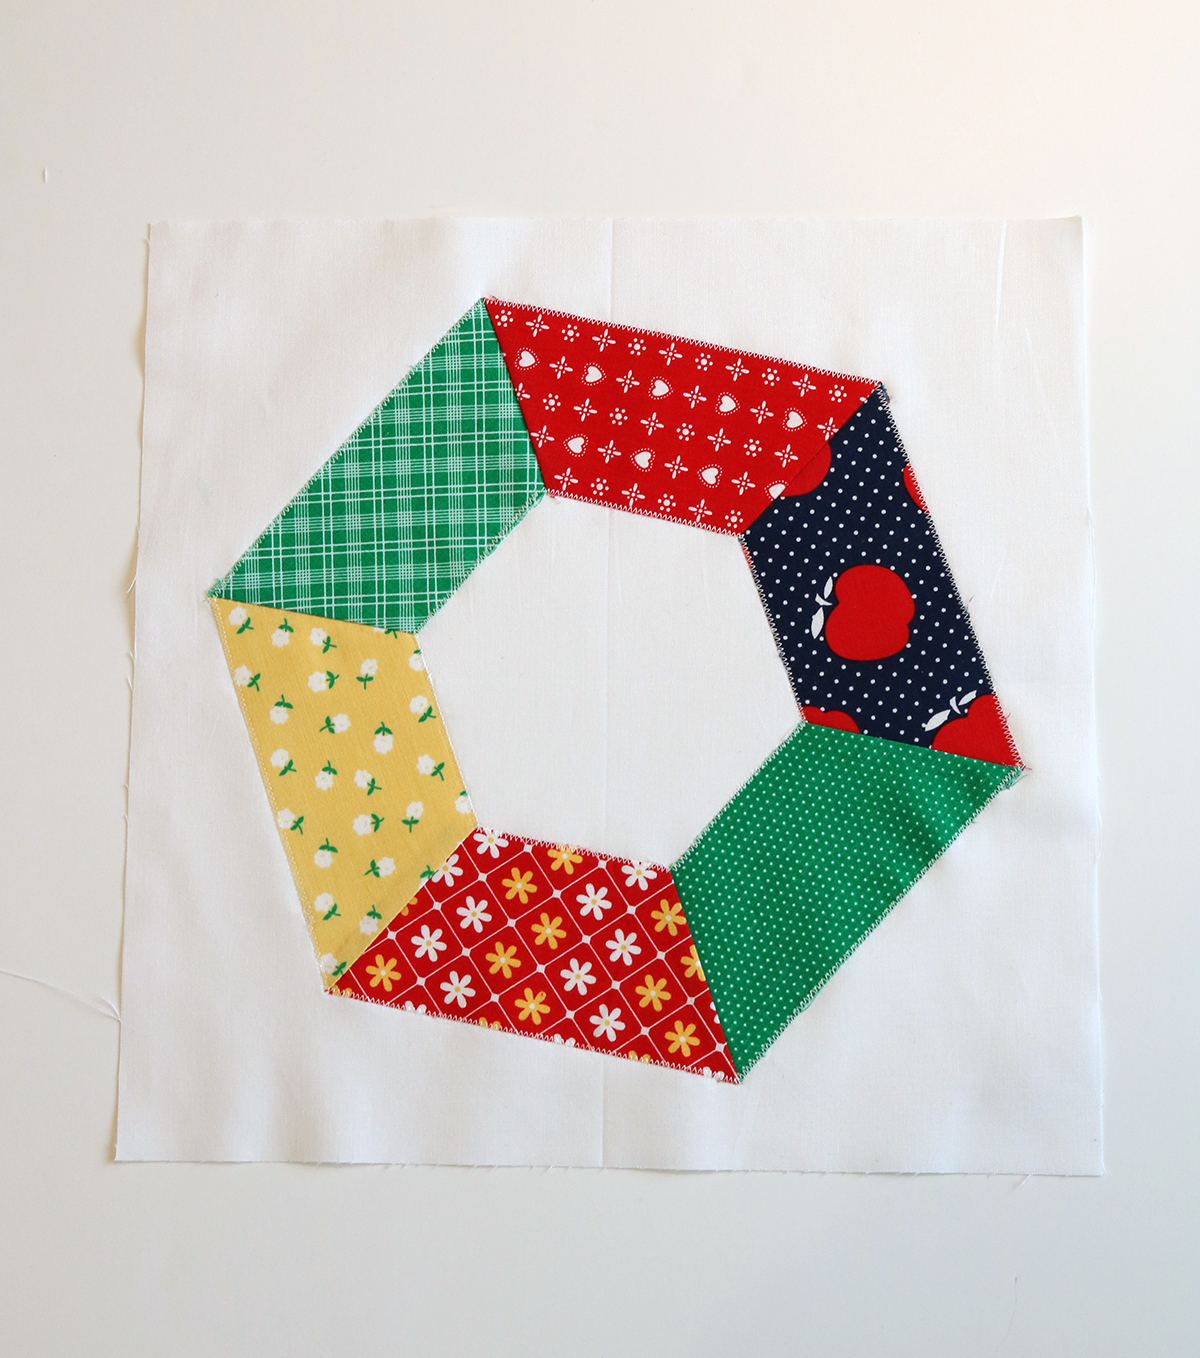
After pressing the seams in one direction, flip the block over and press on the right side of the fabric to help flatten out any problem areas in the block.  Trim off the little dog ears that stick out from the edges of your block.


Playground Quilt Tutorial by Andy of A Bright Corner


Next, take a 12.5" background square and fold it in half twice to find the center of the block.  Place the hexagon unit onto the background square, centering it.  


Playground Quilt Tutorial by Andy of A Bright Corner

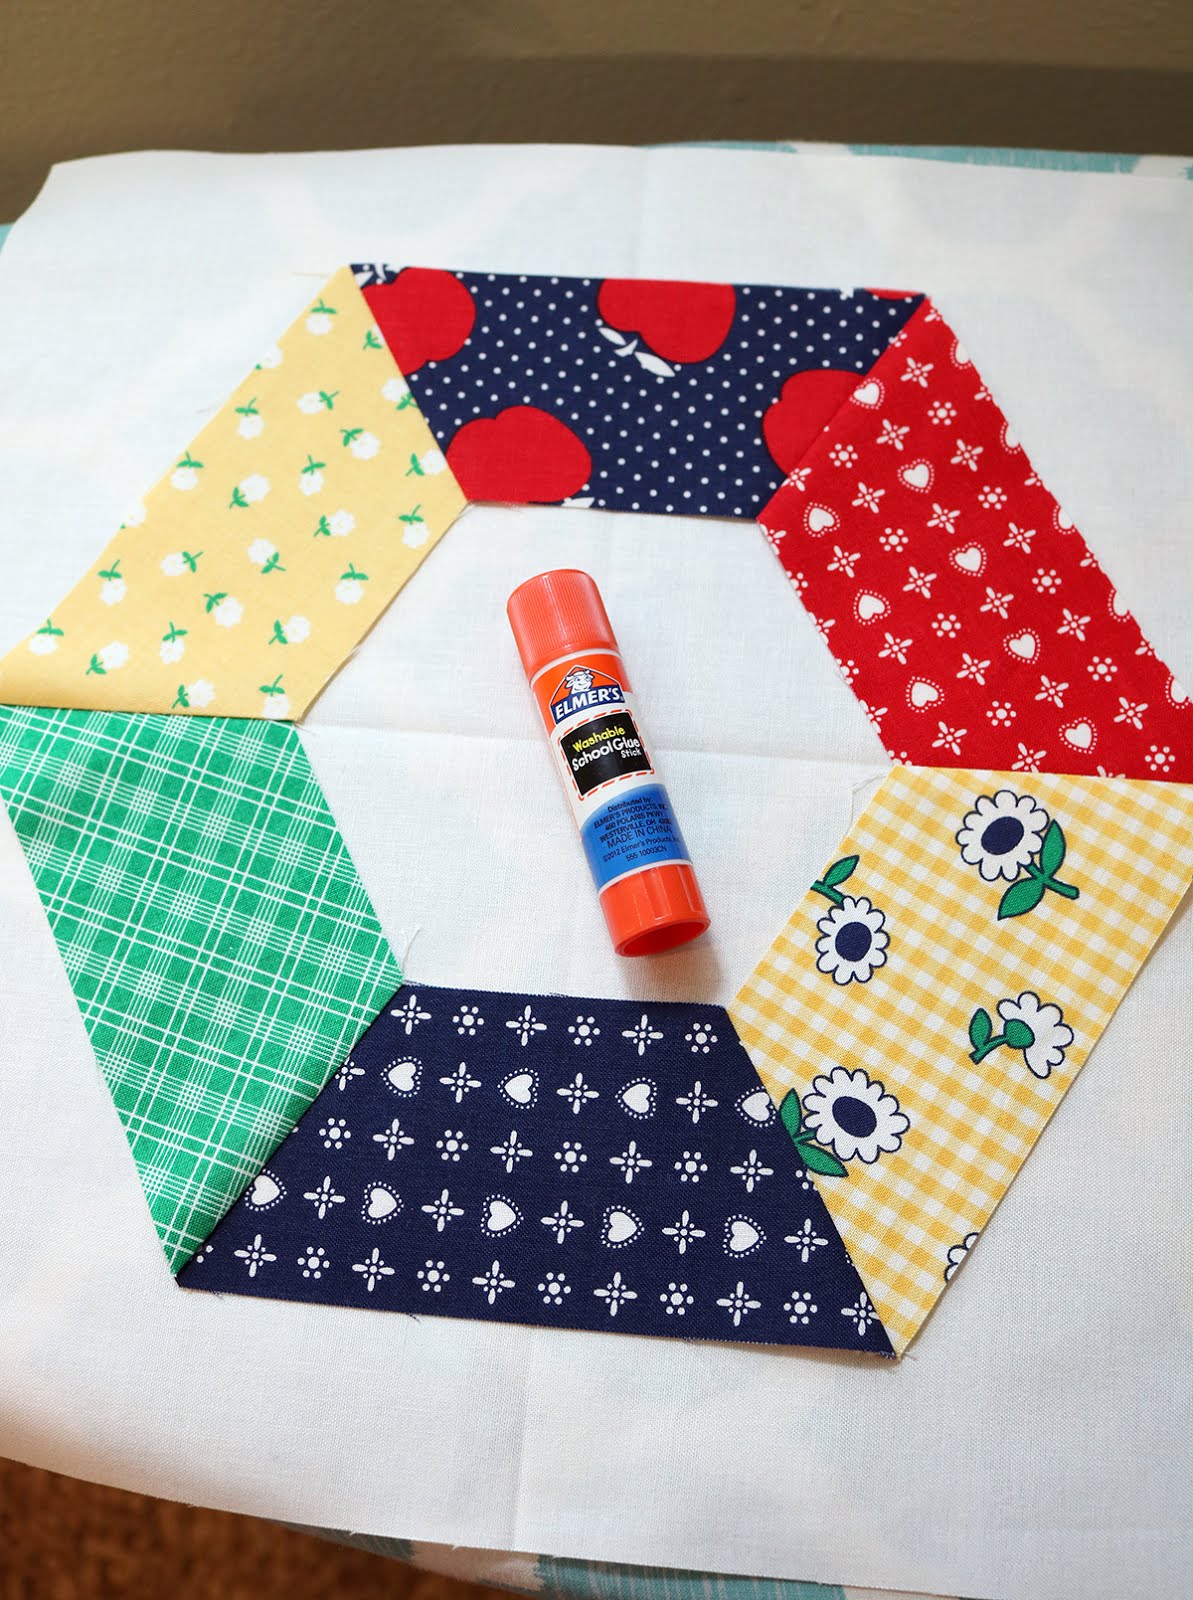
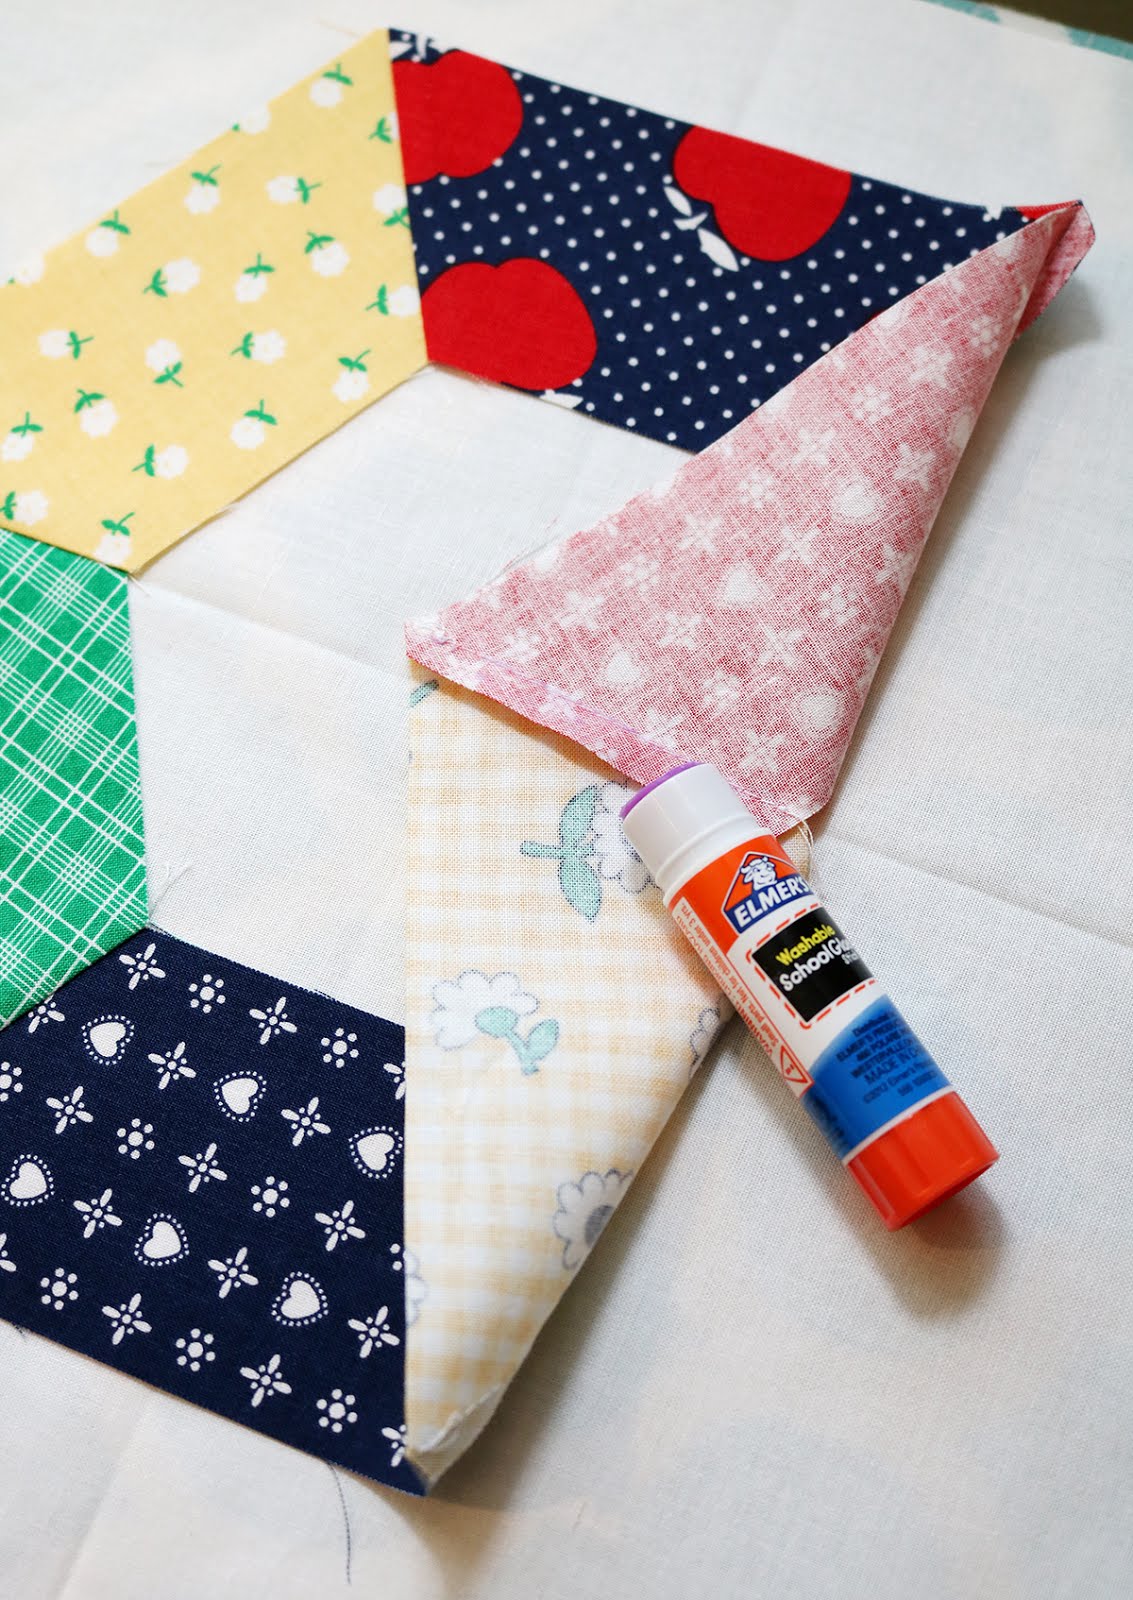
Taking care not to move the hexagon unit, flip up one corner to expose the seam allowance.  Run the glue stick along the seam allowance and press in place.  Repeat for all six seam allowances.  This will help to hold the block in place while you stitch it.  You can also add a few pins around the outside to secure it, although I found the glue did a good enough job!


Playground Quilt Tutorial by Andy of A Bright Corner

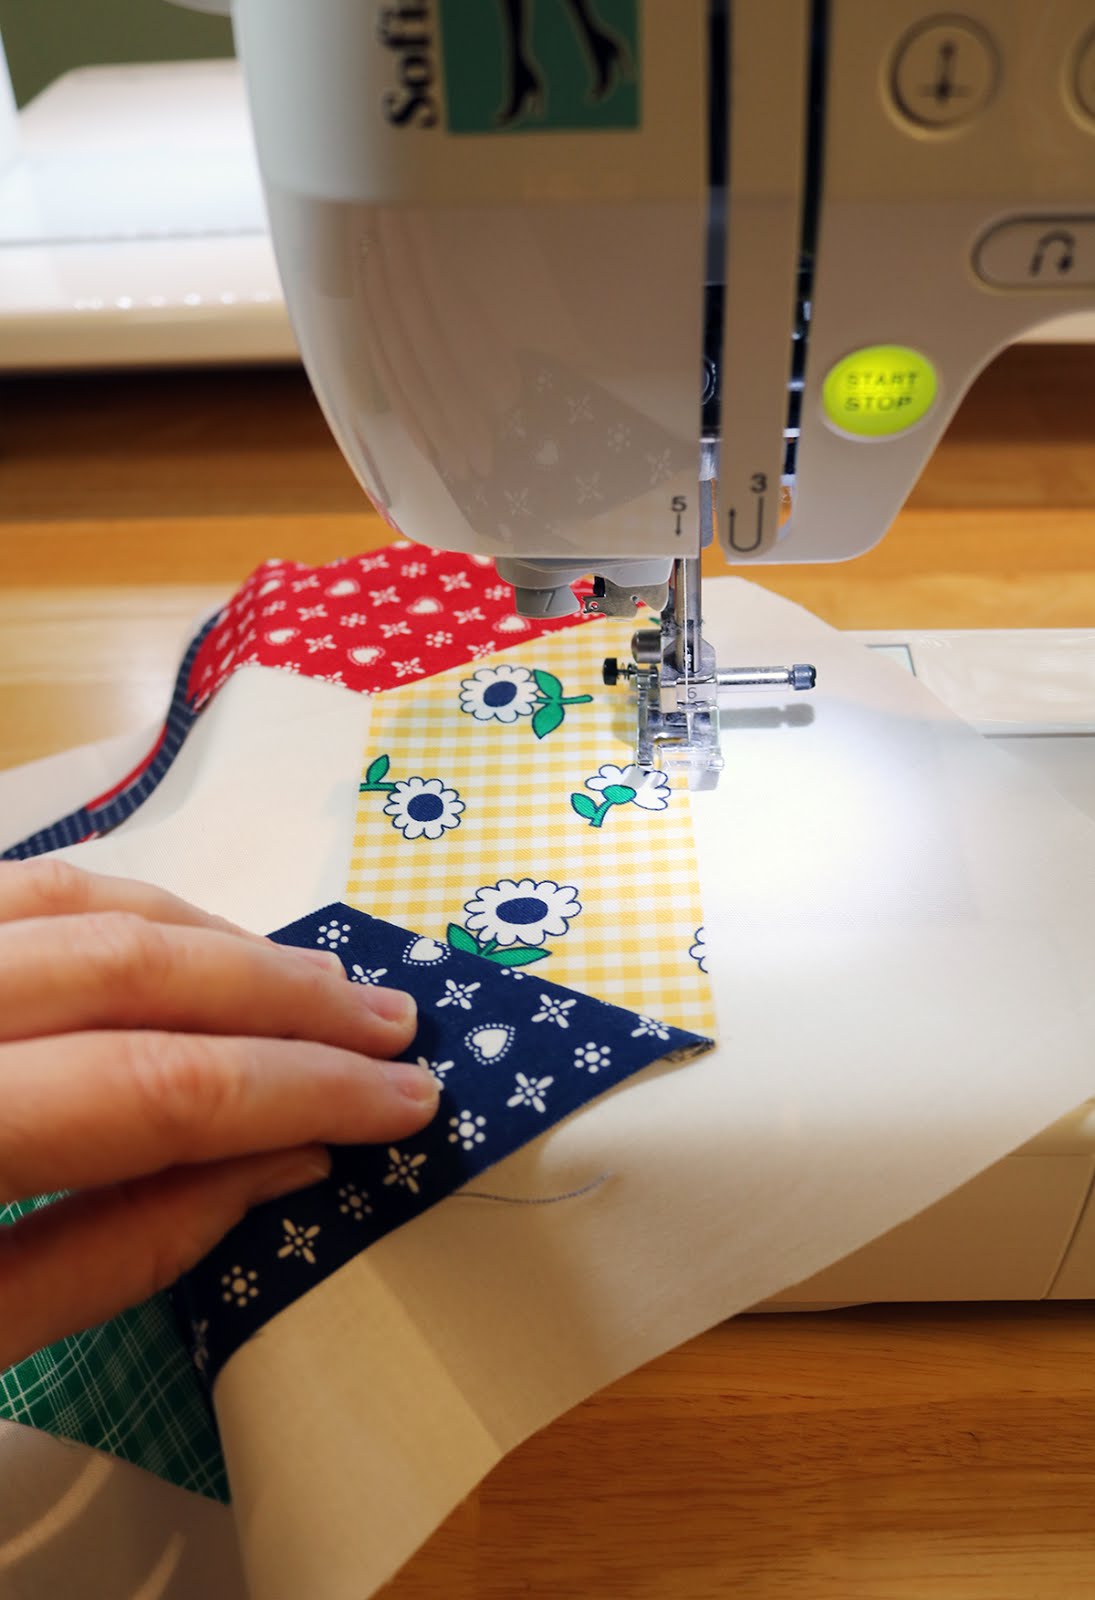
Using a coordinating thread and a thin zigzag or blanket stitch, stitch around the outside of the hexagon.  


Playground Quilt Tutorial by Andy of A Bright Corner

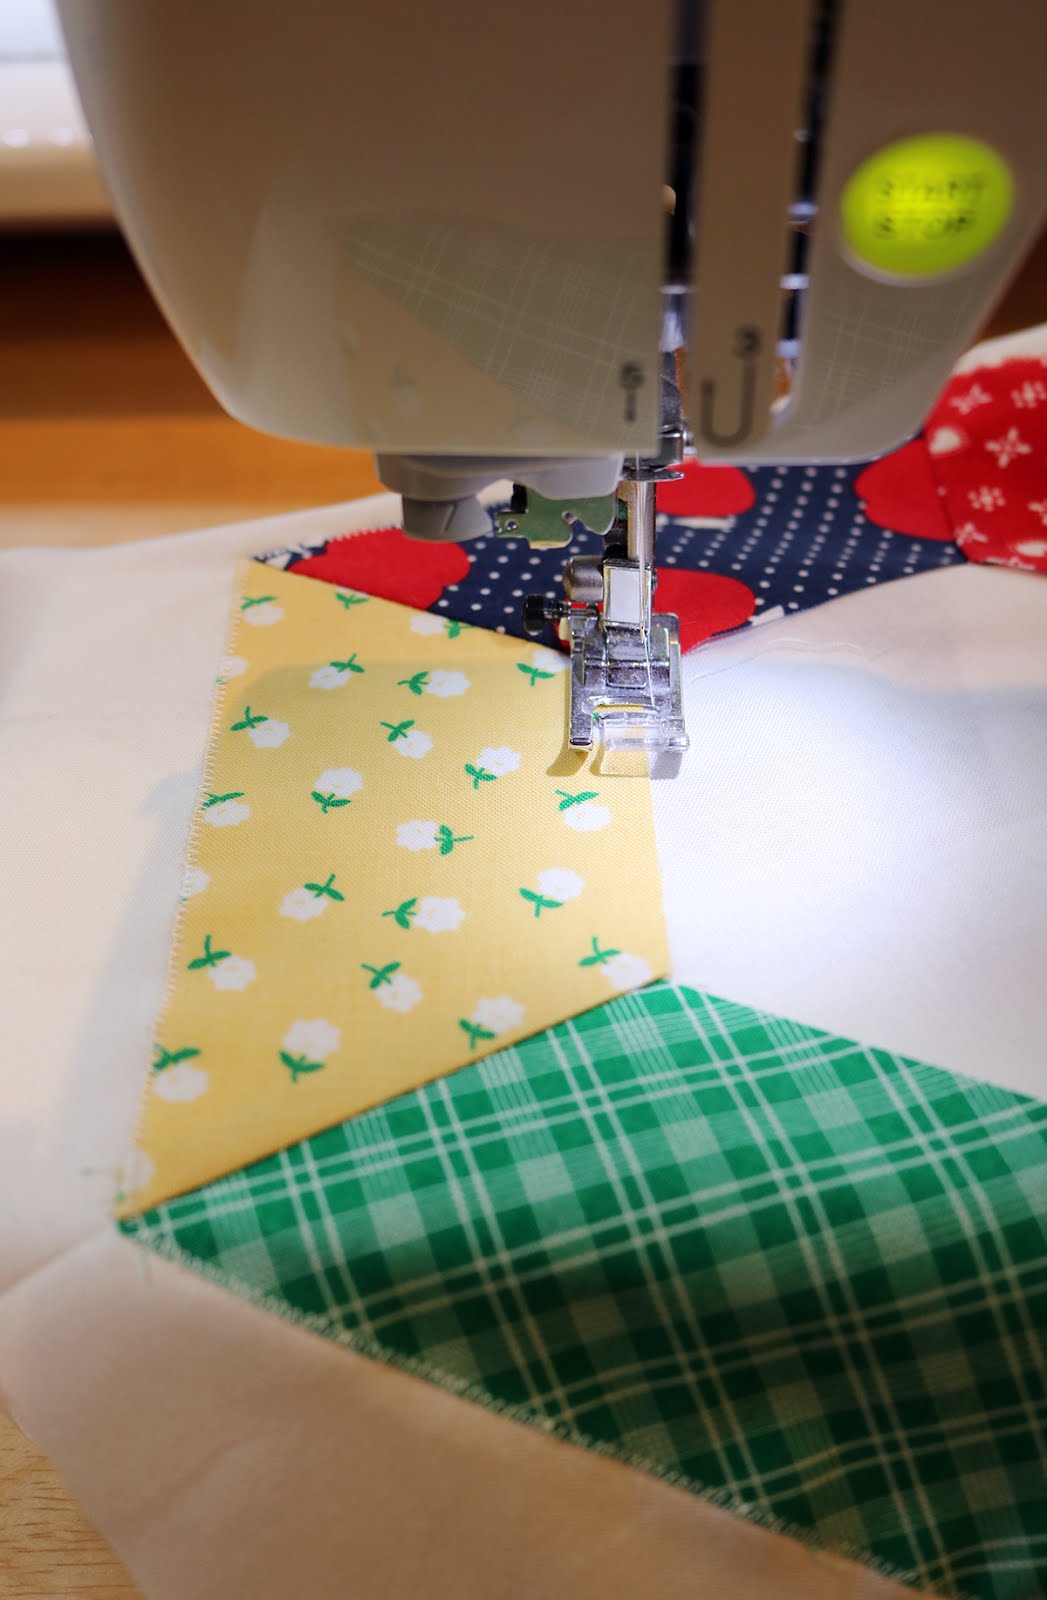
Repeat to stitch around the inside of the hexagon.


Playground Quilt Tutorial by Andy of A Bright Corner

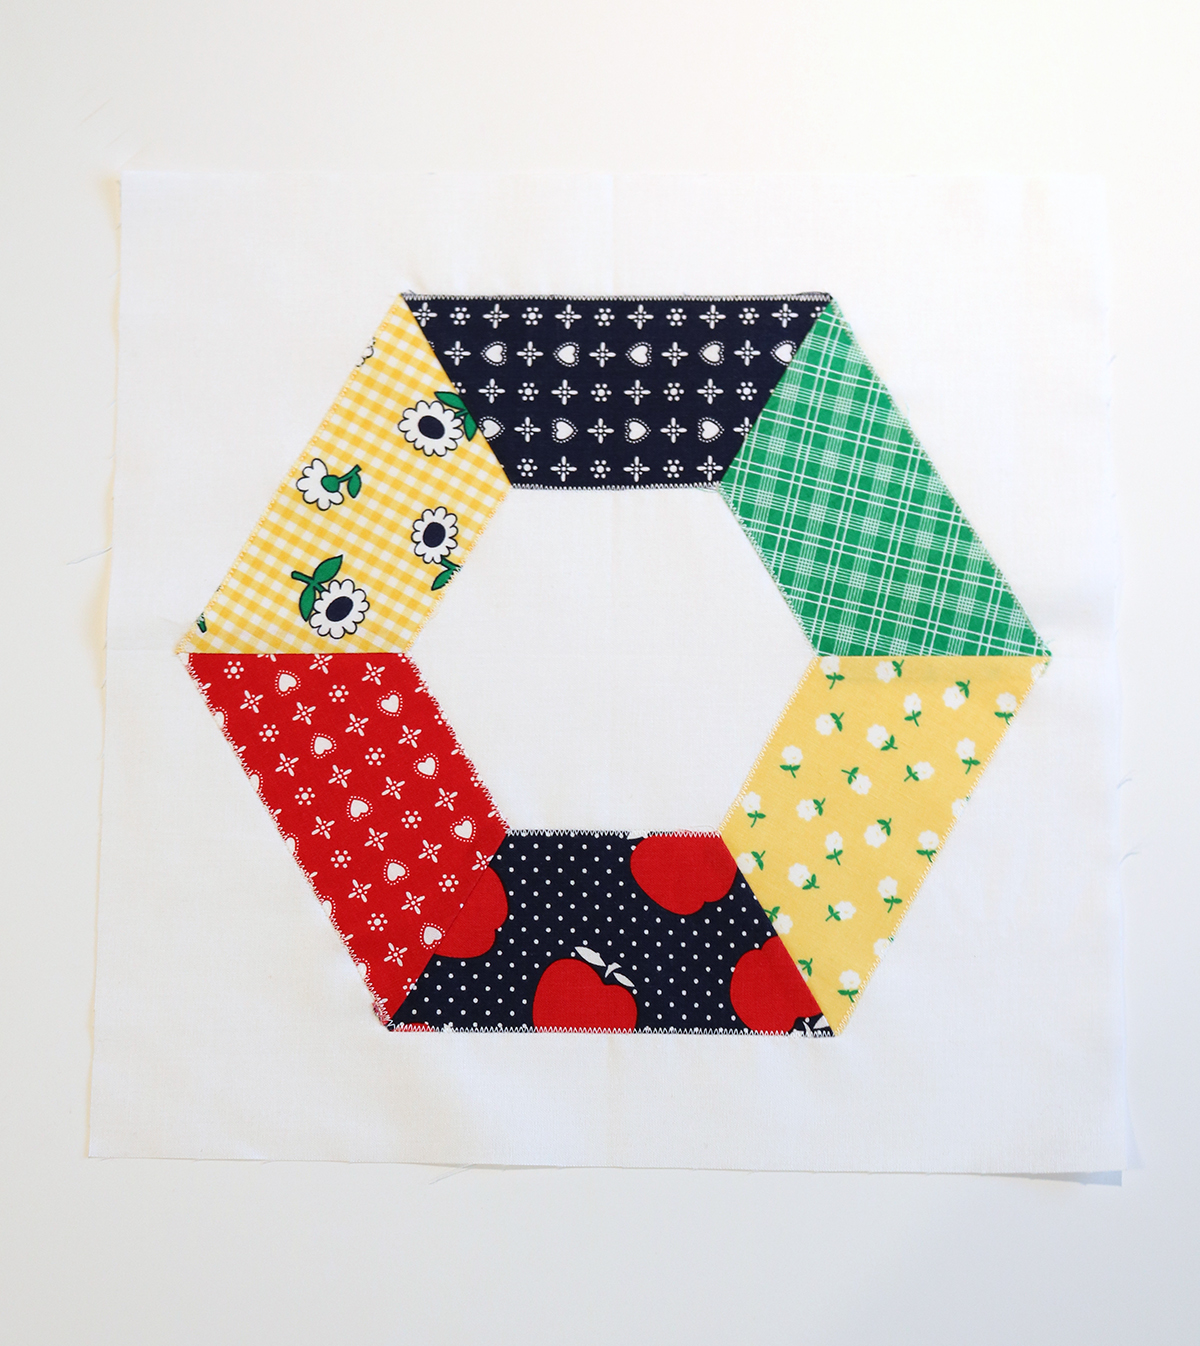
Give the block a good final press, and it's done!  Repeat to make all 20 blocks.  


Playground Quilt Tutorial by Andy of A Bright Corner

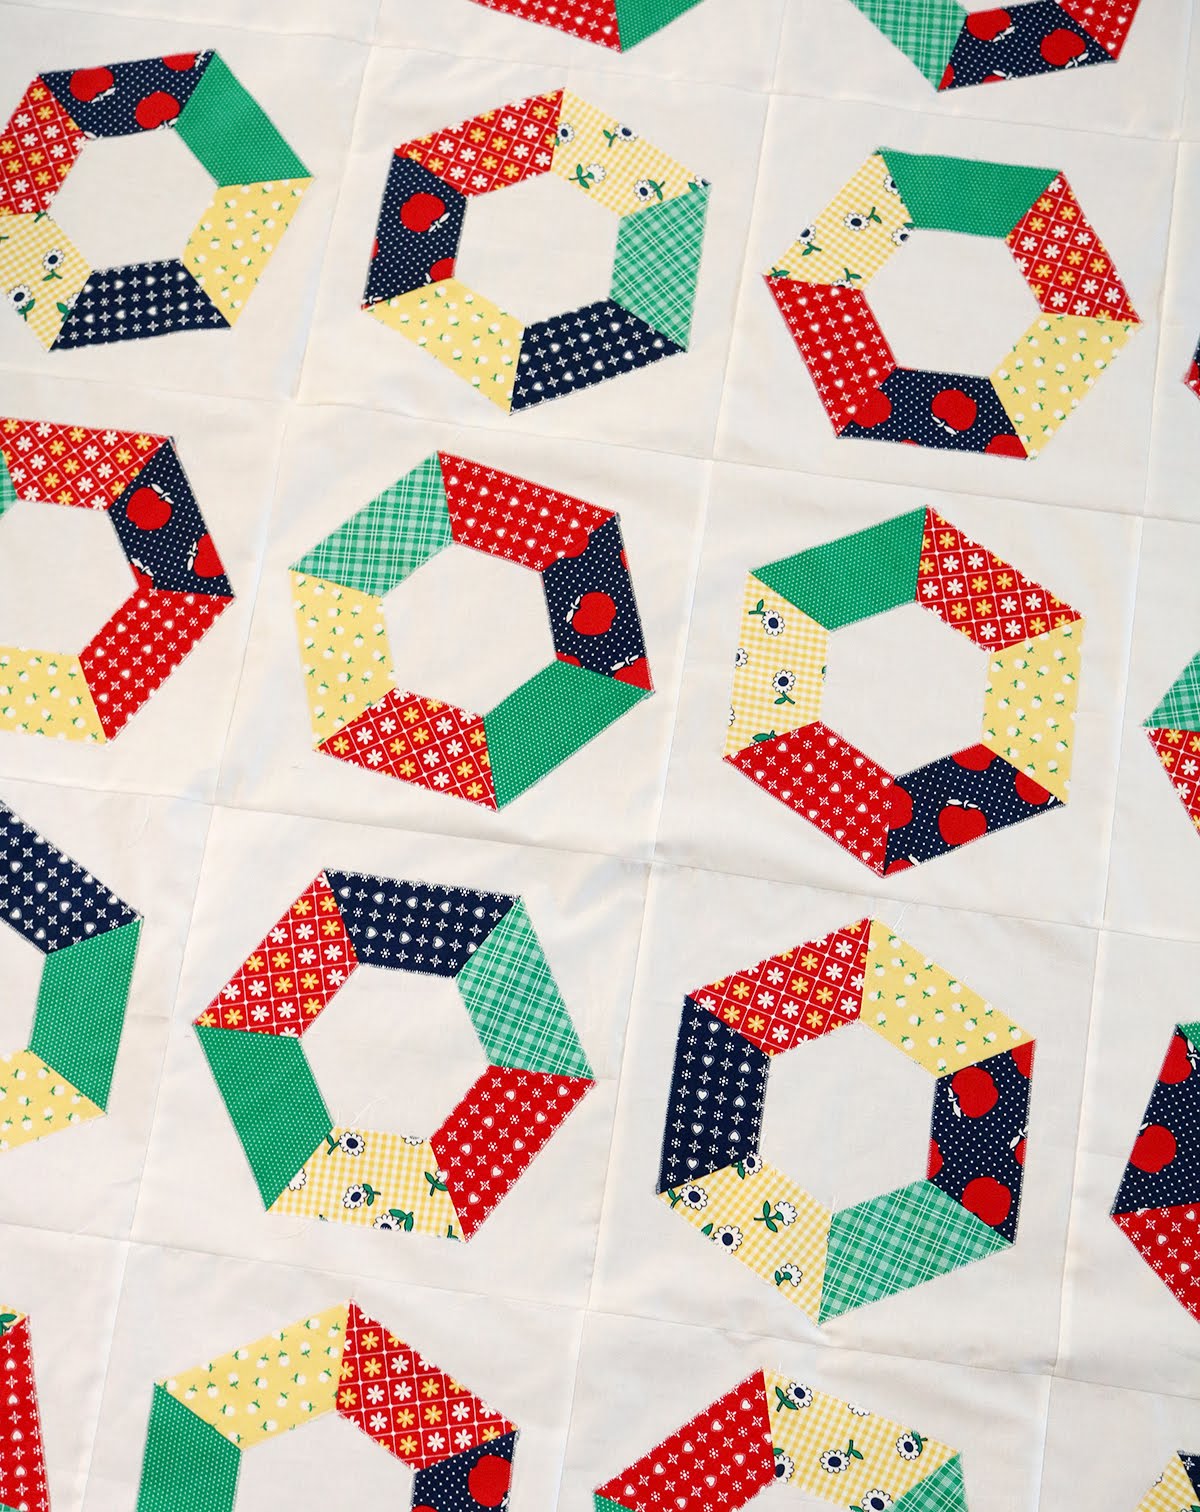
When you're centering your blocks on the background squares, don't be afraid to spin your hexagon units at different angles!  Just make sure it's centered on the block and you'll be fine.  In the block below, I measured the distance from the edge of the block to the outer points of the hexagon to help center it.  


Playground Quilt Tutorial by Andy of A Bright Corner

Once you get all 20 blocks made, sew your blocks together into five rows of four blocks each.  Press the seams of each row and then sew the rows together.  


Playground Quilt Tutorial by Andy of A Bright Corner

Next up is a fun pieced border using the 2.5" print squares.  

Sew the 2.5" squares together into 4 long strips - two of the strips need to have 30 squares each, and two of the strips need 26 squares each.  Press the seams of the strips in one direction.  

Sew the strips with 30 squares to the sides of the quilt top.  To help line up the strips, know that every 6th block will line up with a seam on the quilt top.  Press seams.

Then sew the two strips with 26 squares to the top and bottom of the quilt top.  Press.


Time for the last border - you're almost done!  Remove the selvages from the 2.5" x WOF long background strips.  Sew these strips together end to end to make one long 2.5" wide strip.  

Measure the length of your quilt top through the center of the quilt.  Cut two border strips to that length.  Sew to each side of the quilt top & press.

Now measure the width of the quilt top through the center (including the two side borders you just added) and cut two border strips to that length.  Sew these to the top and bottom of the quilt.  

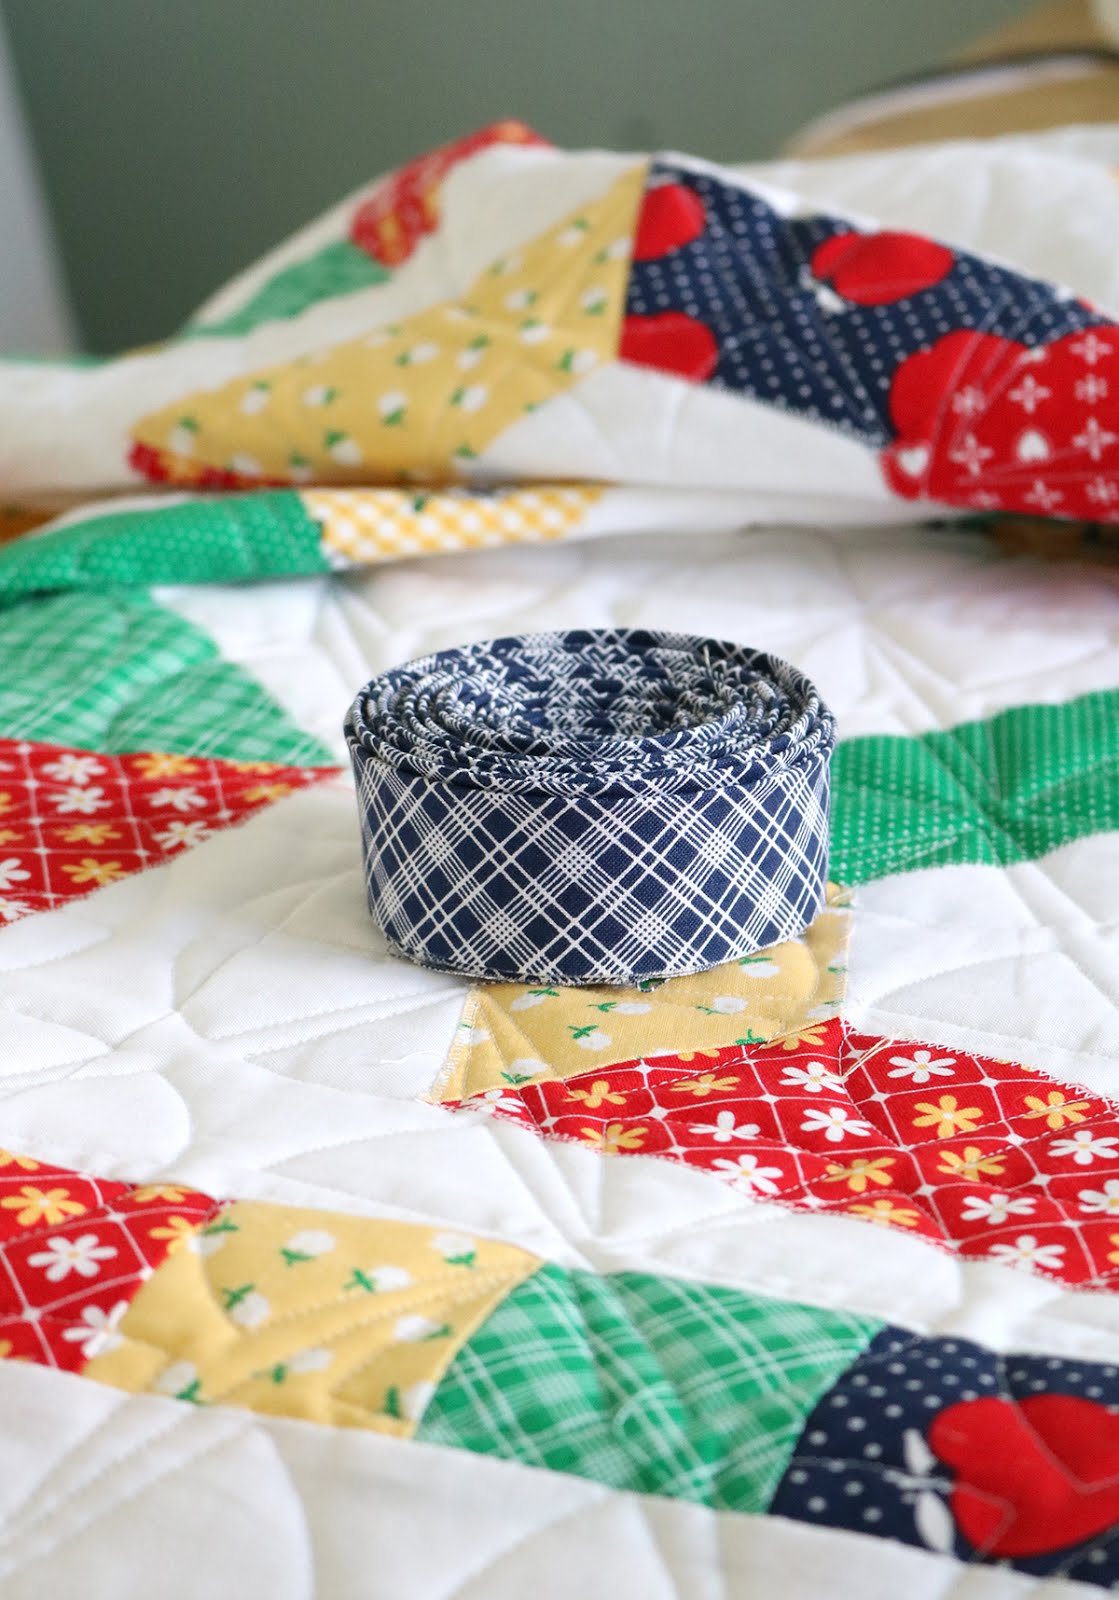
Your Playground quilt top is all done!  Time to baste it, quilt it, and bind it. The navy plaid print from the Sunnyside Ave line makes a fantastic binding!


Playground Quilt Tutorial by Andy of A Bright Corner

If you make a Playground quilt, please share - I'd love to see it!  Tag me on Instagram (@abrightcorner) or Facebook and use the hashtag #playgroundquiltpattern and #abrightcornerpatterns so we can all see what you create!

Thanks for stopping by!
--Andy


Playground Quilt Tutorial by Andy of A Bright Corner

Quilt details:
56" x 68"
Pattern:  Playground Quilt Tutorial
Fabric:  Sunnyside Ave (Amy Smart, Penny Rose Fabrics)
Quilting:  Pinwheel #1 60 Degrees from Urban Elementz
Backing:  Navy Swiss Dot from Riley Blake Designs


Looking for more quilt tutorials?  You may enjoy these!  Feel free to pin them to your favorite quilting Pinterest boards so you can find them later.  


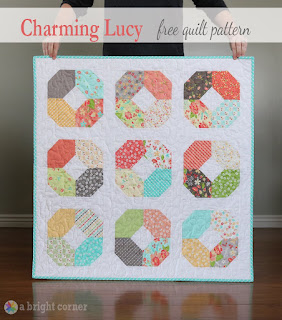
Charming Lucy free baby quilt pattern

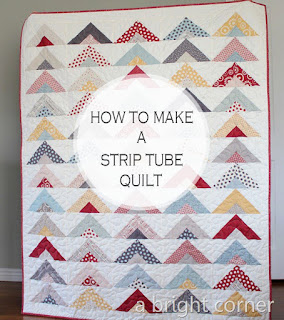
Strip Tube quilt tutorial

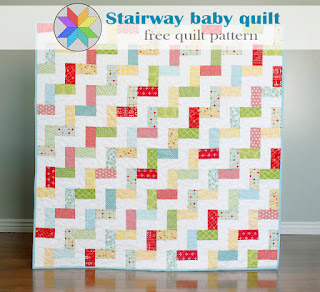
Stairway baby quilt pattern


Related Posts Plugin for WordPress, Blogger...